Change Name CPU on Windows 11: Regedit Guide
Find out how to change the name of CPU on Windows 11 via the Registry Editor. Step by step guide to customize your PC safely.
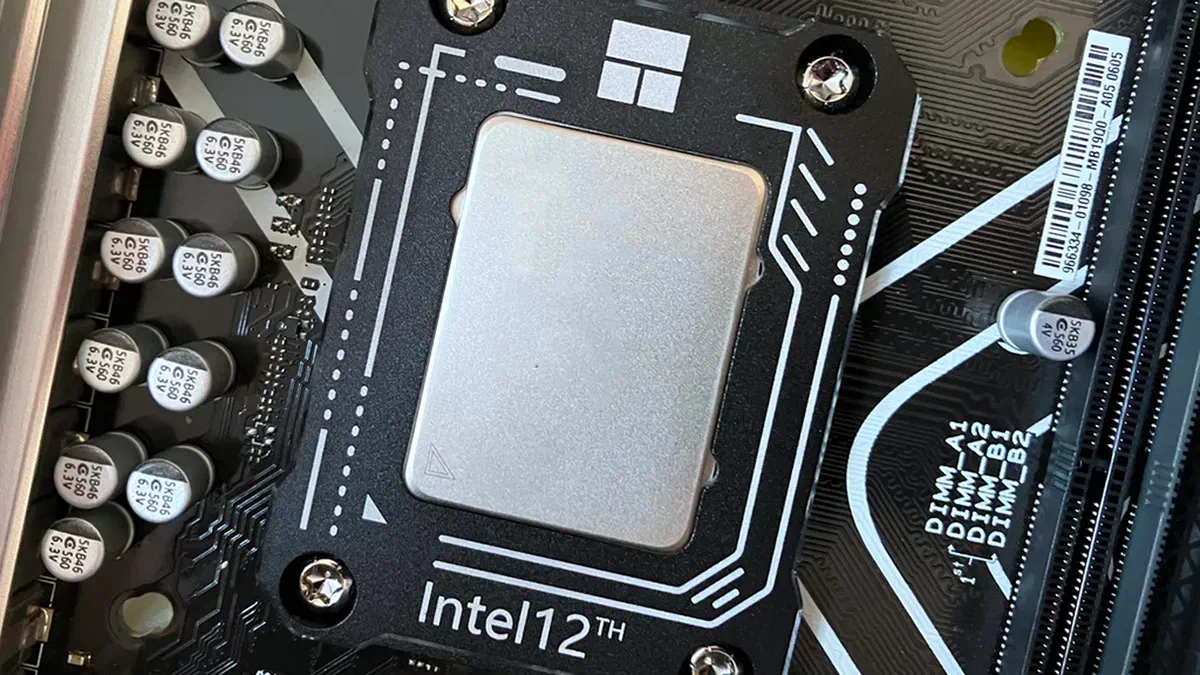
Changing the name of the CPU on Windows 11 is an advanced customization operation that allows you to change the hardware information displayed within the operating system. Although the Microsoft interface does not offer a direct option for this purpose, it is possible to intervene easily and specifically through the Registry Editor (Regedit). Below you will find detailed steps to rename the processor and customize your PC to the fullest.
Important notice Before Starting #
Caution: The Registry Editor is an extremely delicate tool. An accidental change of unrelevant keys can cause stability problems to the operating system. Before proceeding, we strongly suggest you create a system restore point or complete backup to protect your data in total safety.
Steps to Change the Name of CPU on Windows 11 #
- Open the Registry Editor
- Press the
Win + Rkey combination to launch the “Execute” fast running window. - Type
regeditand pressInvio. When the User Account Control (UAC) intervenes, click “Yes” to grant administrator privileges.
Navigare nella Chiave di Registro Corretta: Utilizzando la barra laterale o la barra degli indirizzi in alto, raggiungi esattamente il seguente percorso:
HKEY_LOCAL_MACHINE\HARDWARE\DESCRIPTION\System\CentralProcessor\0Change the Processor String
- Inside the
0folder, look for the right panel calledProcessorNameString. - Double-click
ProcessorNameStringto open the value change window. - Under the “Date Value” item, delete the current string and type the new name of the CPU you want to make it appear on Windows.
- Click on the “OK” button to confirm and store your changes.
- Restart PC Windows 11: In order for the update to the register to be transposed globally by the operating system, close the editor and proceed with a complete restart of the computer.
How to Check the New Name of CPU #
At the next start of the machine, you can see that the modification has been successful using Windows integrated diagnostic tools:
- Task Management (Task Manager) Press
Ctrl + Shift + Escto open Task Management. Move to the “Prestations” tab. Click on the item “CPU”: you will notice your custom name sneaking into the top of the window. - Control from System Settings Press
Win + Ito access “Settings”. Go to “System” and click on “System Information”. In the “Specifices of the device”, next to “Processor”, will appear the wording just set.
Change Name CPU: Final considerations #
Remember that changing the name of the CPU is a purely aesthetic operation: it does not apply any overclocking and does not increase the real performance of the hardware. This trick is ideal for pure modding purposes or for making a joke to a friend, but the computing power of the PC will remain totally unchanged. We always reiterate the importance of acting carefully to prevent accidental damage to the system.
By precisely following these steps, you will be able to rename the CPU of your device in total safety, combining fun and a touch of customization on Windows 11.
FAQ: Frequently Asked Questions about Changing Name CPU #
Is the name change of the CPU permanent? #
No, the change is not final. Whenever a system is restored, critical updates or reinstalled Windows 11 are installed, the operating system reads the pure hardware data again from the BIOS/UEFI, restoring the real name of the factory processor (Intel or AMD).
Can changing the name of the CPU cause hardware damage? #
Absolutely not. Alterating this specific key in the registry simply modifies a “text label” software side. The physical processor continues to operate with its original directives, so there is no risk of overheating, thermal instability or physical damage to components.
Can I use this trick even on Windows 10? #
Yeah, no problem. The CentralProcessor key path in the registry and the entire wizard to alter the ProcessorNameString entry are identical to the Microsoft operating systems of past generations, including Windows 10 and Windows 8.