How to Record Your Screen with OBS Studio: Complete Guide
Learn how to record your PC screen using OBS Studio. A full guide on setup, audio/video settings, webcam integration, and saving in MP4 for Windows, Mac, or Linux.
On this page
OBS (Open Broadcaster Software) is the program almost every streamer uses, but it’s also great for simpler tasks: a tutorial, a replay of a match, or saving a video call. Here, I’ll explain how to set it up from scratch to record, including your webcam and microphone if you need them.
Requirements and compatibility #
OBS Studio works on Windows 10 and 11, macOS 12 Monterey or later (including Macs with Apple silicon), and major Linux distributions. Updated requirements can be found on the OBS Project official website. You don’t need a powerful computer, but having a recent processor and a dedicated graphics card will prevent stuttering during recording, especially if you are recording games.
Besides recording, OBS streams live to YouTube, Twitch, and other platforms. Its main strength is that it mixes multiple audio and video sources in real time: you can place your webcam in a corner over the screen or record both your microphone and computer audio simultaneously, just like a mini production studio.
Download and install OBS #

Go to the official download page and choose your operating system: the download for the latest version will start immediately. Always download it from there, as you can find modified versions online that contain ads or worse.

On Windows, open the file OBS-Studio-...-Windows-Installer.exe and click Next a couple of times, choose your folder, and then click Install. Finally, click Finish to launch OBS.
On macOS, open the file .dmg and drag OBS into your Applications folder. If macOS blocks it from opening on the first run, Apple’s guide on apps from unidentified developers explains how to authorize it. Then, macOS will ask for permission for Screen Recording (and, if you use a webcam and microphone, also for Camera and Microphone): grant this in System Settings → Privacy & Security, then restart OBS. If you skip this, your recording will be black.
On Linux, the easiest way is to use the Flatpak package from Flathub. On Ubuntu, there is also an official project repository (PPA).
Initial setup #

Upon first launch, OBS will offer the Auto-Configuration Wizard. Click Yes and, since you want to record, choose Optimize just for recording, I will not be streaming, then click Next.
On the next screen, leave the suggested video settings as they are—they match your screen resolution—and proceed. Finally, click Apply Settings: OBS will run a few tests and automatically select the best encoder for your computer.
Adding the screen to record #

In the bottom-left corner, you’ll find the Sources box. Click +, choose Display Capture, give the source a name if you like, and click OK.

The properties window for the source will open. By unchecking Capture Cursor, the mouse pointer won’t appear in the video. If you have multiple monitors, use the Display menu to choose which one to record. Then click OK.
If you only want to show a single program—for example, your browser or a presentation—and hide the rest of your desktop, use Window Capture instead and select the window from the menu. For full-screen games on Windows, there is Game Capture, which is more performance-efficient.

If you capture the screen that OBS is running on, you’ll see an “infinite mirror” effect: OBS is recording itself. This is normal and will disappear as soon as you minimize OBS and switch to the program you want to record.
Adding your webcam #
To appear in a box over the screen, click + in Sources and choose Video Capture Device. Confirm, then in the Device menu, select your webcam and click OK.
In the preview window, drag the webcam box to your preferred corner and resize it using the red squares on the edges. If the webcam ends up behind the screen, move it up in the sources list: items at the top of the list cover those below them.

Checking your audio #
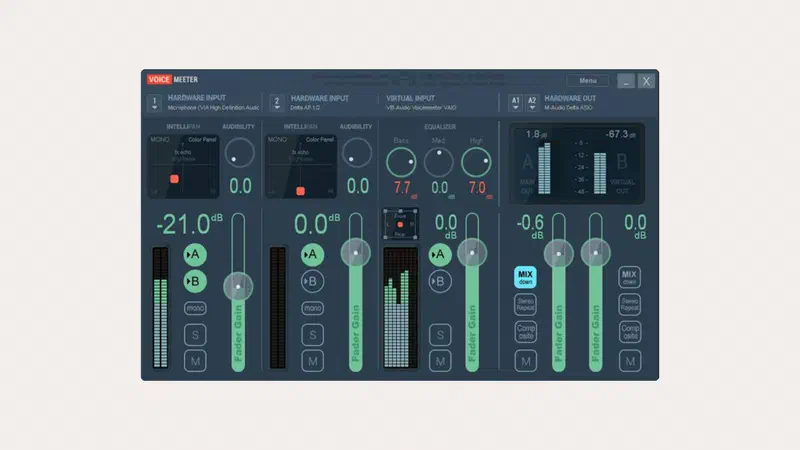
Before you start recording, check the Audio Mixer at the bottom center. There are two channels: Desktop Audio, which is everything you hear from your computer (music, system sounds, game audio), and Mic/Aux.

Use the speaker icon under each bar to mute or unmute that channel, and use the slider to adjust the volume. Speak or play a sound and watch the bars: they should move within the green and yellow zones. If they hit the red, turn it down; otherwise, the audio will distort.
If your microphone doesn’t appear, go to Settings → Audio and select it under Mic/Auxiliary Audio. On macOS 13 or later, computer audio is recorded directly through the screen capture source without needing additional drivers.
Where to save and in what format #
Click Settings in the bottom-right corner and open the Output tab.
In the Recording section, use Browse to choose the folder where your videos will be saved. For Recording Quality, leave it as High Quality, Medium File Size; only lower this if you are recording for many hours or have limited disk space.
For Recording Format, recent versions of OBS already suggest Fragmented MP4: it opens everywhere like a normal mp4, but if your computer crashes or the power goes out, the file remains readable up to that point. This is the best choice. Alternatively, mkv is by far the safest format; you can quickly convert it to mp4 using File → Remux Recordings.

In the same section, under Encoder, if you have an NVIDIA graphics card, choose NVENC; for AMD, use AMF, and for Intel, use QuickSync. This lets your graphics card do the work so your processor stays free. Click Apply and then OK.
Recording #
Now click Start Recording at the bottom right. When you are finished, go back to OBS and click Stop Recording: your file will already be in the folder you chose. You can open it instantly via File → Show Recordings.
To avoid having to switch back to the OBS window every time, you can assign a hotkey to start, stop, and pause recording in Settings → Hotkeys.
FAQ #
Does OBS slow down my computer while recording? #
Usually not much. It depends on your hardware: if you notice stuttering, use your graphics card’s encoder (NVENC, AMF, or QuickSync) instead of the software encoder (x264), and close any heavy programs you don’t need.
Is there a limit to how long I can record? #
No. The only limit is the free space on your disk. An hour of high-quality 1080p video usually takes up a few gigabytes.
Why is my recording just a black screen? #
On macOS, it’s almost always due to missing screen recording permissions, which you can grant in System Settings → Privacy & Security. On Windows laptops with dual graphics cards, OBS and the program you are recording must run on the same one: try going to Settings → System → Display → Graphics and set OBS to Power Saving for screen capture or High Performance for gaming. On Linux using Wayland, use the Screen Capture (PipeWire) source.
Can I pause the recording? #
Yes. If your quality is set to one of the preset options, a pause button will appear next to Stop Recording, and you can also assign a keyboard shortcut to it.
Can I record audio only? #
OBS always records video, but if you don’t add any video sources, you will get a file with a black screen containing only the audio track from your microphone or desktop. You can then extract the audio as an mp3 using a converter or video editing software.