How to Turn Your Photo into an AI Action Figure
Learn how to write the perfect prompt for action figures in packaging, understand AI limitations, and use your results as concept art.
On this page
The trend exploded in the spring of 2025, alongside that of collectible figurines: real people transformed into toys in their packaging, with accessories aligned on the cardstock. Beyond the fun, there is also a practical use: in just a few minutes, you get a reference image to give to someone who will later model the object in 3D.
What you need #
- A starting photo that is sharp and well-lit. A full-body shot works better than a close-up because the model can see the posture and clothing as well.
- An image generator that accepts photos. The most common ones are ChatGPT and Google’s Gemini (using the model everyone calls Nano Banana); both can be used for free with a daily image limit. Microsoft Copilot does the same.
The procedure is the same everywhere: open a new chat, attach the photo using the + button or the paperclip icon, paste your prompt, and send. After a few seconds, the image arrives.
Two formats not to be confused #
Under the name “action figure,” two different things are circulating, and asking for one will give you a very different result from the other:
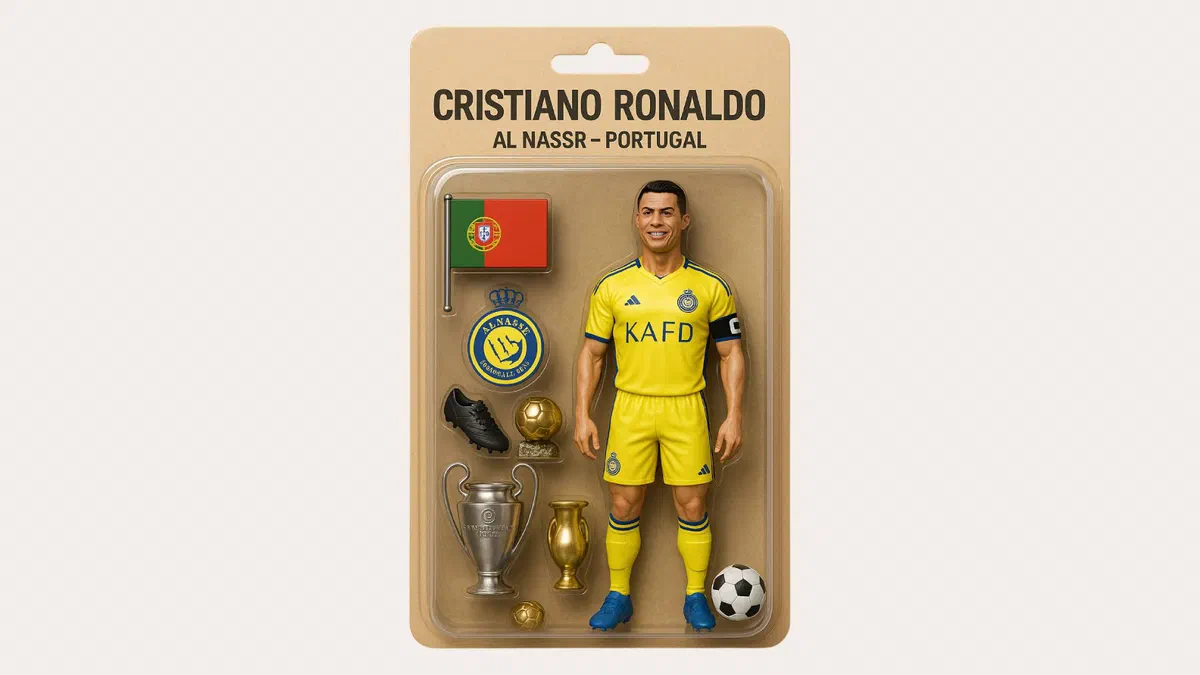
- the articulated figure in a blister pack: realistic proportions, matte plastic, accessories aligned next to the character on printed cardstock. This is the standard action toy format;
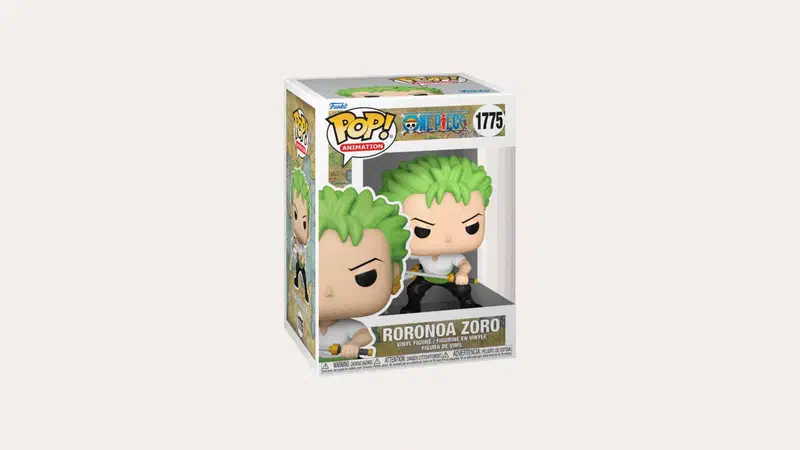
- the stylized figurine in a box: big head and small body, enclosed in a cardboard box with a transparent window. This is the collector’s format.
If you want the first one, explicitly write realistic proportions; otherwise, many generators will default to the stylized version, which is what they have seen most often.

Writing the prompt #
A good prompt describes three objects.
The figure. Who they are, what they are wearing, their pose, and their expression. Specify that it is a plastic toy and not a real person: “plastic action figure, realistic proportions, visible joints at shoulders and knees, slightly matte finish.”
The accessories. These are what add character, and they usually turn out well: two or three objects, each in a separate compartment next to the figure. A laptop and mug for someone working at a computer; a guitar and pick for a musician; a helmet and gloves for a motorcyclist.
The packaging. Describe it as a real object: “blister pack, transparent plastic bubble on blue cardstock, ‘MARIO’ in uppercase letters at the top, with a short description below.”
Here is a template to complete:
Una action figure in plastica basata sulla persona nella foto allegata,
proporzioni realistiche da giocattolo, [abbigliamento e colori].
Accanto alla figura, in scomparti separati: [due o tre accessori].
Il tutto è dentro una confezione blister: bolla trasparente su cartoncino
[colore], con la scritta [NOME] in alto in stampatello.
Fotografia del prodotto, sfondo neutro, luce da studio morbida.
You can also play with the style: an ’80s toy with slightly faded colors and worn edges on the cardstock, or a modern figure full of detail.

What generators still get wrong #
| Problem | How to limit it |
|---|---|
| Text on the packaging is crooked or gibberish | Use only one short name in uppercase; no long sentences |
| Accessories merge with the hands | Place them in separate compartments, not in hand |
| The figure looks like a real person in miniature | Ask for plastic, joints, and matte finish |
| The face doesn’t look enough like the subject | Emphasize hairstyle, glasses, or beard: these matter more than facial features |
| The image is too cluttered | Maximum of three accessories, neutral background |
The rule is always the same: correct, don’t rewrite. After the first image, only ask for the missing modification (“red cardstock instead of blue,” “remove the mug”), and you will reach the result in two or three steps instead of fifteen.
From image to 3D printing #
Here is the most serious use case, but one point needs clarification: a generated image is not a 3D model. It is a fake, flat photo that no printer can start from.
What the image can be—and it is very useful—is a visual reference: it tells the person modeling the object what the character looks like, how they are dressed, their pose, and which accessories they carry. Anyone who does 3D modeling knows how valuable a clear reference is compared to a verbal description.
The method that works:
- Generate multiple views of the same subject: front view, three-quarter view, profile, and back view, asking for them one at a time and repeating that it is the same character.
- Keep clothes and accessories consistent across all views, correcting differences as you go.
- Deliver all images together to the modeler, or use them yourself as a reference.
There are also tools like Meshy or Tripo that attempt to create a 3D model directly from an image. They have improved significantly, but they remain a rough base: approximate geometry, fused details, and surfaces that need reworking. For a small stylized object, they might suffice; for something meant to be printed well, professional modeling work is still required.

Brands and faces #
Two limitations to keep in mind from the very beginning.
Trademarks. The name and typical look of a toy line are protected. Creating an image for yourself doesn’t cause practical issues, but using it to promote a business, sell it, or produce items for commercial use is a different story. This is also why generators are increasingly refusing prompts that mention a brand: describing the style works better and bypasses the issue.
Faces. To use someone else’s photo, you need their consent, and when dealing with photos of minors, you must be extremely cautious. Before uploading personal photos to an external service, look in your account settings for the option that excludes your content from model training: almost all services have it, but it is rarely enabled by default.
FAQ #
Which AI should you use? #
ChatGPT and Gemini are the simplest: just upload the photo, write your prompt, and you’ll have the result in seconds, even with a free account. Both handle text on packaging well, which until recently was a weak point for all generators.
Do you need a subscription? #
No: image generation is available in free plans as well, subject to a daily request limit. A subscription increases this limit and provides access to the latest models, which make fewer mistakes with text and small details.
Can I 3D print the figure I generated? #
Not directly: the image is flat and must first be transformed into a 3D model by someone using it as a reference, or via a conversion tool that requires manual refining. For personal use, there are no problems; reproducing and selling items that resemble protected products or characters is a completely different matter.
Why is my prompt being rejected? #
Almost always because it mentions a brand, a famous character, or an actor. Rewrite it by describing the object (plastic figure, blister pack, printed cardboard) without using commercial names: this usually works and actually gets you closer to what you wanted.
Is it better to use a full-body photo or a close-up? #
A full-body shot is better because it gives the model information about posture and clothing. A close-up works too, but you’ll need to describe the body and outfit in words; otherwise, the AI will just make them up.
How many views are needed to model the object? #
At least three—front, three-quarter, and back view—and four is even better. The important thing is that they are consistent: same clothes, same accessories, same colors. Differences between one view and another are the main challenge with this method.