Complete Guide: Virtualize Linux on Apple Silicon (UTM)
Learn how to install and virtualize Linux on Mac Apple Silicon (M1, M2, M3) using UTM. Step-by-step guide to configure your ARM64 virtual machine.
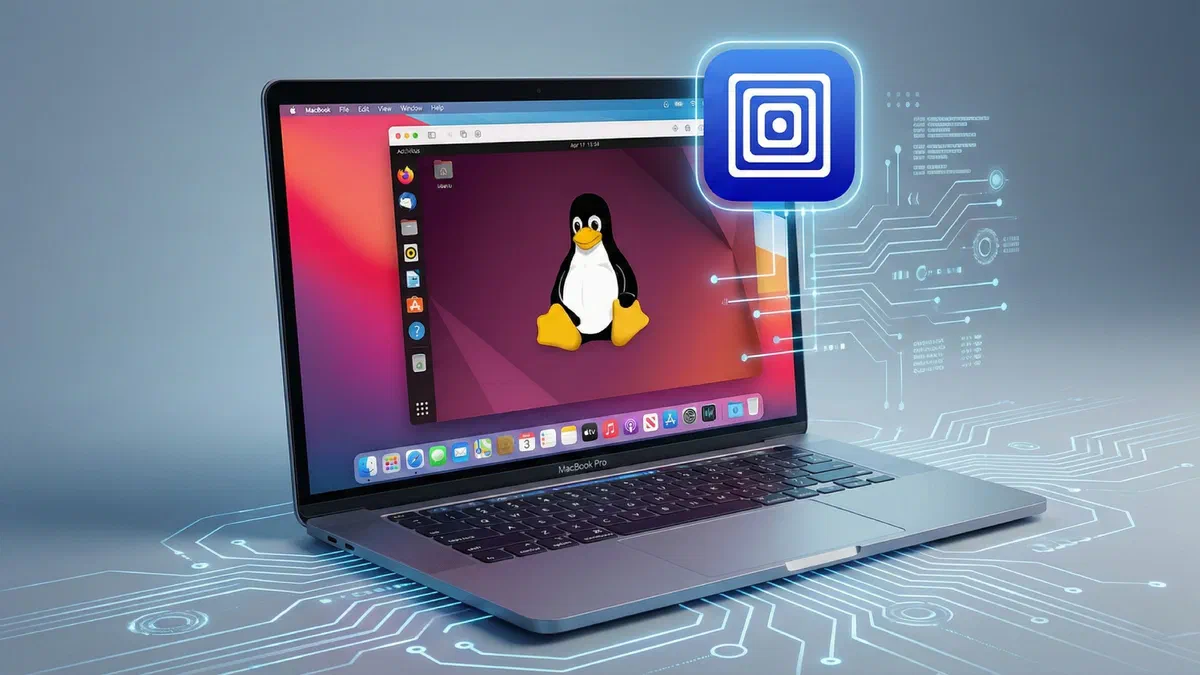
The advent of the Apple Silicon processors (Series M1, M2, M3) has revolutionized how we perform “guest” operating systems on Mac. To install and start Linux distributions on ARM architecture, developers and systemists must choose between emulation and virtualization.
While software emulation (e.g. through QEMU) translates instructions to be slow and costly in terms of resources, native virtualization on Apple Silicon directly exploits Mac physical hardware (CPU and RAM) ensuring excellent performance.
In this step-by-step guide we will see how to use UTM, a powerful free open-source solution that allows you to create virtual ARM64 machines at almost native speeds.
Step 1: Choose the Compatible ISO Linux Image #
The first step for virtualization of Linux on Mac is to select and download a distribution (distro) compatible with Apple hardware.
- Architecture ARM64: Make sure to download ISO files specifically compiled for ARM64 (AArch64). The classic ISO x86 will not guarantee the same performance.
- Page Size Supported: The Apple Silicon chips manage memory pages from 4kb or 16kb. Some distributions (such as old RHEL builds) may not start properly.
- Type of Use:
- Ambiente Desktop: We recommend Ubuntu Desktop for ARM (LTS version) if you want a complete and stable graphics interface.
- Environment Server: If you are looking for light operating systems for Docker, container or Java development, opt for Alpine Linux or Alpaquita Linux.
Step 2: Configure the Virtual Machine in UTM #
Open the UTM software on your Mac and start creating a new VM. Choose the “Virtualize” option and select “Linux” as a guest operating system.

Boot Settings and Kernel Choice #
Arrived at the boot drive selection screen:
- Disable the option “Use Apple Virtualization”. Although interesting, it is a often experimental function. Maintaining the default QEMU backend ensures maximum stability for your Linux virtual machine.
- Click on “Browse” and select the ISO Linux ARM64 file you downloaded previously.

Virtual Machine Hardware Resource allocation
Assigning RAM and CPU correctly is essential to optimize Linux performance on Apple Silicon, especially if you need to compile code or use heavy software.
- RAM memory:
- Standard usage: Allocate 2048MB (2GB) is enough for headless servers or very light distributions.
- Development and Desktop: For Ubuntu or complete programming environments, assign at least 8192MB (8GB).
- Processor (CPU): Reserve VM 50% of your Mac M1/M2/M3's physical cores (for example, 4 cores out of 8 totals).
- Scheda Video (GPU): Pay attention to the "Hardware OpenGL Acceleration" option. If you detect graphic glitch or black screens starting Linux, disable hardware acceleration to solve rendering incompatibilities.

Disk Space Management and Shared Folders #
- Virtual Rigid Disk (Storage): Calculate space according to your needs. A complete distro like Ubuntu Desktop needs about 20GB. For reduced server environments such as Alpine can suffice 8GB.
- Shared Directory (Cartelle Sharing): Set up a local folder of your Mac to quickly share files between macOS and the Linux guest system. Note: To work correctly, this option may require installation of additional packages (SPICE tools) within Linux.

Step 3: VM start and Linux installation #
Check the summary of technical specifications and click on “Save”. Now you can start your new virtual machine by pressing the “Play” button. The system will boot directly from the loaded ISO image.

At this point, just follow the classic Linux installation procedure proposed by the distribution you chose (language configuration, time zone, user creation). After completion, restart the VM to start working!

You are ready to exploit all the power of your M-series processor for development and testing in a native and fluid Linux environment.
FAQ: Frequently Asked Questions about Virtualization with UTM #
Can I use the x86 version of Linux on Mac Apple Silicon via UTM? #
Yes, UTM also supports x86 64 architecture emulation, allowing you to install non-optimized systems for ARM. However, the performance calibrations due to software translation are very obvious. For this reason, it is always recommended to prefer ISO Linux ARM64 for uncompromising native virtualization.
Is UTM software for Mac paid or free? #
UTM is completely free and open-source. You can download the installation file directly from the official website. A paid version of the Mac App Store is available, identical in functionality, only for automatic updates and financially support project development.
What to do if a black screen appears when starting Linux on UTM? #
The black screen or graphical block problem is usually linked to a distribution video driver incompatibility. To solve, turn off the VM, go to the Display options of the virtual machine in UTM and turn off the check on the item “Hardware OpenGL Acceleration”, then restart.