Almost all use a computer daily, but rarely we focus on the technical details of its internal operation. Creating a custom machine with your own hands is an extremely rewarding and useful experience. The goal of this practical guide is this: explain how to assemble a PC starting from scratch, helping you choose and connect individual hardware parts.
The idea of building a desktop computer may seem complex or excessively expensive, but reality is quite different. If you are able to mount a mobile or follow a simple step-by-step instruction manual, you already have all the skills needed for assembling a PC. Although the exact configuration depends closely on your personal needs, we can offer you a clear overview of the functions of each component and provide you with the best recommendations to address your choice safely.
Where to start construction? To compile a list of compatible and balanced expenses, regardless of your computer experience, we suggest you use specialized platforms such as PCPartPicker. This useful aggregator not only brings together all the hardware that can be purchased on the market, but checks in real time the technical compatibility to ensure that no piece comes into conflict. We suggest you prepare a written draft that includes your maximum budget, the items you want and the components or accessories you are possibly already in possession of.
Whether you're planning a solid office workstation or want to find out how to assemble a gaming PC high performance, the basic structure of the system will remain the same. Navigating in this world you will meet many technical acronyms; to make your life easier, the next section will act as a real explanatory glossary.
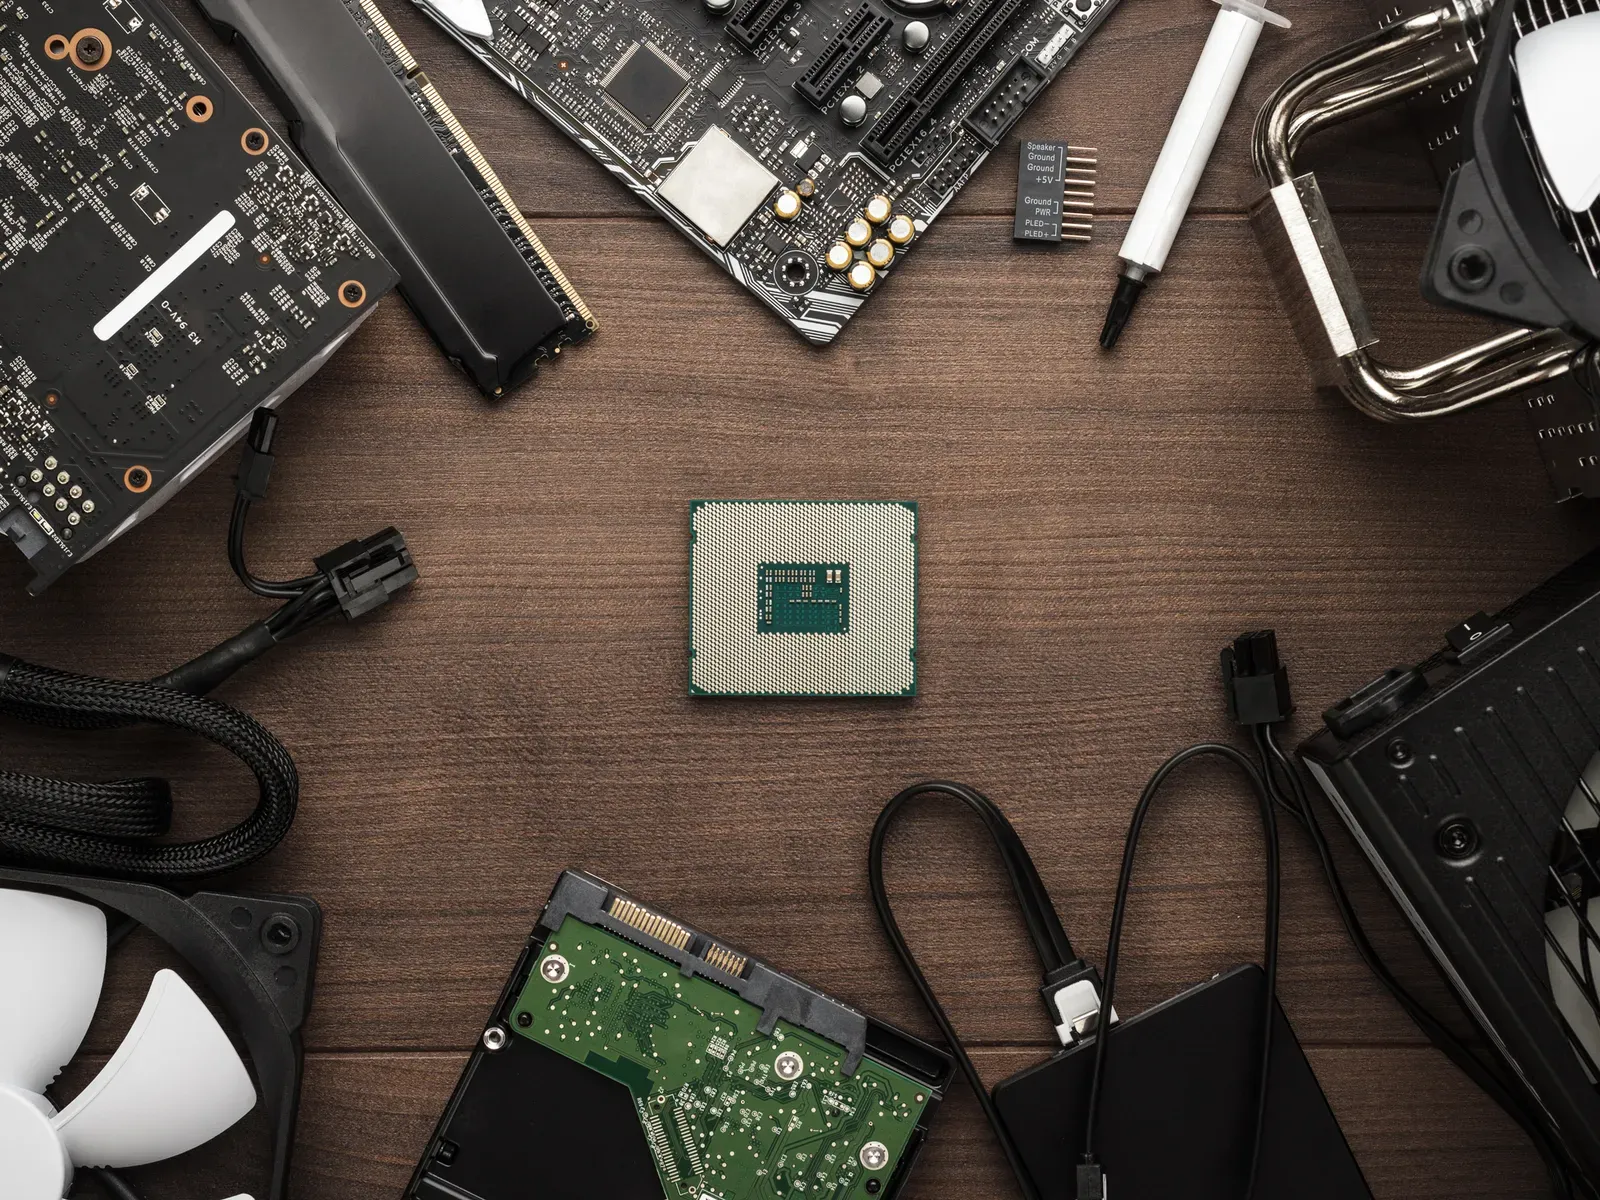
What are the essential pieces? You will need: a motherboard, a processor (CPU), a solid-state fast storage unit (SSD) or a capacitive hard disk (HDD), system memory (RAM), a power supply (PSU), a case and an external monitor. A dedicated graphics card (GPU) may not be essential for those who do simple videowriting work, but is taxive for video games and multimedia processing software. Below is a detailed breakdown of the role of each structural element.
Components
Motherboard
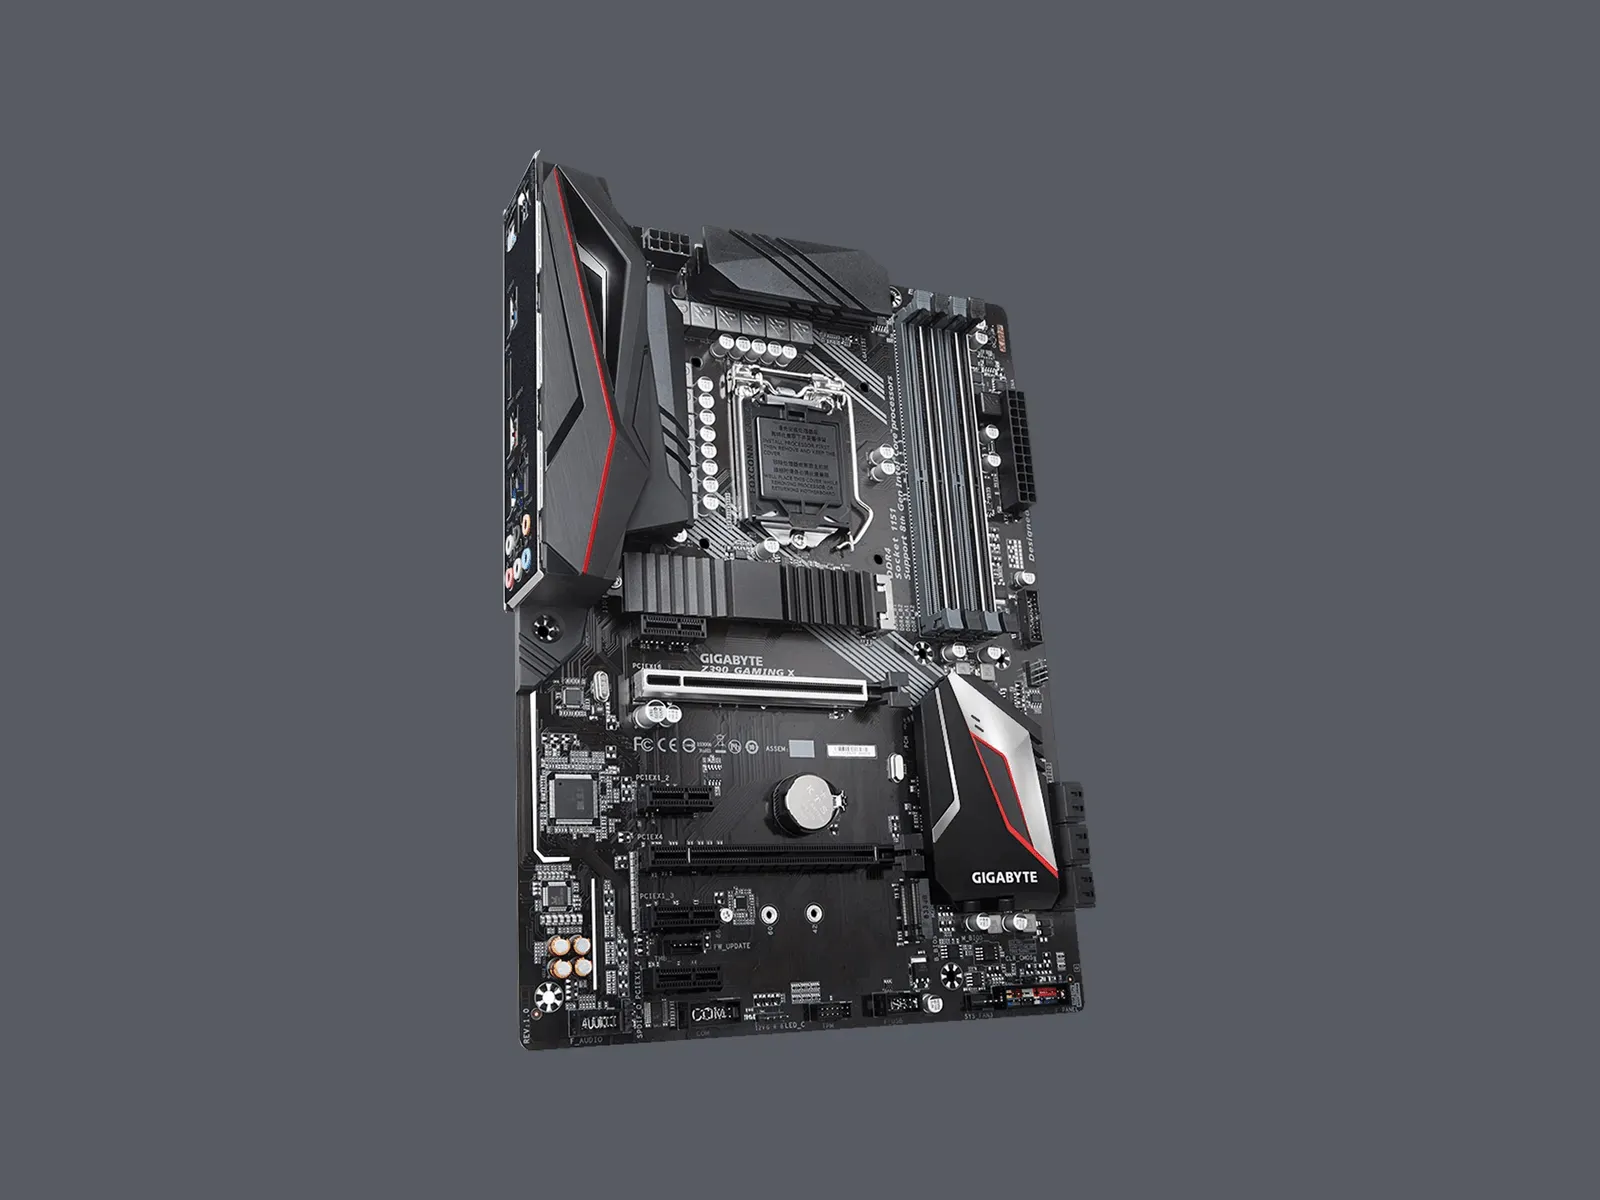
The motherboard (or motherboard) represents the backbone of your computer. Each other component connects physically to this central plate, which manages the entire data traffic allowing the hardware to collaborate. They are produced in different formats and with various configurations, but the primary function does not change. Always remember to choose the CPU before buying the motherboard, so as to ensure full compatibility.
The motherboards differ first of all for the integrated “socket” type, that is the housing that hosts the processor. The two most popular formats in the world are Intel's LGA sockets and AMD's AM sockets. The following number to these abbreviations, such as LGA1700 or AM5, simply indicates the generation of supported technology. By choosing a modern standard you can have access to the latest lines intel Core Processors or the powerful series of processors AMD Ryzen.
In addition to the socket, it is essential to assess the overall size of the card. The most common standard format in the PC world isATX, and it is precisely the recommended size for those who assemble a computer for the first time. A large enough cabinet combined with a spacious board ensures excellent thermal air flow, greatly facilitating both the initial installation and subsequent cabling management (cable management). Always make sure that written tolerances in your case specifications support the size of the selected motherboard.
Processor (CPU)
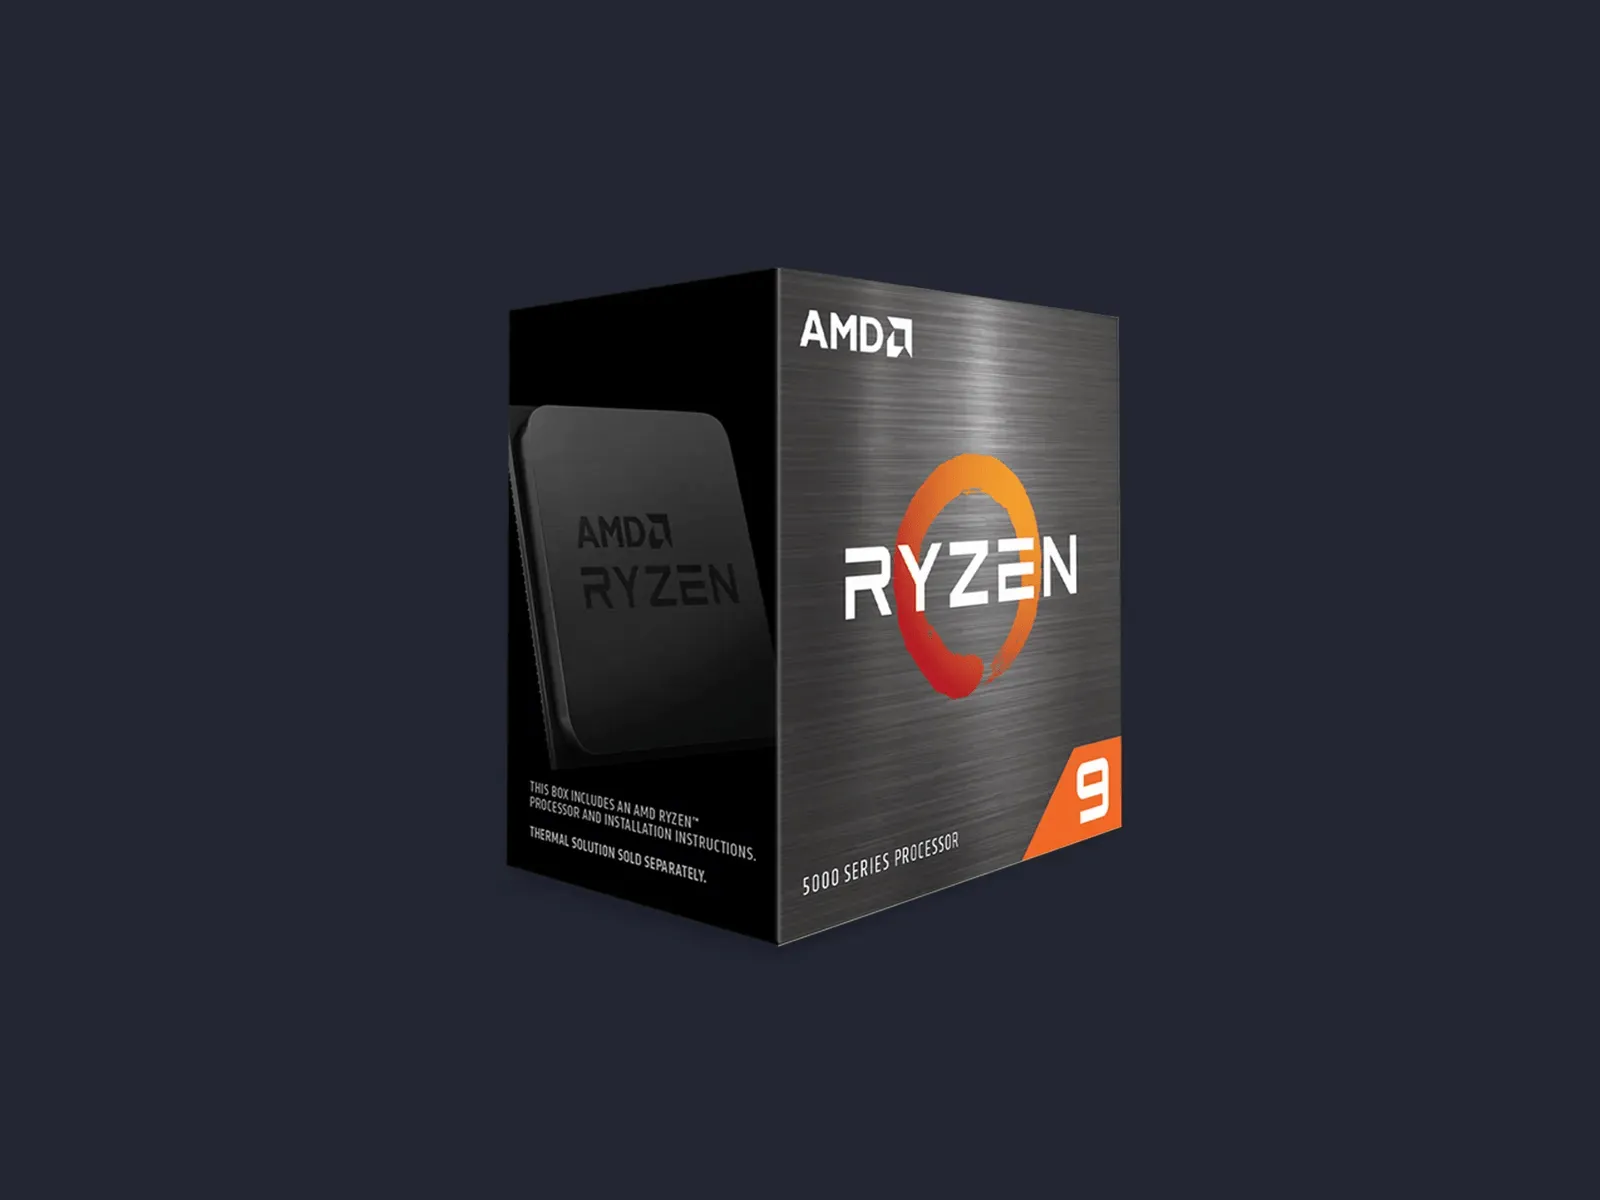
The CPU (Central Processing Unit) is the real operating brain of the system. By staying directly in the special slot on the motherboard, it represents the mathematical and logical heart of your PC. However, it should be remembered that a costly CPU does not automatically translate into the best framerate during videolude sessions, where other components are subdued. In any case, without the rapid management controls able to coordinate the system, no other part could start.
Graphics card (GPU)

If you want to explore latest-generation video games, buying a GPU (Graphics Processing Unit) dedicated is a forced passage. It is a co-processor specialized in complex processing of three-dimensional textures and video calculations. That you rely on the architectures NVIDIA GeForce or Radeon solutions, this piece will also be indispensable for advanced photo editing and video editing programs. While the CPU shines in sequential instructions, its architectures do not allow it to push high resolution graphic polygons to the same GPU efficiency.
The strong point of the video card lies in its parallel calculation. The GPU is structured to divide and perform at the same time millions of small operations: it manages dynamic lights, shapes the foliage, renders reflections in the water and gives consistency to the shadows. By real-time unifying all of this disordered information, it offers the user an interactive, deep and consistent gaming environment without the slightest visual delay.
Archives
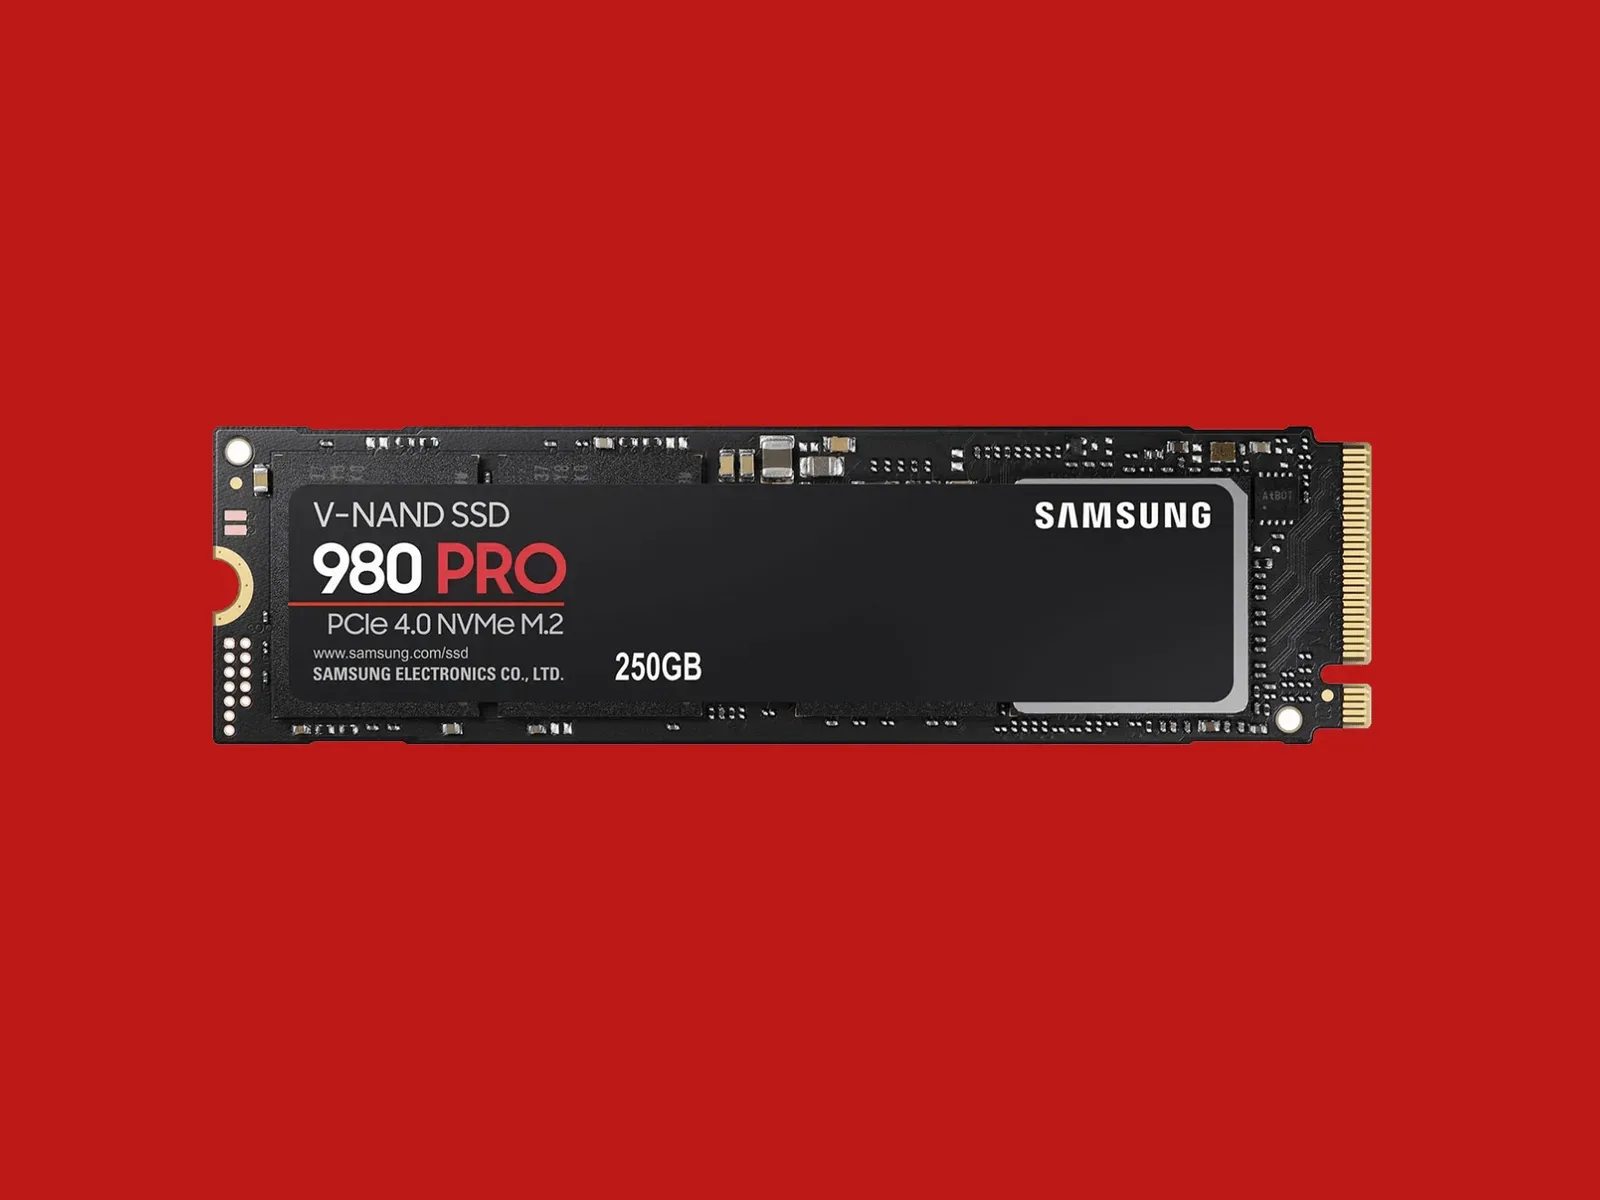
The unity of storage (Storage) represents the closet of your digital data. It is within this permanent memory that you will install the entire software ecosystem, from the operating system to your multimedia archives. Currently, the market offers very fast solid-state disks (SSD) that allow machine alerts almost instantaneous. One of the most pleasant features of PC architecture is the possibility to comfortably add additional disks whenever you saturated the interior space.
Memory (RAM)
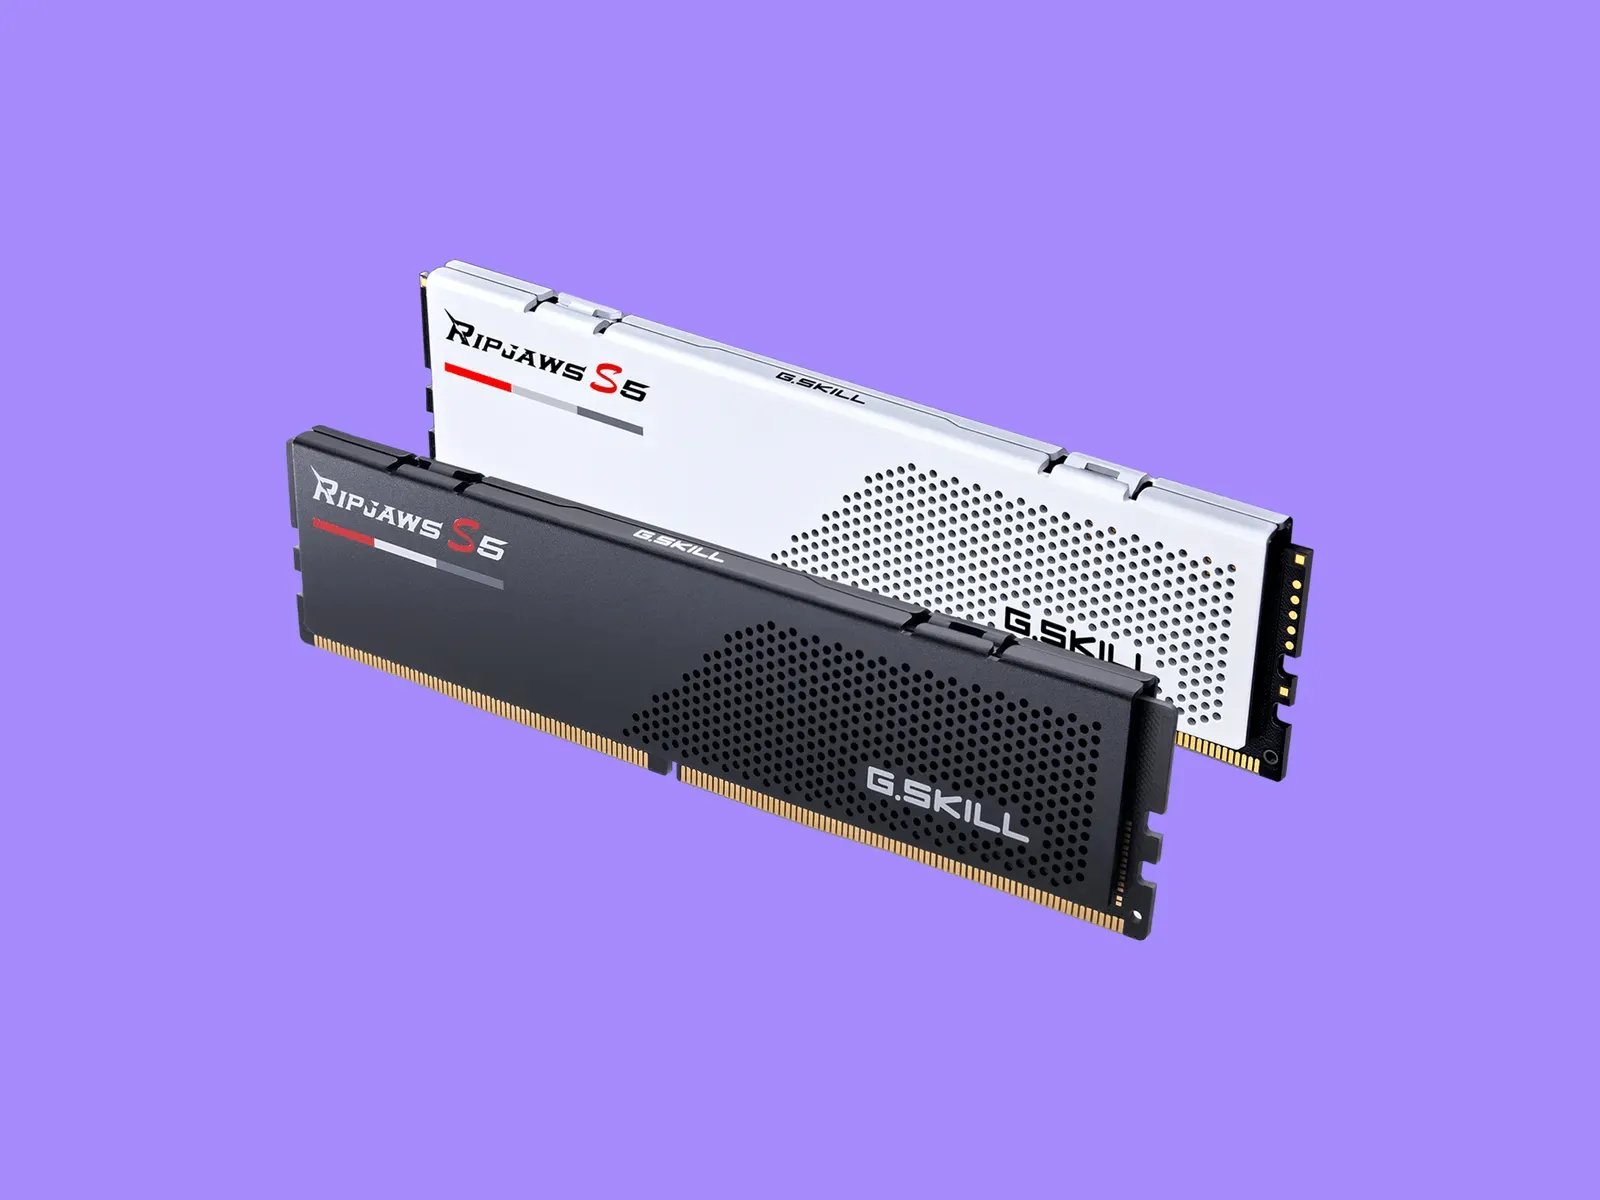
Although mass storage and main memory are described by similar words, their functions differ dramatically. The rAM memory (Random Access Memory) acts as a work desk for the processor. It is a temporary and incredibly fast reservation: as soon as you start an application, the necessary files are moved from SSD to RAM so that the CPU can access you without the normal mechanical waiting times, ensuring total responsiveness to your location.
Power supply (PSU)
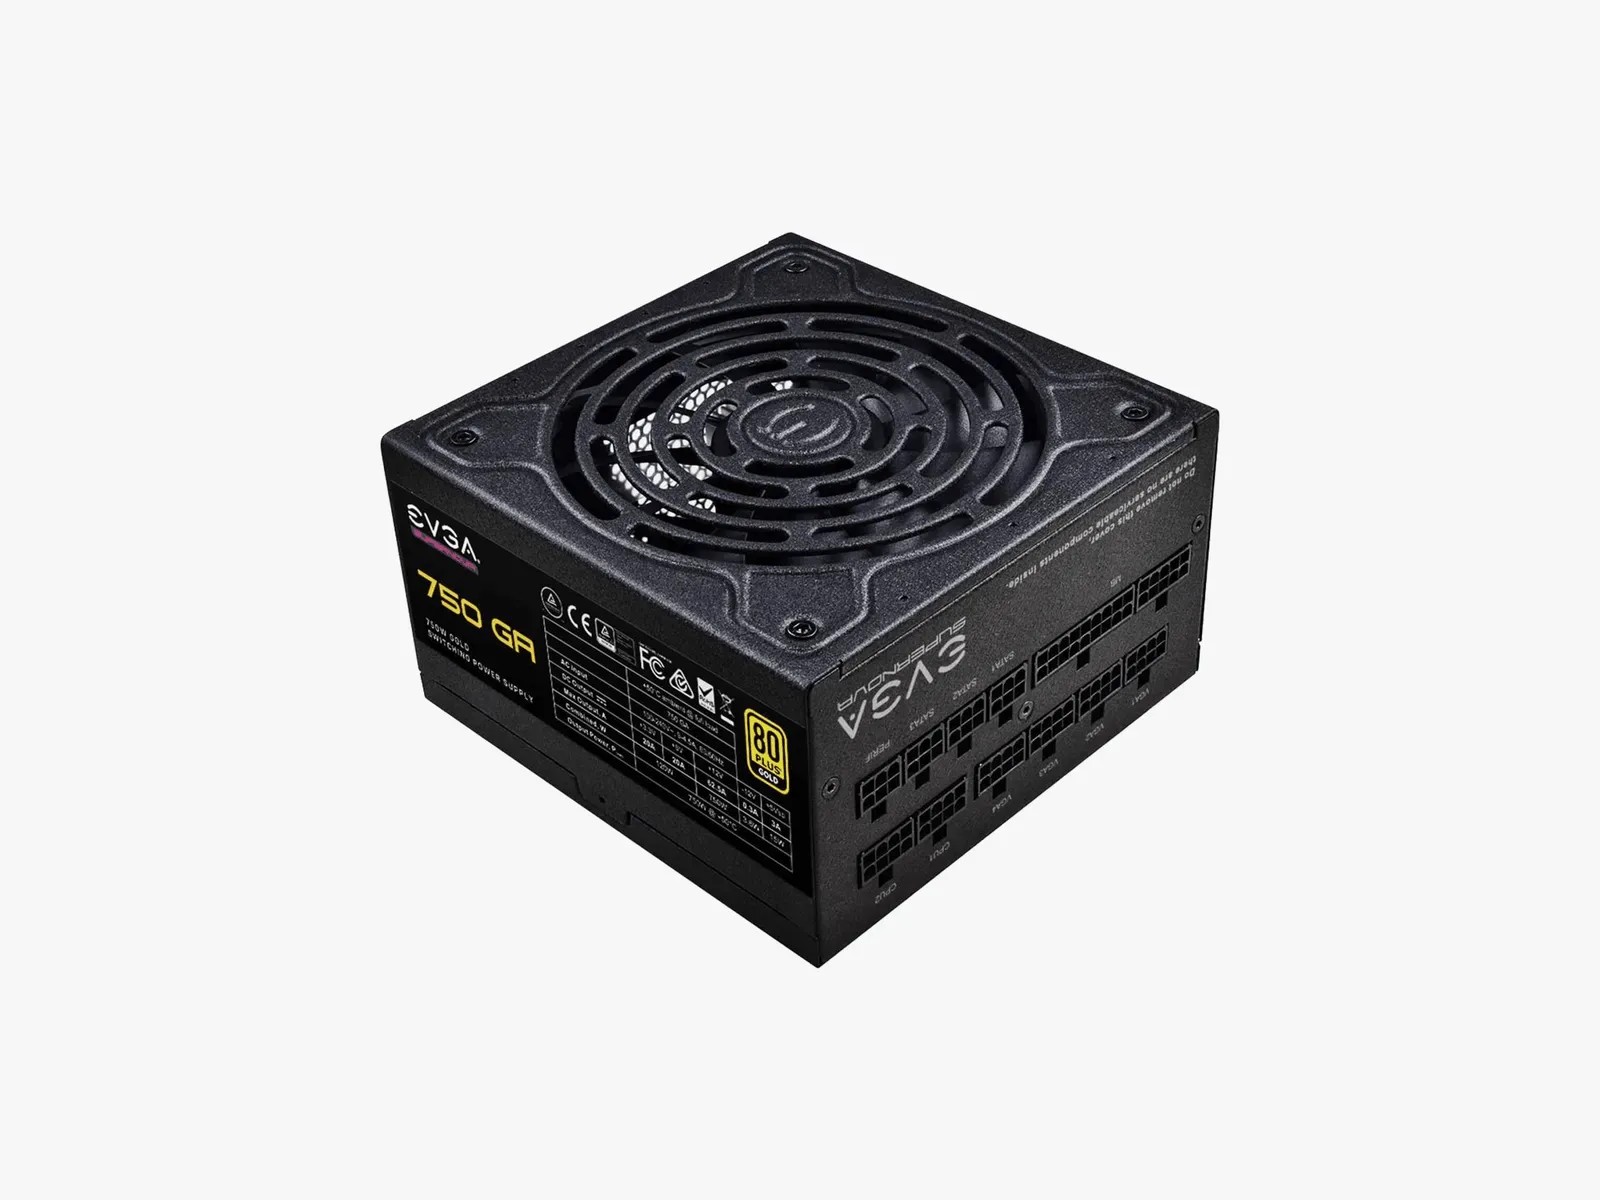
THEpower Supply Unit (PSU) is the unit responsible for safely converting network energy by providing the right power to all delicate internal circuits. The quantity in Watt expressed on the package will determine the expandability and peak power bearable by your components. It is always prudent to opt for reliable power supplies, oversized by about 20% compared to actual estimated hardware consumption and that they have strict energy security certifications.
Houses
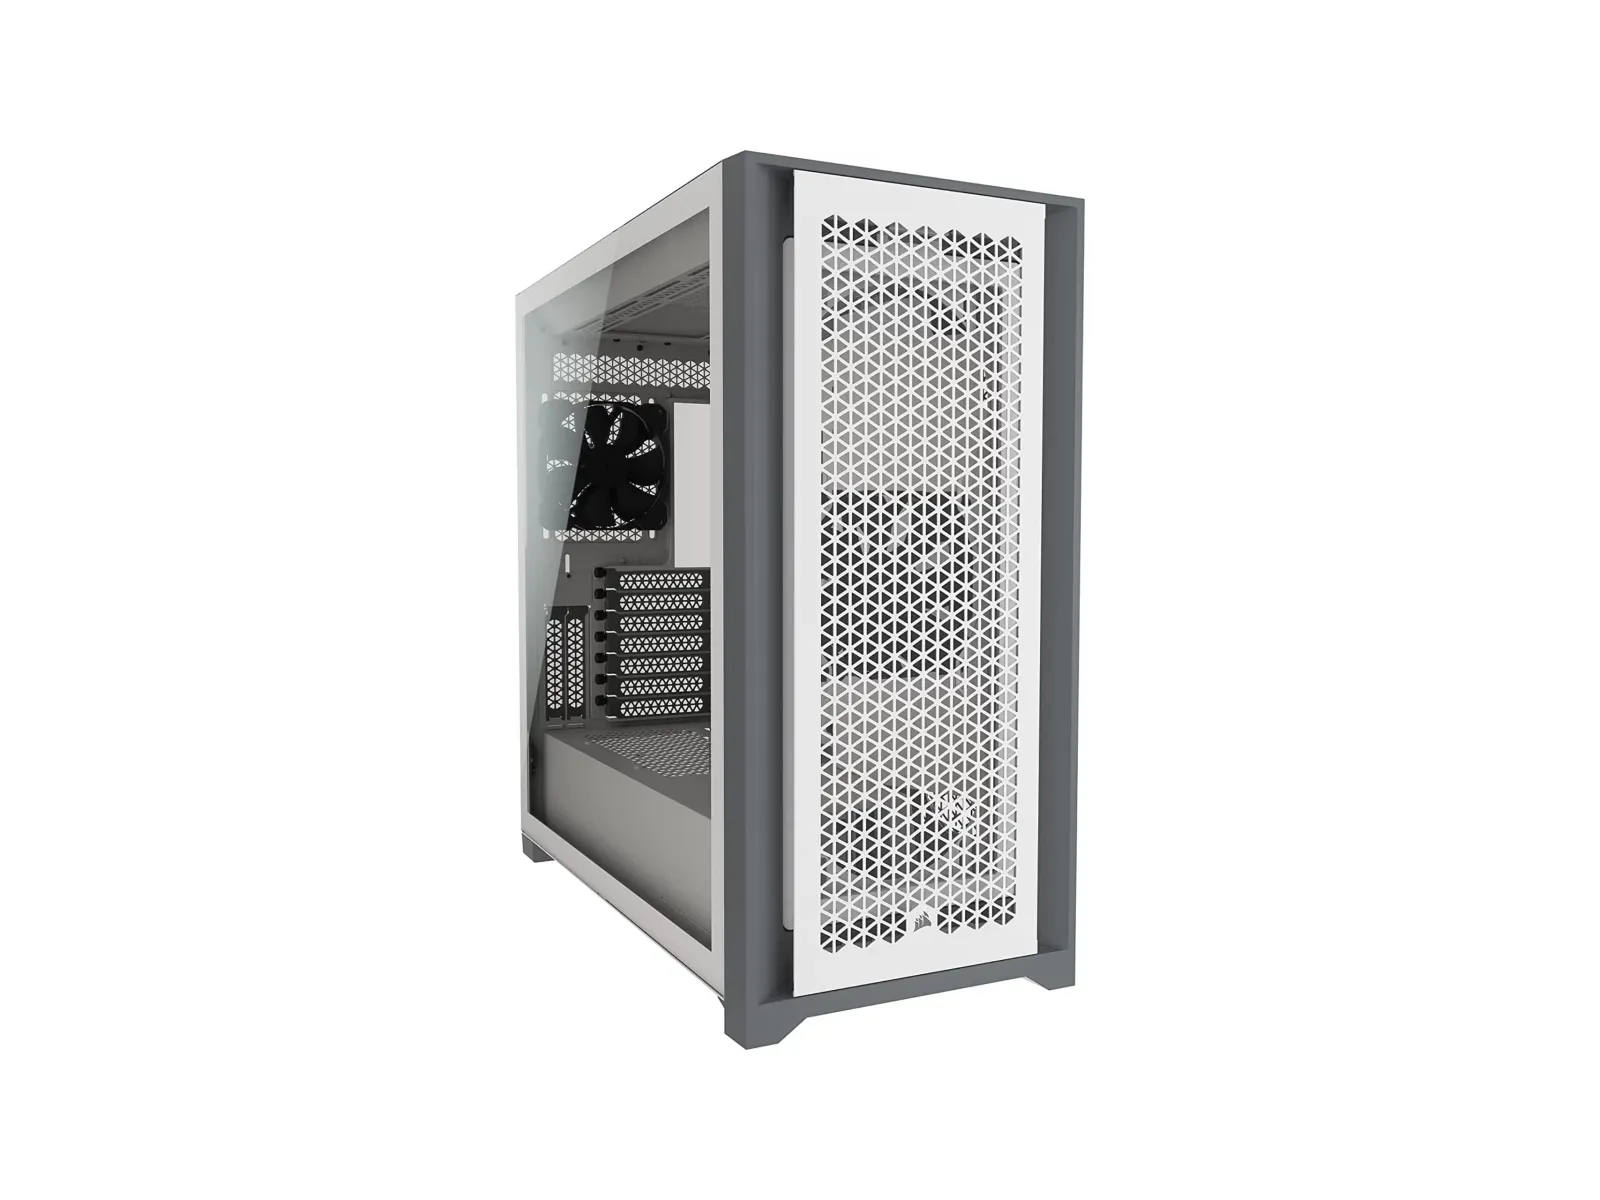
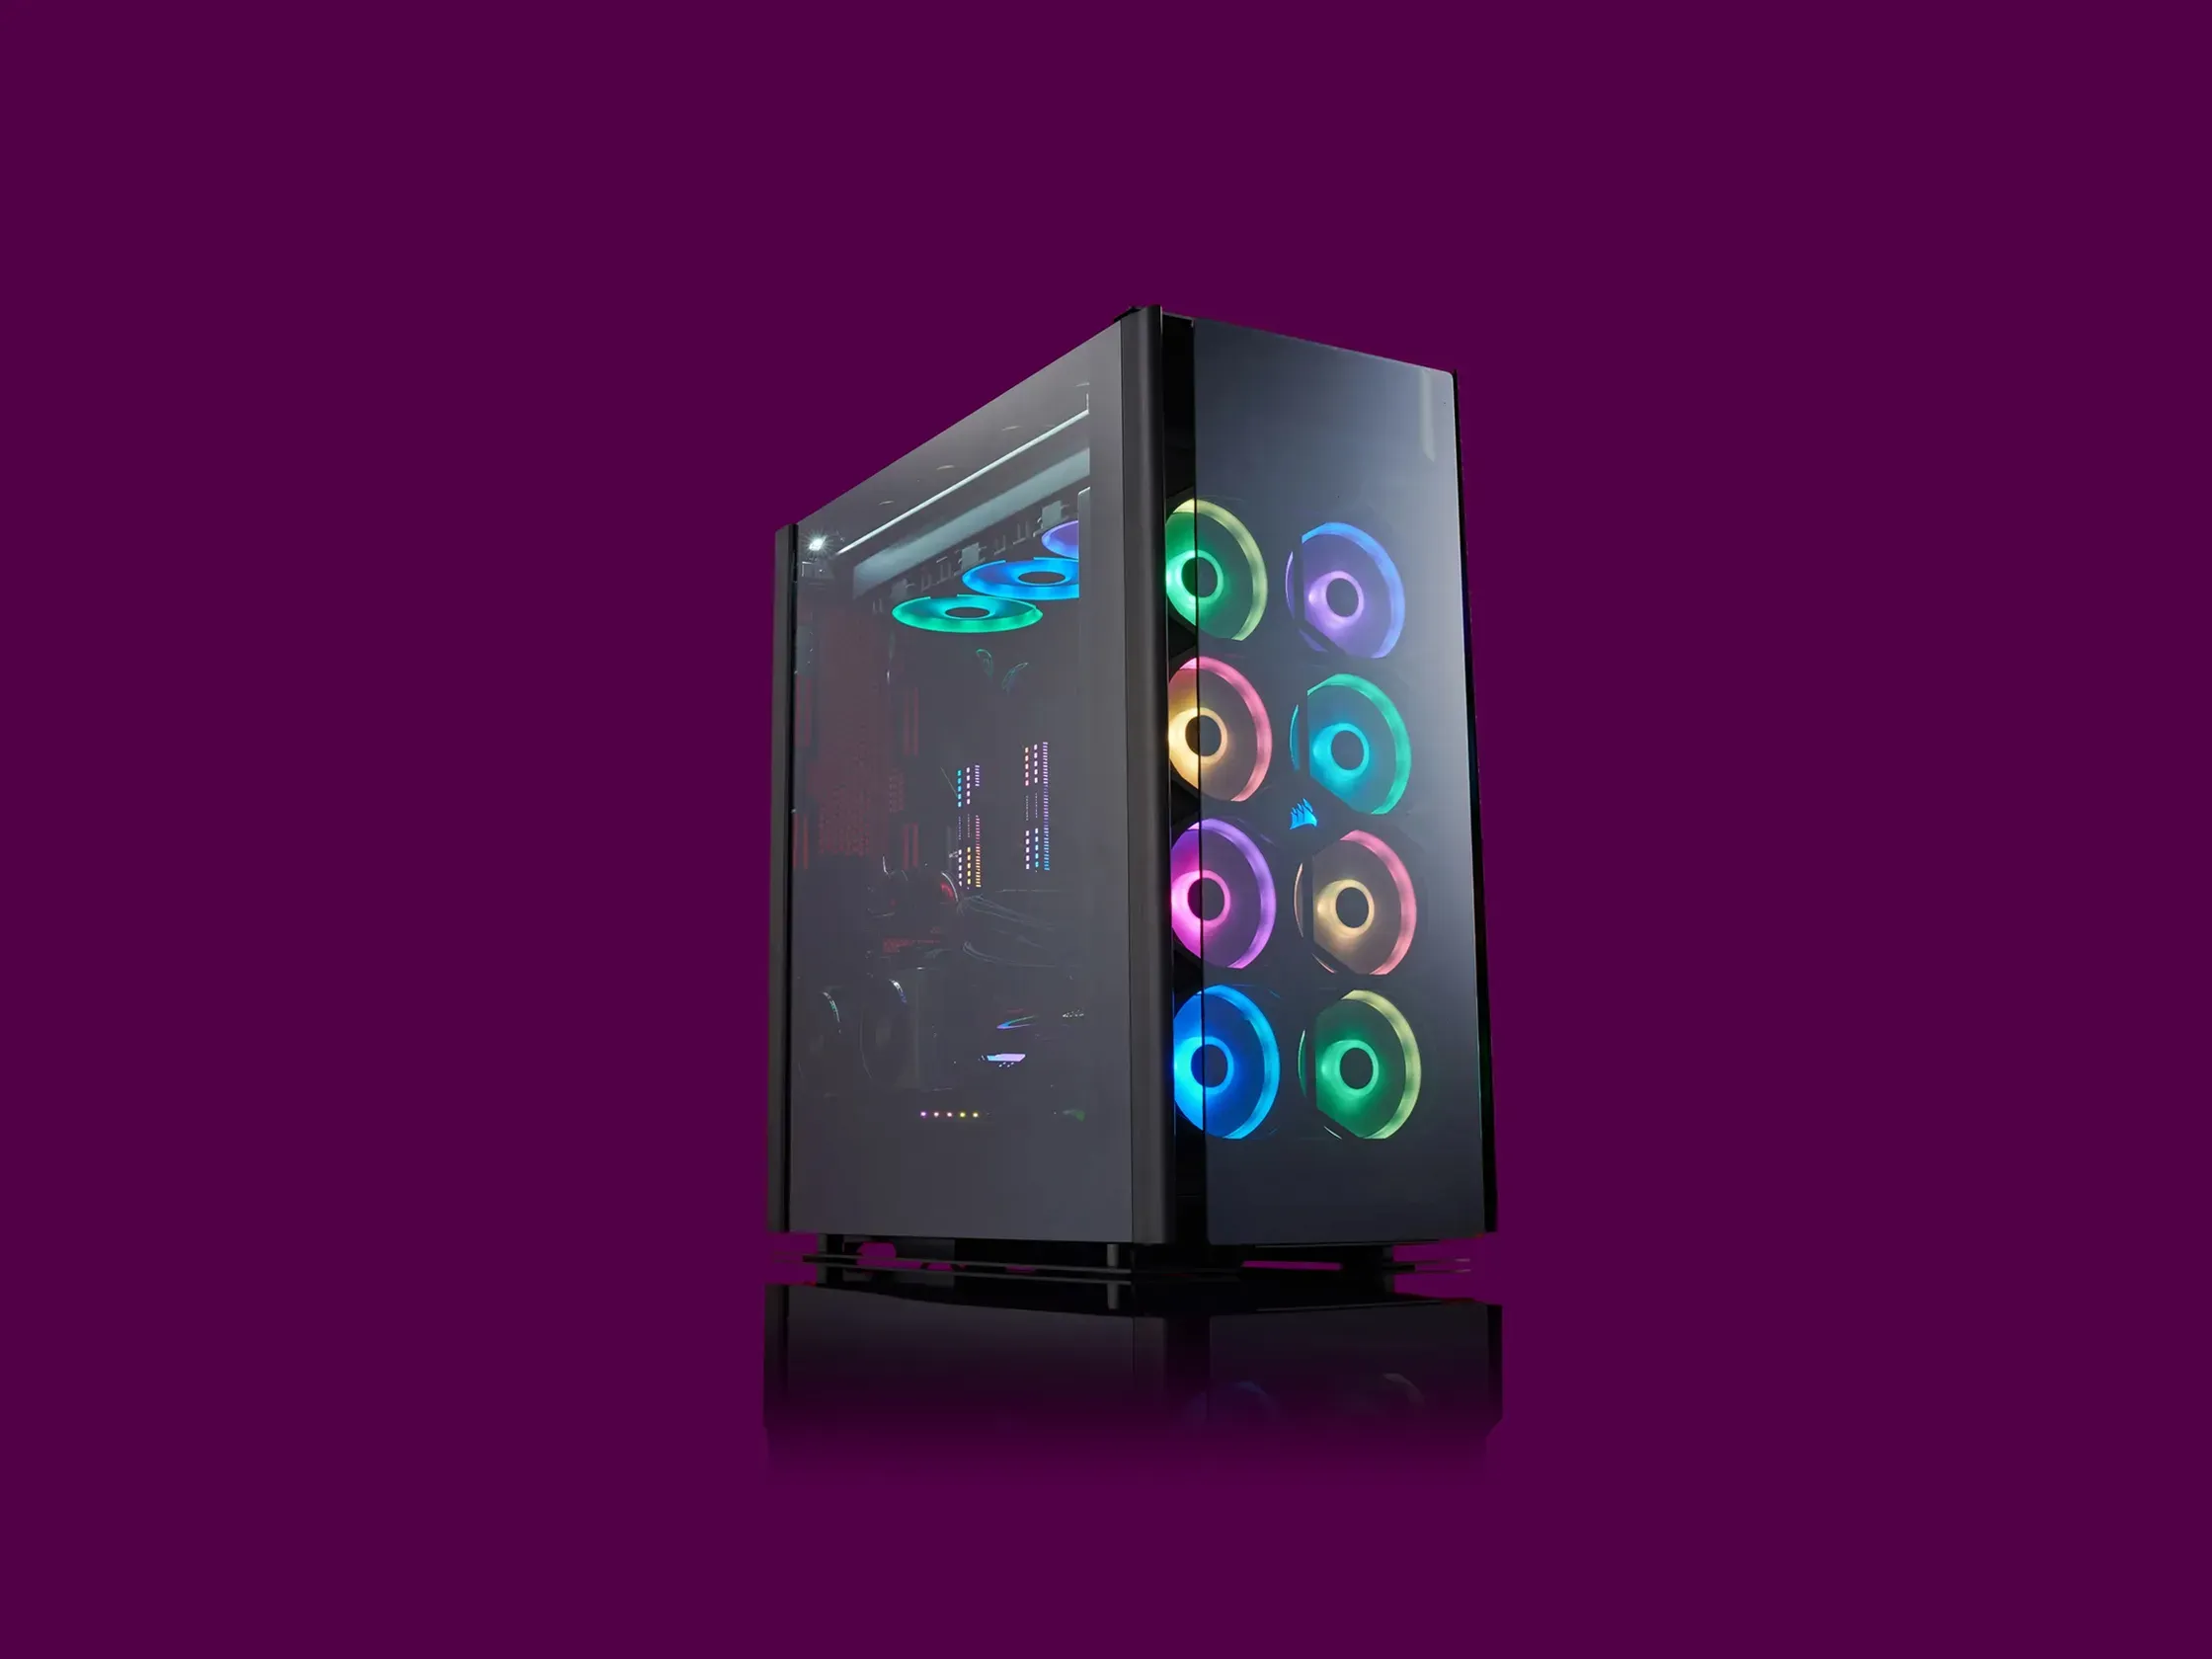
The houses (or chassis) is the skeleton in which the entire ecosystem will come to life. Although the market is full of variations with beautiful tempered glass and satin aluminium wallpaper to squeeze the eye on aesthetics, its practical and functional nature is to decorate the dust, protect the hardware and channel the cooling air flows. Carefully choose the format: a standard ATX motherboard will charge a Mid-Tower or Full-Tower cabinet to accommodate it.
Operating system
When you decide to assemble a custom computer, the software is not loaded by magic independently. It will be your care to regularly get the software license key and prepare a USB flash support containing the installation file. We remind you that the official procedure for downloading and configuring the platform is illustrated in detail and free of charge on microsoft Windows official website.
Component assembly
The internal architecture varies according to the chosen components, but the logical sequence of hardware mounting has been similar for years. The lighthouse that will have to drive your every maneuver will consist of the instruction book included in the individual boxes, combined with the incredible amount of visual material that the web can offer. Assist physically through a video tutorial to insert the component on which you are doubtful will reveal the resolute move in multiple shanks of constructive stall. Let us join together in the basic guidelines.
The first step in absolute is the logistic preparation of a clear, well-lit and clean station, such as a large living table. A comfortable magnetized star screwdriver (Phillips) will reveal your greatest ally on this route. If you do not use wristbands for grounding, it pays great attention to touch a metallic object before extracting the cards, thus downloading the absorbed electrostatic energy. A comfortable trick is to provisionally support the motherboard directly over the soft rise of its original cardboard box.
Brush the components carefully and keep the paper files always visible. The first block from popular outside the frame will undoubtedly be the motherboard. Looking at the immense arrays of circuits and connectors will be able to raise alarms to the unsuccessful works, but do not fear: imagine it as a precise system of construction. Computer engineering is designed on asymmetric pins to prevent erroneous triggers with force. The initial test bench will provide the positioning of the processor.
CPU installation
Regardless of whether you have in your Intel or AMD hardware cart, you will invariably come across microscopic golden pins on the CPU itself or embedded within the socket plate. You never have to touch contacts. Humidity and skin fat are sworn enemies of conductivity and, above all, bending imperceptibly only one of the lower microscopic pins will forever corrupt the constructive tolerances of the chip, eliminating its functionality.
Staying the chip is paradoxically a soave operation. Open the instructions for installing your motherboard CPU to familiarize yourself with the socket. The structure will present a robust metal mechanism flanked by a small and durable steel side lever. Grabing the lever and raising it upwards you will physically unlock the cradle, allowing the CPU housing to accommodate the silicon body without force.
With the mechanism now unlocked, it looks for a very specific sign printed in gold on the metal shell of the processor (IHS), usually in the form of a tiny triangle, and geometrically align it to the analog symbol screened or laser engraved on the plastic of the motherboard close to the socket. You cautiously repeat the block inside it; this will not have to find obstacles and will annihilate clearly on the legs. To complete the lock again lowers and hooks under the lateral recess the previously released small metal lever. If you perceive suspicious shavings, remove the CPU immediately and control the orientation.
We enter the cooling ground. In order to allow an optimal thermal disposal will take place a vital bridge called thermal paste between CPU heat and dissipator block. Remove from the packaging the CPU heat dissipation system and carefully analyze the circular copper cooling base. Many entry-level models offer a gray grid of pre-spalmata thermal paste directly from the factory. In that fringe you will be able to engage directly and without additives.
If your system requires a manual application, get the convenient syringe tube and slowly drop a silver metallic clutter in the center of the CPU metal body located in the socket. Don't spread it! Put a quantity equal to the size of a seed and do not get caught by the frenzy of abundance.
Perpendicularly supports the radiant shell of the heatsink by sliding the metal screws on the circular holes of the socket used for structural fixing. The weight combined with the pressure will equidly and symmetrically disperse the drop of interposed thermal conductor without generating air bubbles. The absolute precision requires that in case you have to mislead the excesses erroneously cast to the edges due to a misleading dosage, you will have to moisten cloths in microfiber filled with isopropyl alcohol at 99% to polish any residue. After drying the shells, cleanly repeat the laying operation.
Fixed the thermal ring by carefully screwing in a cross pattern, conclude by inserting the small hollow braid equipped with 4-Pin socket, physically connected to the fan motor, in the socket bearing the label “CPU FAN” welded directly on the adjacent part of the motherboard, essential for the active and automatic management of the cooling rotor turns. Great work, the most ansiogenic part of the setup is finished safely!
Installation of Architecture and Memory
Popular of memory the car will be your computer walk. Turn the look sideways compared to the socket block and cross thin plasticized vertical wounds parallel called DIMM benches. Trains the extendable plastic hinges placed on the two upper and lower garments, observes the asymmetrical carvings placed on the contact side of the module RAM and insert it centrally by progressively crushing towards the bottom through the use of both thumbs up to the obtainment of a robust “click” and the closed position of the automatic terminal levers. For a correct double channel activation, interpose the free space of an empty slot according to the mapping indicated scrupulously by the paper booklet.
The methodology used for placing data units changes with the long-term technology chosen. High speed format for devices NVMe SSD (M.2), compact in the same way as a small gommosa bar, it must be channeled to sled and with a reduced angle, about 30 degrees, inside the specific micro-accommodation parallel and placed flatly at the motherboard and then conclude with the screwing up to the separation column. Classic SATA architectures, bulky squared aluminium tiles, require a standard positioning firmly inserted in the front baskets included by default in your case by special sliding handles.
Installation of the Motherboard and the Helper
After the logistic creation on the outside, attached to the introduction of the bridge, now equipped with CPU and memories, in the primary metal stomach of your case. Remember to place the shaped metal frame supplied with a fitting for the Input/Output sockets, housing it and pressing in the corners of the rectangular mirror. Millimeterly aligns the rammed holes that surround the motherboard, making them fold axially against the pre-assembled octagonal feet on the chassis of the cabinet; then gently assures all the steps by screwing them to measure.
Translated to the energy block. Generally the most appropriate place to anchor the large boxpower supply (PSU) is positioned at the bottom of the shell, inside special darkened hairs perforated and protected to favor a separate aerodynamic mandate thermally from the hot zones. Localized the cavity, aligned with the back stripped back window that exposes the generic connector back to the house, to complete in parallel screwing the four structural bolts included. At this stage, it avoids immediately interconnecting the massive and complex grovigli modular rows passing; simply leave them pinned or directional along the asphalti asolati obscured to the right of the chassis waiting for the subsequent organized operations of line wiring.
Installation of the Graphic Card
The considerable size of the present GPU top of range and not only – even modest models present a voluminous body shop in comparison to the reduced kit for the basic connections – imposes bulky maneuvers that strongly limit any possible graft operation in a narrow circle and strongly recommends an oculated programming and step.
Visually scan the horizontal plane at the middle altitude of the motherboard, below the main socket, to stab the dedicated primary PCIe bar (often armored or coated with protective metal foil). It is in this long structural recess provided by a snap bridge at the right end which will strongly converge the comb of lower graphic contacts. Identifies for parallelism the removable back wall according to the encumbrances of the sink board and take care to extract and throw the old tightened protective sheets. It falls, without pushing on the side but at the bottom united and parallel with force in fall the unit in the deep of the guide until the noisy activation of the adjacent plastic reassuring lateral swipe that sanctions the bite. Evaluate with extreme caution the faulty blockages by retrieving the alignments in case of instability.
Grab without delay the bolt recovered during the preliminary extraction of the plugs and, by screwing through the same sunshades now positioned by the encumbrance of the metal plate of the display outputs (HDMI/DisplayPort), tightening rigidly ad hoc to the perforated frame lists you will avoid ungraded bendings (GPU sag) saving the horizontal connectors from the massive weight of gravity itself.
For the ignition of energetic hardware bestions such as these will not suffice the basal levy provided routinely by the input to the board, making perentori in addition the PCIe auxiliary cables marked and composed ordinaryly in the head by formats of 6+2 or connected in native lines 12VHPWR. Extrapolals with consistency directly from the branched beam of the power block underlying PSU power supply by connecting them to the rectangle interfaces classically placed on the outer edge of the upper back of the video card unit throughout the extension of the male snode, in order not to incur in the common damage to the circuit attributable to arches for spinotti in false structural contact.
Cable connection
Every active peripheral unit in the house will demand its lymph for communication and sustenance; therefore the turn of the branches to the heart of the system has arrived. Modular supplied power models will allow you to graft only the primary matasses by uninstalling the soft ones, aesthetically and ergonomically freeing the influx of cooling. Press the presentations between PSU and SSD expansion disks by means of the thin branched line of L-cake comb connection SATA power cord, insert on the motherboard the largest ATX tape of conversion of mother data in possession of 24 total pins of hooking and the massive beam intended to cover the energy fatigues at the very high altitude to 8 pin specific of the directional socket placed in the extreme north-west for dynamics and CPU.
Zelo stainless steel cabinets at the prepositioned phase to interface the terminal wiring directly from the front panel of interaction, commonly referred to by the manufacturers Front Panel Header. These independent micro-terminals allow the functions of the boot button and physical reset, not disdaining the adjustment to the audio aux jack port for the stereo output along with the connectivity data to the USB protocols of the headboards embedded to the body and activation illuminations of diagnostic nails. The splitting of dozens of poles with non-binding inserts and in inflated dimensions will in no way be possible regardless of the graphic schematic consultation on indicated polarity of the circuits described in paper and in silkscreens. We carry as routine the anchoring of the remaining fan plates (SYS FAN) along with the SATA L transmission in decreased by the components traditional disks pregress to the card transmission controller.
Plant and embellishment architectures vary broad spectrum by interconnecting between the use or not of decoupling nodes, switches and RGB light management controllers and attached derivations. Indirized towards an orderly cleaning and a maniacal tightening in rigid bundles of the back pannellatura not visible. The wired organization will give you excellence to the maintenanceal accessibility posthumously exhibing an extreme aesthetic care for clear glass from which to fully admire the profiles and optimization of the aerodynamics.
Windows ignition and installation
Draw the sums for the last narrows of screws and apply the standard video auxiliaries, the mouse along with the drafting of the external keyboard proceeds for the final step and so much scope of the entire actions accomplished. Arms the general switch behind the aluminum of the lock strikes PSU towards the rod sign (global ON symbol) in order to be able to percuate from outside with trepidation the Power Switch with front pulse. If the turbines are grafted harmoniously and the monitor will gratify you with the primordial welcome visual display of the motherboard setup, you will enjoy the absolute victory from a PC designer who is perfectly accomplished! In unfavorable fringes with a lack of or late sign of recovery of the vital apparatus the causes for not starting to the primordial esteem tend to include frequently aseptic connectors or not completely stocked or a frantic interpretation of the tiny pins of the front buttons to be excluded through trivial attentive and systematic connections.
Upon completion of the POST test the insertion of the intelligence infrastructure and Windows interface will be lightning and simplified. Interpose the pendrive strictly processed in autoinstallant antecedence (your microsoft installation USB stick) abruptly restarting current operations. With excellent timing, the motherboard engineering will intercept the automatic priority key to the forced USB insertion and will accompany the user through clean and reassuring graphics paths and layouts to the final setup of Windows. If not, it will be enough to lead to initial access to the boot kernel “BIOS/UEFI” (by means of a sudden pressure on the classic keys such as the “F2” or “Canc” listed at the protocols) and forcefully indicate the Boot Priority (Boot Priority / Boot Menu) priority on the previously generated flash removable destination to start the process.
Frequently Asked Questions (FAQ) on PC assembly
Is it more convenient to assemble a PC from scratch or buy a pre-assembled PC?
In most cases, assembling a PC piece per piece guarantees a much higher quality/price ratio. Not only can you choose the hardware individually, ensuring the total absence of poor components (often hidden in cheap pre-assembles), but you will save greatly by not having to pay for corporate embroidery or additional labor for assembly in the store.
What tools are essential to mount a PC at home?
For the basic assembly stage, you will need a cross screwdriver (average size Phillips model), preferably with the magnetized tip to avoid losing the tiny screws of the motherboard inside the chassis. Some plastic or velcro straps will be extremely useful to reorder the cables in an aesthetic way, as well as a large, stable and well-lit worktop. Advanced tools such as the antistatic bracelet are recommended but not mandatory, as long as you regularly touch an unpainted metal part of the case to download the electrostatic electricity.
What to do if the newly assembled computer does not give signs of life?
If the PC doesn’t turn on at the first attempt, don’t be discouraged, it’s a very common possibility. Start with the basic checks: make sure that the switch on the back of the power supply is placed on “I” (Acceso) and that the current erosion wall socket. If the problem persists, check the internal connections on the motherboard, with particular attention to the tiny cables of the front panel (such as the “Power SW” cable responsible for the power button) and check that the 24 pin main power cord has been inserted until the plastic block is triggered.


