
You want to play Minecraft in multiplayer with your friends but you don't have the budget to rent a Virtual Private Server (VPS) or a dedicated server? No problem. In this guide we will explain step by step how to create a Minecraft server on Windows 11 for free, exploiting the private virtual network created through Hamachi.
Essential Requirements to Create a Minecraft Server with Hamachi
- Software LogMein Hamachi, available for direct download on official website of the manufacturer.
- The executable file Minecraft Server, downloadable in its latest version through minecraft official website.
- The latest version of Java compatible with Windows 11, free of charge on java official portal.
- A legitimate and regularly purchased copy of Minecraft: Java Edition.
- A stable internet connection (preferably via Ethernet cable) to ensure a smooth gaming experience. We do not recommend downloading heavy files during hosting.
- At least 5 Mbps bandwidth available, both uploading and downloading, to reduce latency in the game.
LogMeIn Hamachi Installation Guide on Windows 11
The first step is to install the VPN client on your PC with Windows 11. Visit the LogMeIn website and download the software by clicking on the “Download” central button.

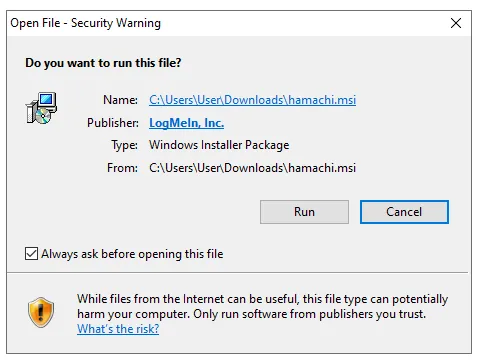
The browser will start downloading the installation package of Hamachi (.msi file), as shown in the following image:

Launch the file you just downloaded. When controlling the Windows 11 user account will ask you for security confirmation, click on “Run” or “Run” to launch the setup.
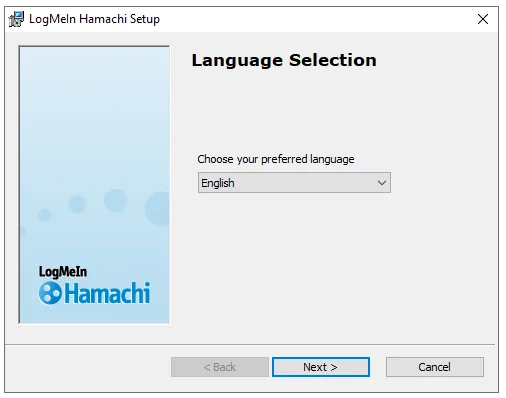
In the initial menu of the installer, select the Italian language (or the one you prefer) from the drop-down menu and press “Next” (Avanti) to continue.
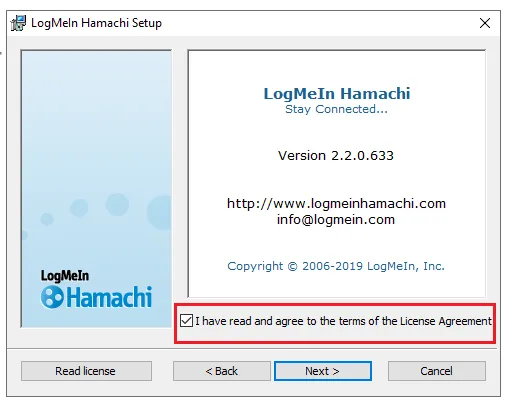
Read and agree to the Terms of Service by clicking the appropriate box, then click “Next”.
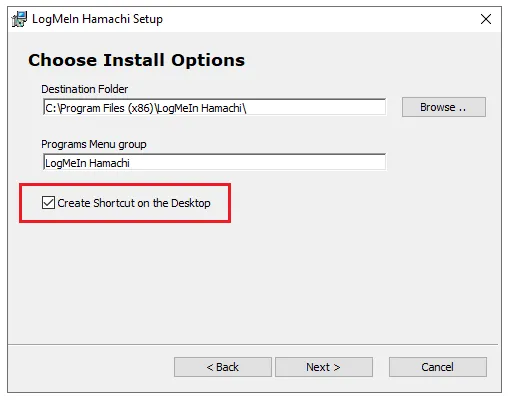
On the next screen, we recommend that you check the option to create a link on your Desktop, so you can start Hamachi quickly. Then press “Next”.
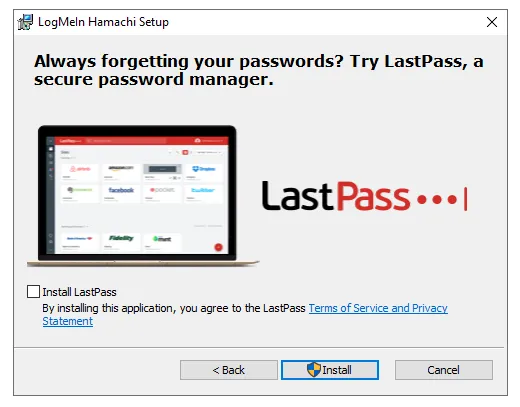
The program could offer you the installation of third-party software as password managers. You can ignore this offer by unchecking the box and clicking on “Next”.
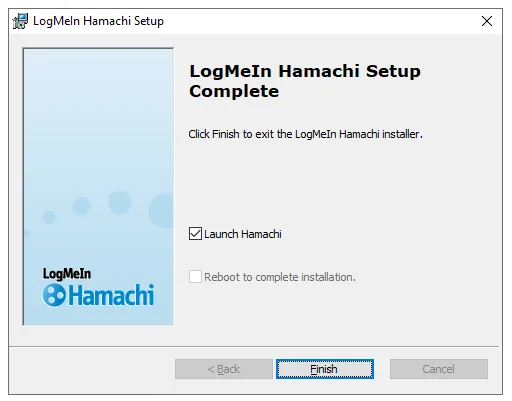
Wait for the end of the installation process and click on “Finish” (Finito) to close the window.
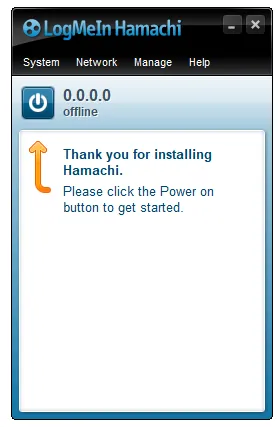
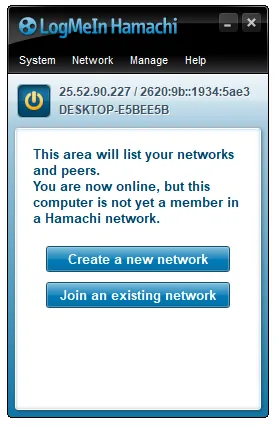
At the first automatic start of Hamachi, press the large power button on the top left to start the virtual network service.
To use the program you need a free account. Click on the “Sign up” link to proceed with registration to the LogMeIn network.
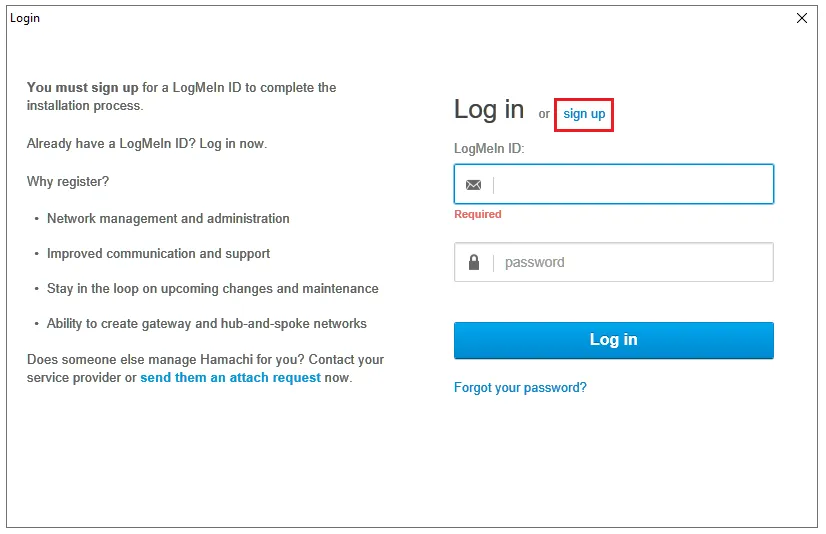
Fill in the form by entering your valid email address and a secure password, then click on “Create Account” (Create Account).
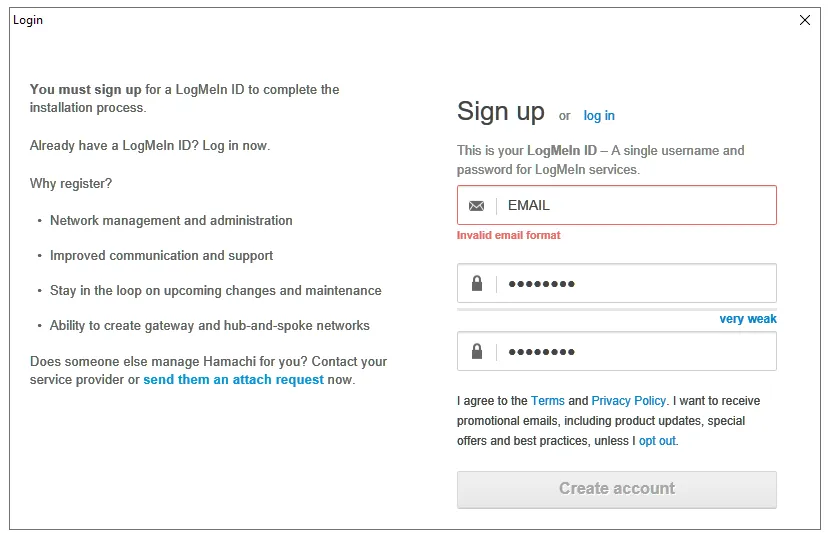
Check your email checkbox for the verification message, click the confirmation link and access the main Hamachi interface using your new credentials.
Once you log in, you will find yourself in front of the operational dashboard, ready to create your private virtual network.
How to install and start the Minecraft Server
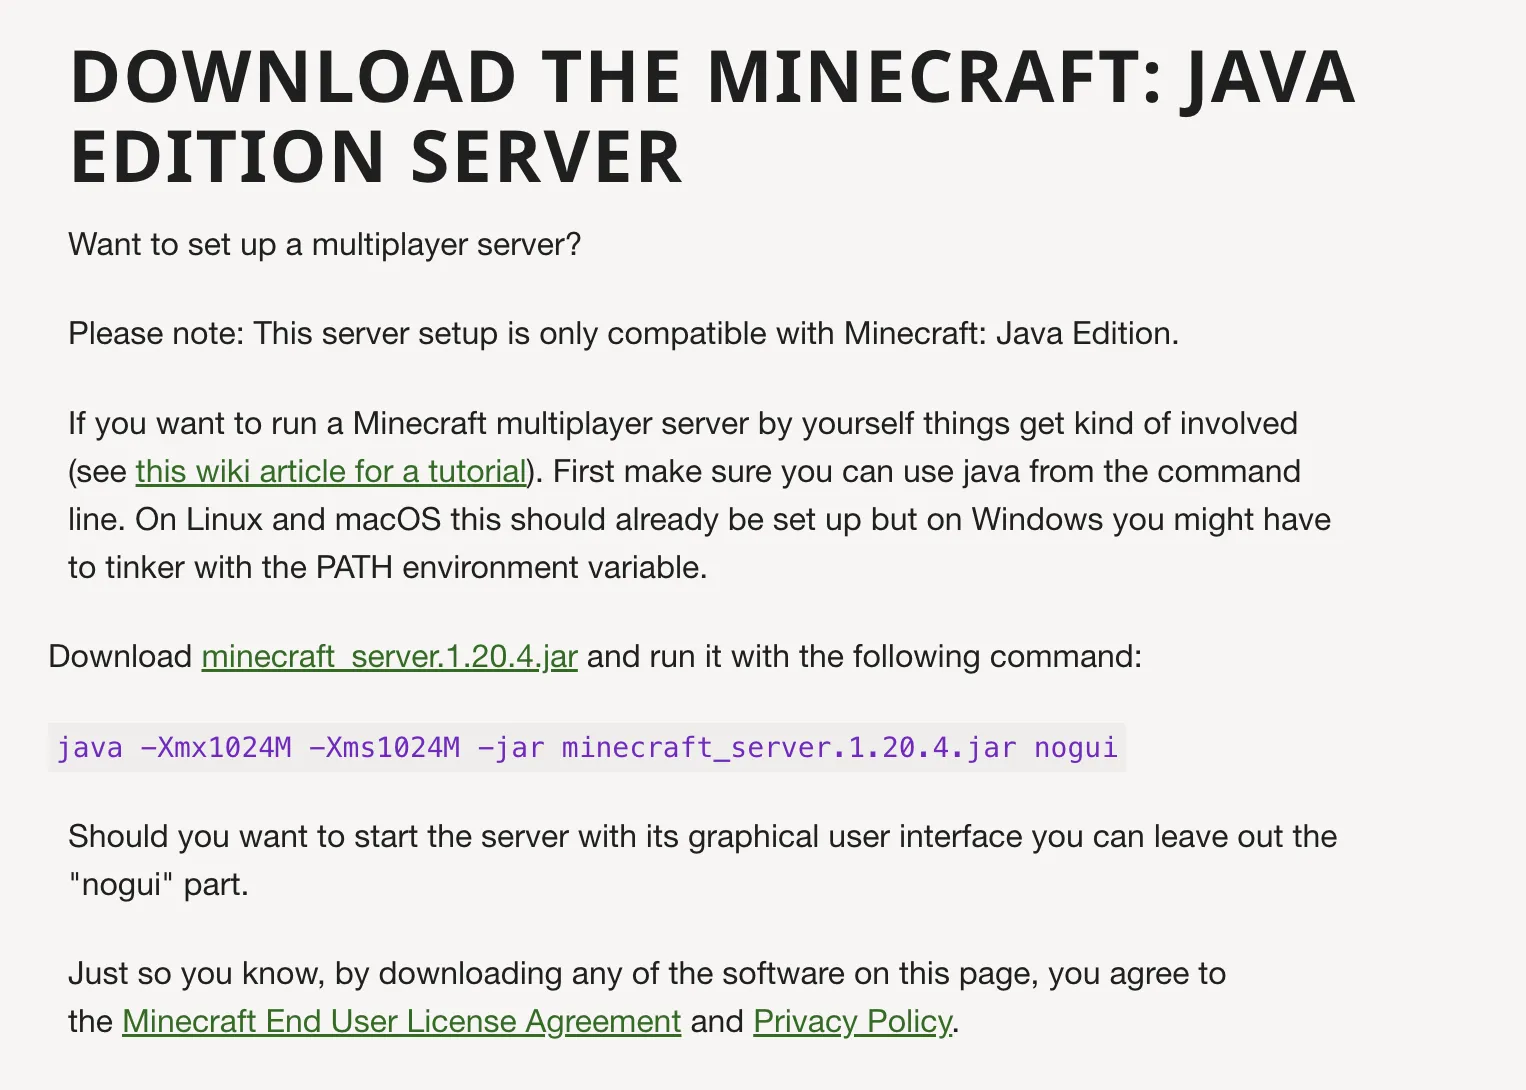
Now we go to the crucial part: download the game files. Connected to official download page of Mojang and click on the green link that shows the name of the latest version available to get the updated executable.
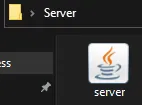
You will get an executable Java file on your computer, as shown below:

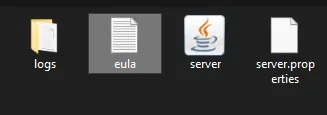
Create a new blank folder in a convenient location (e.g. on your Desktop, rename it “Server Minecraft”) and move the “server.jar” file inside.
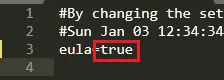
Double-click “server.jar” to start it (make sure you have Java installed correctly on Windows 11). The executable will automatically generate some basic files. Find the text document called eula.txt and open it with the Notepad.
To continue legally you have to accept terms of the EULA (End User License Agreement) by Minecraft. Edit the last line of the document, changing the value from eula=false a eula=true.
Save the changes made from the “File” menu and close the Note Block.
Run the file “server.jar”. This time, the program will extract the entire hierarchy of folders and game files, opening the official graphical interface of the server.
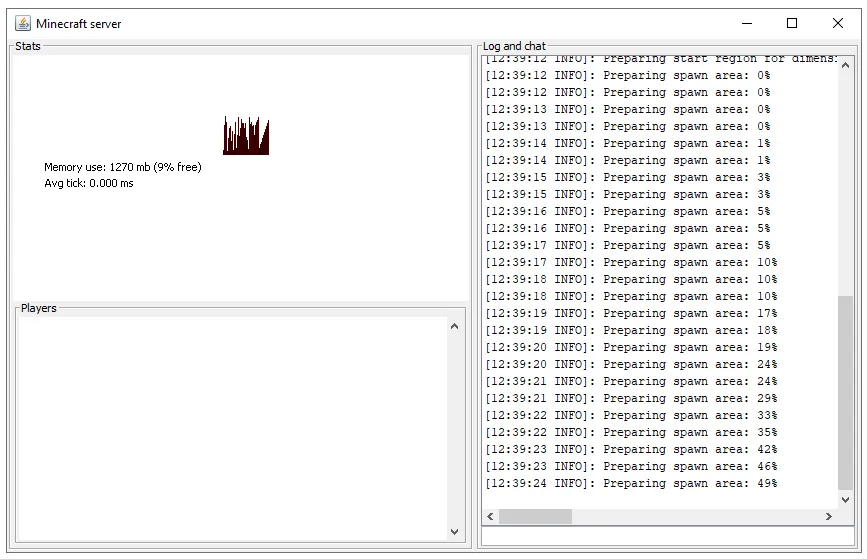
Wait for the world generation (Spawn Area). You will know that the process ended successfully when the “Done” script will appear in the console log panel, followed by loading times.

Advanced configuration of the Minecraft Server
To customize the game settings, close the server window and return to the main folder. Here you will find a new file called server. properties: Open it through the Note Block or a similar text editor.

The file server. properties is the heart of the configuration. For an optimal experience with Hamachi, we recommend changing these specific parameters:
- gamemode: set the game mode (e.g.
survival,creativeoradventure). - page 2: adjusts the overall difficulty of the server by choosing between
peaceful,easy,normalorhard. - pvp: type
trueif you want to allow the fight between players, orfalseto disable it and play in purely cooperative mode. - max-players: maximum limit of connected players. Attention: since Hamachi in its free version imposes a limit of 5 users per network, we recommend setting this value on
5to avoid disconnection. - level-name: defines the world folder name (default is “world”).
- motd: the “Message of the Day”, or the text that players will read on the list of servers (e.g. “Welcome to Marco’s server”).
After completing the desired changes, save the file and close the editor. Now you can reboot the executable “server.jar”.
Create and share the Hamachi network with your friends
Go back to the Hamachi interface to generate the network infrastructure your friends will use to connect. Click the central button to start the procedure.
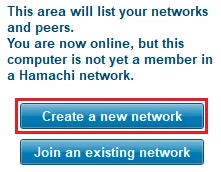
Alternatively, navigate the top menu by clicking on “Network” and select the item “Create a new network” (Create a new network).

In the dialog box that will open, enter a Network ID unique (the name of the room) and set a password sure. These are the credentials you will need to provide to your friends to allow them access.
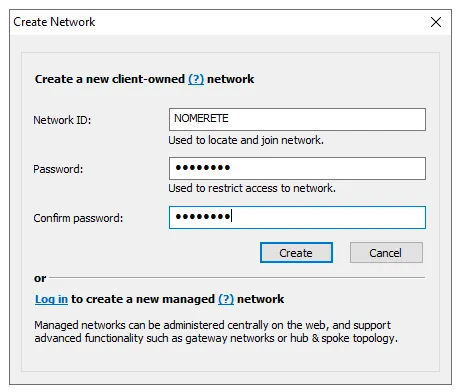
Press on “Create” (Create). Your new Virtual Private Network will be immediately active and visible within the control panel.
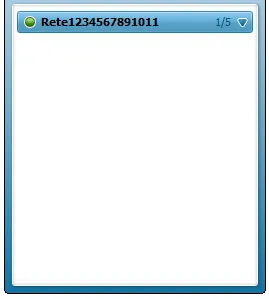
At this point, to get your friends into the game, they will have to download Hamachi, click on “Existing Network Course”, enter the ID and Password you chose and finally add in Minecraft theIP address IPv4 copied from your Hamachi account.
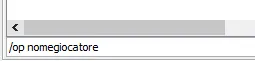
How to Get Administrator Permissions (OP) on Server
To have total control (change the gamemode, teleport players, expel users), you must assign the operator privileges (OP). In the white command line of the server console simply write op [tuo_nickname] (without initial slash /) and press Enter. A message will confirm the promotion.
FAQ: FAQ
My friends can't connect to the server, what can I do?
Check that the antivirus or Windows Defender Firewall Windows 11 are not blocking incoming connections for Java or Hamachi. It is often enough to create an exception rule in the firewall to allow traffic to the program “Java (TM) Platform SE binary” and make sure that port 25565 is open.
Can I host more than 5 players with the free version of Hamachi?
Unfortunately not. The basic and free plan of LogMeIn Hamachi allows you to accommodate up to a maximum of 5 devices for each single network (including the host computer). To overcome this limit, you will need to create multiple parallel networks or evaluate the upgrade to a paid plan.
Do I have to keep my Windows 11 PC on to let others play?
Absolutely. Since the server is hosted locally on your computer, the Hamachi network and the file server.jar must remain constantly running. If you turn off your PC or close the program, your friends will immediately be disconnected from the game world.


