
When you configure a new PC with Windows 11, Microsoft requires you to log in with an online account. However, there are many reasons why you might prefer to use only a local account. For example, if you are installing the system on a computer intended for a child, on a PC you want to sell or donate, or if you simply want to protect your privacy.
Fortunately, there are ways to bypass this requirement and configure Windows 11 without a Microsoft account. Below, I will show you two methods to do this: the first uses commands during the installation process, while the second requires the creation of a modified USB installation stick.
Method 1: Install Windows 11 with a Local Account
There is a trick to avoid connecting your PC to the Internet during configuration and setting up a local account. Follow these steps:
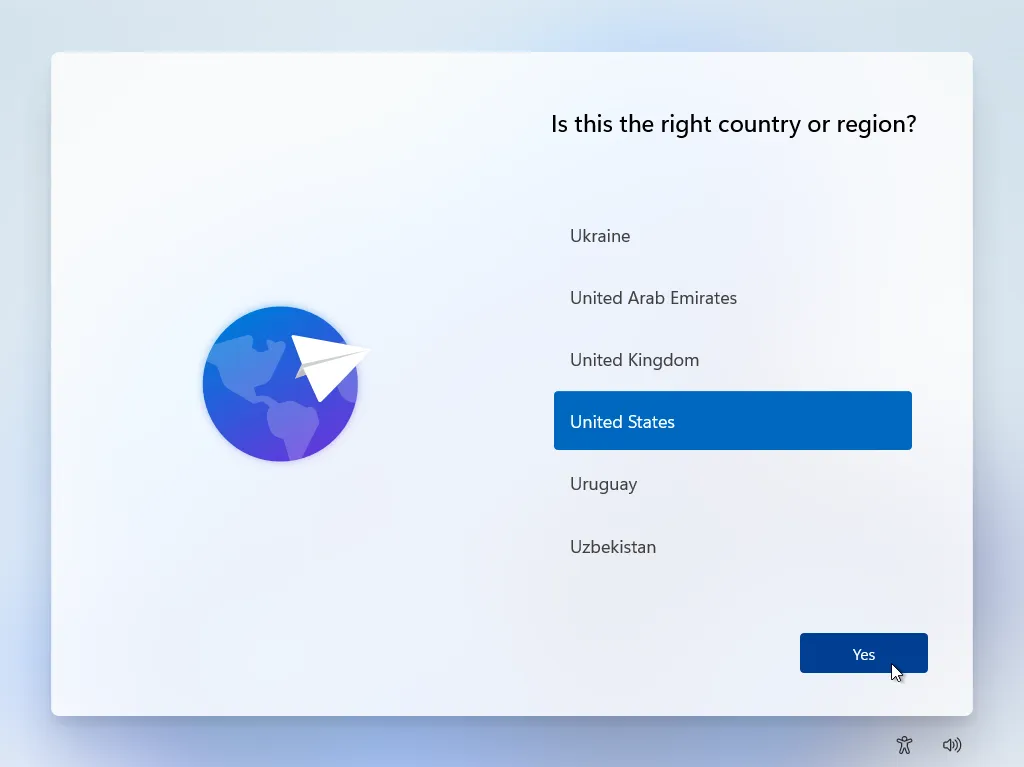
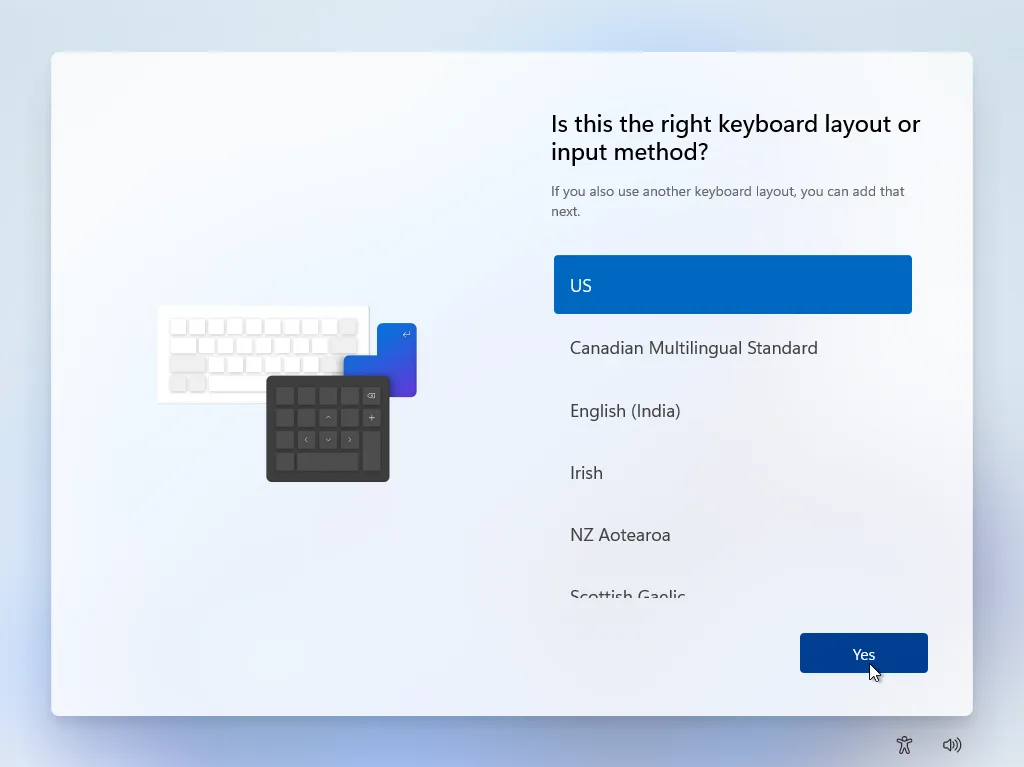
- Start installing Windows 11 until you reach the screen where you are asked to choose the country.
- Open the Command Prompt: Press the keys Shift + F10 to open a command prompt window.
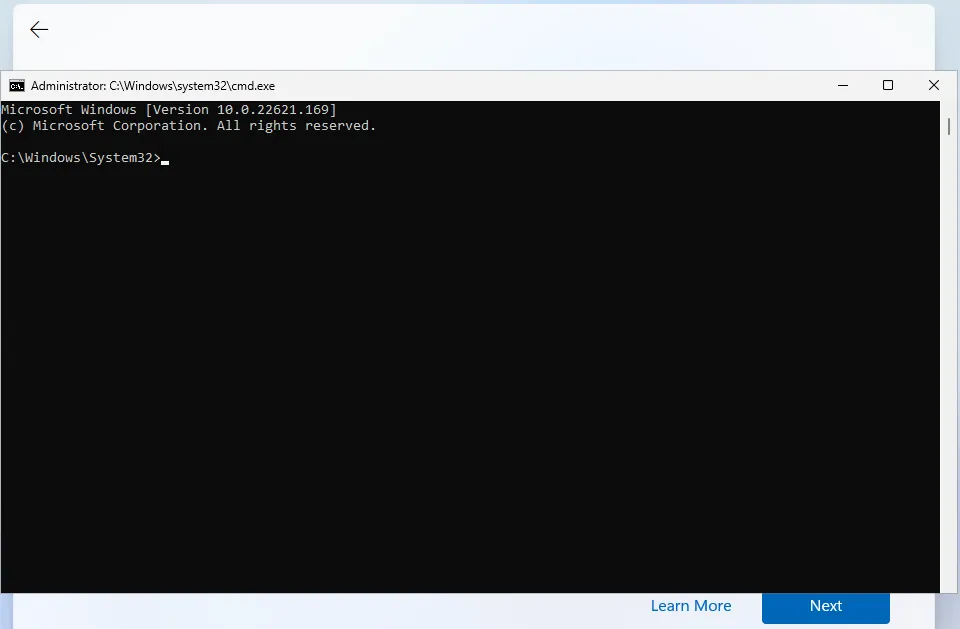
- Disable Internet connection requirement: Type the command
OOBE\BYPASSNROand press Enter. Your computer will recover.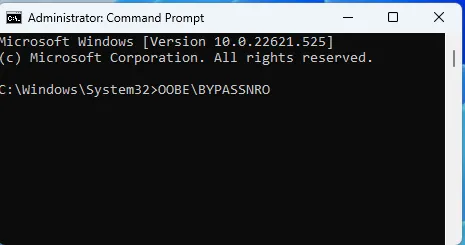
- Repeat Shift + F10 command to reopen the command prompt and type
ipconfig /release. This command stops the Internet connection.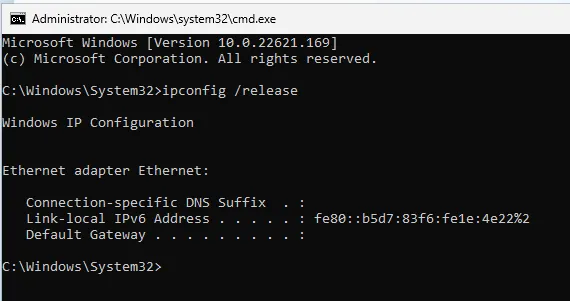
- Close the command prompt and continue with the installation, choosing your region and language.

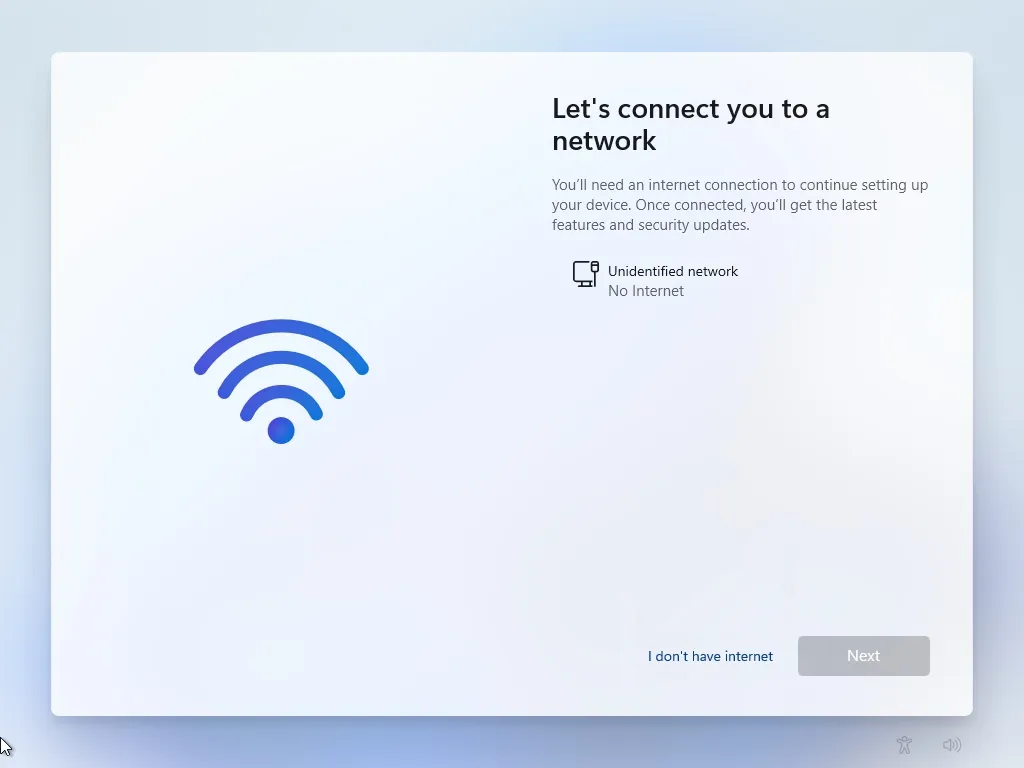
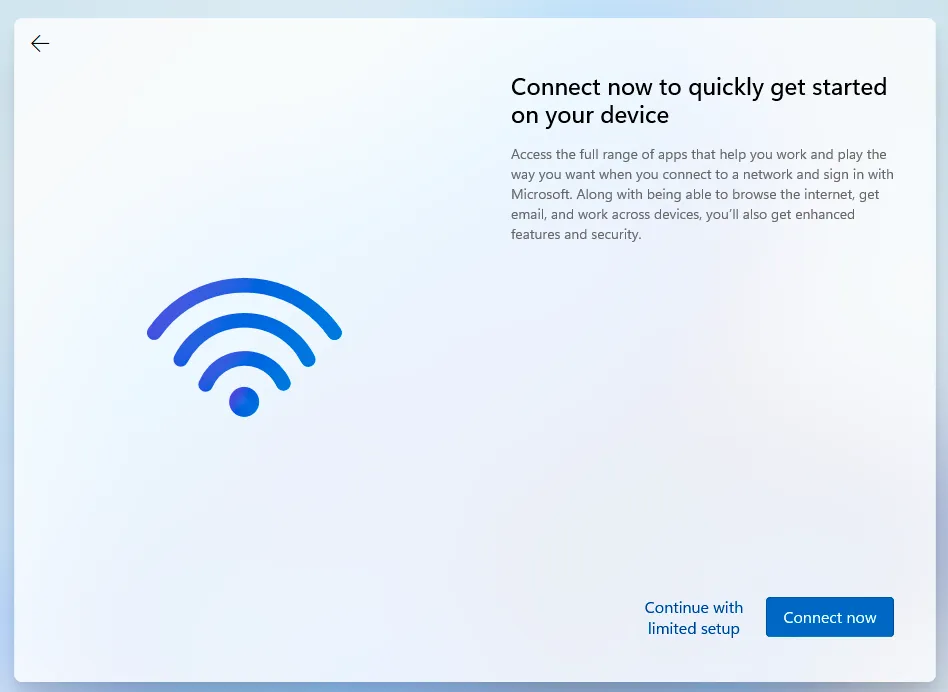
- When the screen that requires you to connect to a network appears, click on “I have no internet” and then “Continue with a limited configuration”.
- Enter the username and, if you want, a password for your local account.
At this point, the installation process will continue normally without the need to create a Microsoft account.
Method 2: Create a USB Installer with Rufus
If you prefer a more automated solution, you can create a USB stick that allows you to install Windows 11 without having to connect to the Internet and without having to run commands manually.
- Download Windows 11 ISO file from the Microsoft website.
- Download Rufus, a free program that allows you to create bootable USB flash drives. Make sure you use version 4.4 or later.
- Insert a USB stick from at least 8 GB on your computer. Please note that all data on it will be deleted.
- Launch Rufus, select the USB stick and choose the Windows 11 ISO you downloaded.
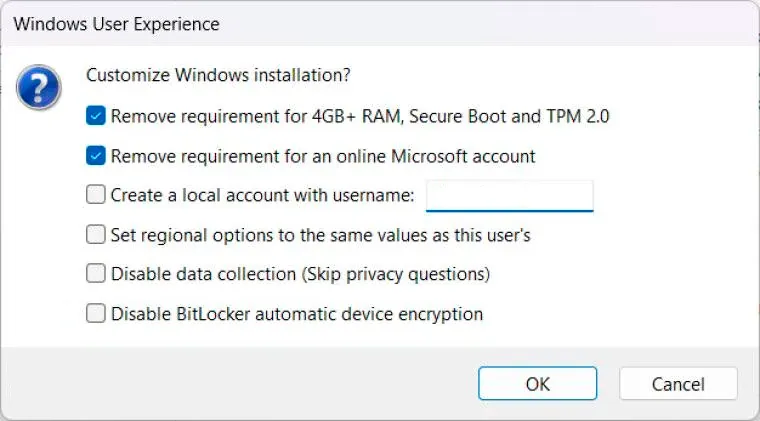
- Click on Start. You will have a window with different options. Enable the option “Remove the requirement of an online Microsoft account” and, if necessary, you can also activate other options such as “Remove Secure Boot/TPM 2.0 and RAM requirements”.
- Rufus will copy the files and in a few minutes you will have a USB stick ready for installation.
Now you can install Windows 11 using this USB stick without having to create a Microsoft account or connect to the Internet.


