Imagine wanting to play with your friends in Minecraft from remote locations, but you don't have the resources to buy a dedicated server or a Virtual Private Server (VPS). Don't worry, today we will guide you step by step on how to create a Minecraft server on Windows 10 free of charge, using Hamachi.
Requirements to create a server with hamachi
- LogMeIn Hamachi software is available for download on the official website via This is what links.
- To get the Minecraft Server, you can access the latest version via This is what links.
- You need to install the latest version of Java, available through This is what links.
- Make sure you own a legitimate copy of Minecraft: Java Edition.
- To ensure a smooth experience, we recommend using a stable connection, preferably via Ethernet cable, avoiding downloading during server hosting.
- It is also recommended to have at least 5 Mbits of bandwidth available both in upload and download.
Installation of Hamachi
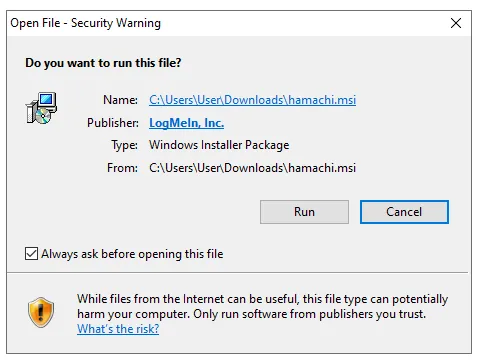
To install Hamachi, you can visit the official website of LogMeIn via This is what link and proceed with download by clicking on the “Download” button.

The site will download the installation file of Hamachi, similar to the below screenshot shown

Then, start the installation and a window similar to this will appear, click on “Run”
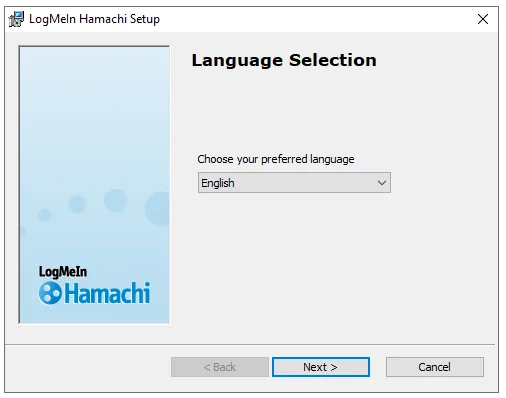
When installing, select the desired language from the drop-down menu and click “Next”
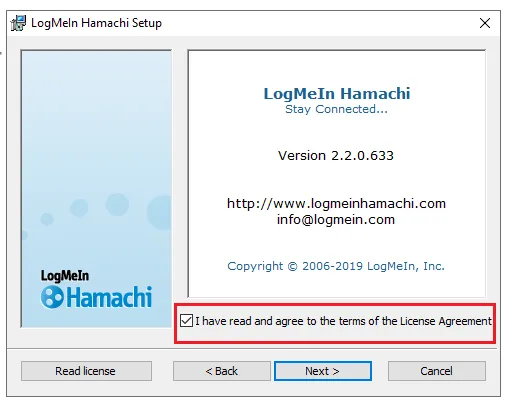
Confirm that you have read the terms by checking the box and clicking on “Next”
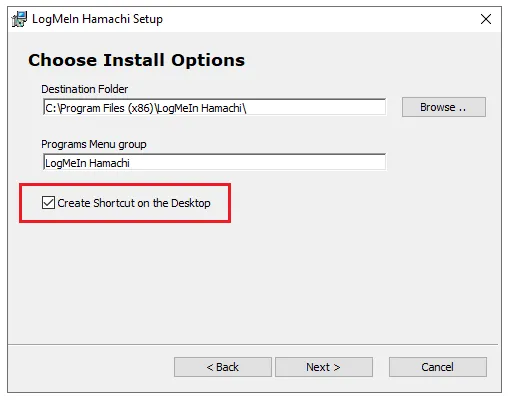
Quit the option to create a desktop link and click “Next/Next”
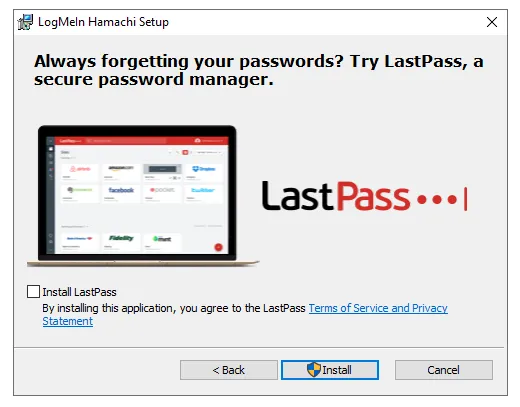
Proceed by clicking on “Next” without selecting the installation of “LastPass”
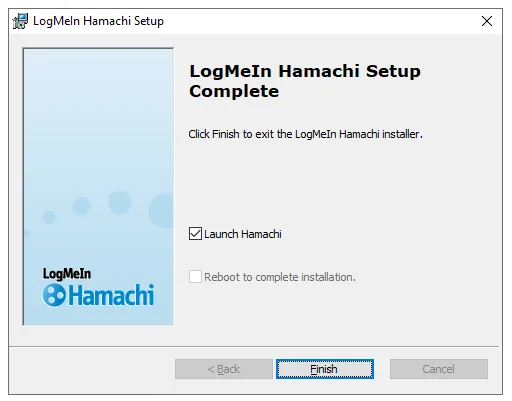
Once the installation is completed, click on “Finito/Finish”
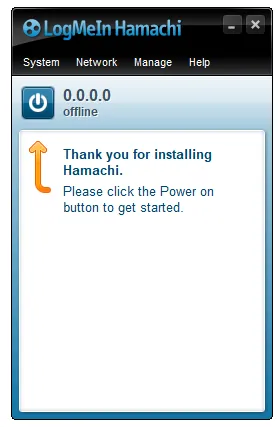
Hamachi will start automatically, press the power button
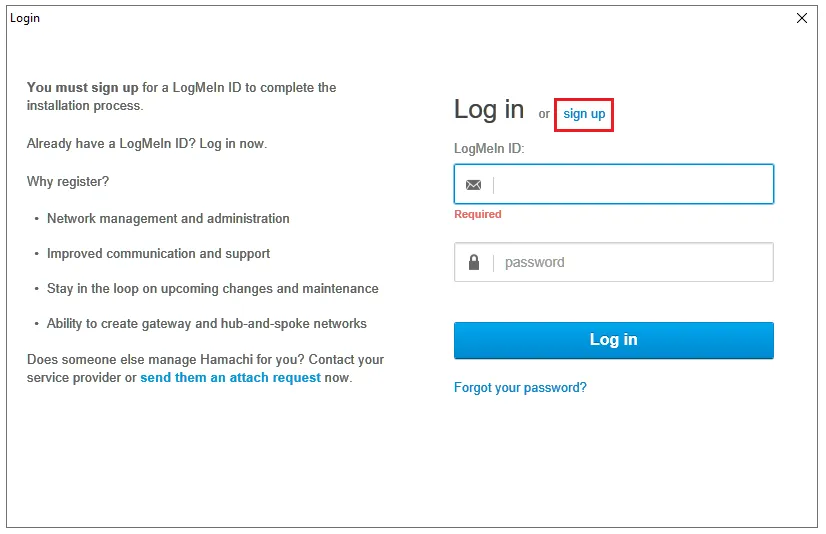
Next, a screen similar to this will appear; click on “sign up” to register
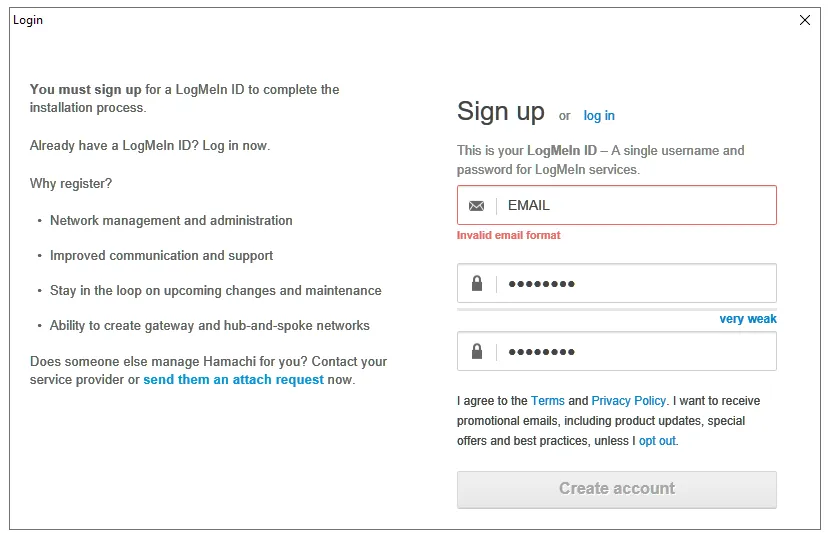
Register by filling in the Email and Password fields, then click on “Create Account or Create Account”
Confirm the received email in the mailbox. Now, you can authenticate on Hamachi with the new account created
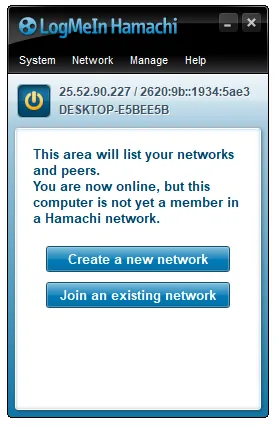
After authentication, a screen similar to this will open
How to create the server
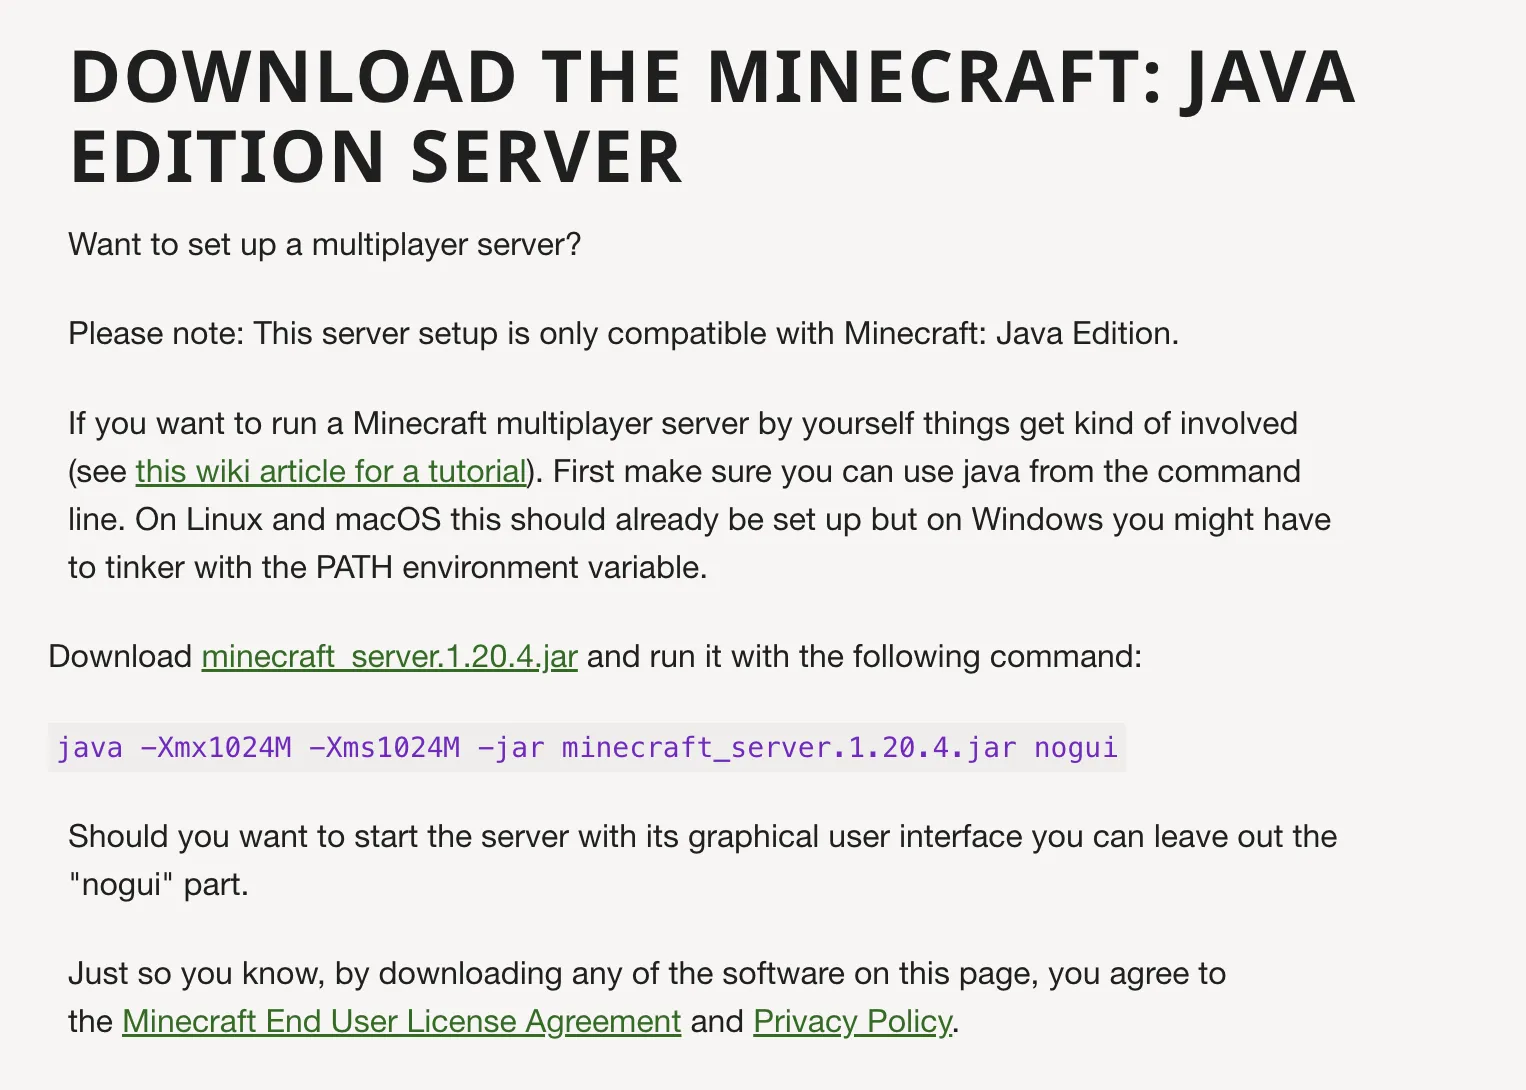
As stated in the above requirements, proceed with the Minecraft Server .jar file download via This is what links. After visiting the page, select “minecraft server.1.20.4.jar” to download the file, similar to the below screenshot shown
You will download a file similar to this

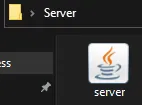
Create a new folder in the desired location and move the “server.jar” file inside this
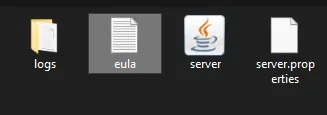
Launch the file “server.jar”. During this process, various files will be generated in the folder. Next, open the “EULA” file with a program that can display texts
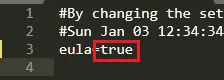
In the text of the “EULA” file, change the value from “false” to “true” to accept the conditions of the Minecraft EULA
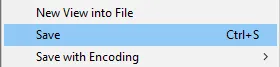
Once the change is made, save and close the text program
Then start “server.jar” again to allow the extraction of the remaining files. Then a window similar to this will appear
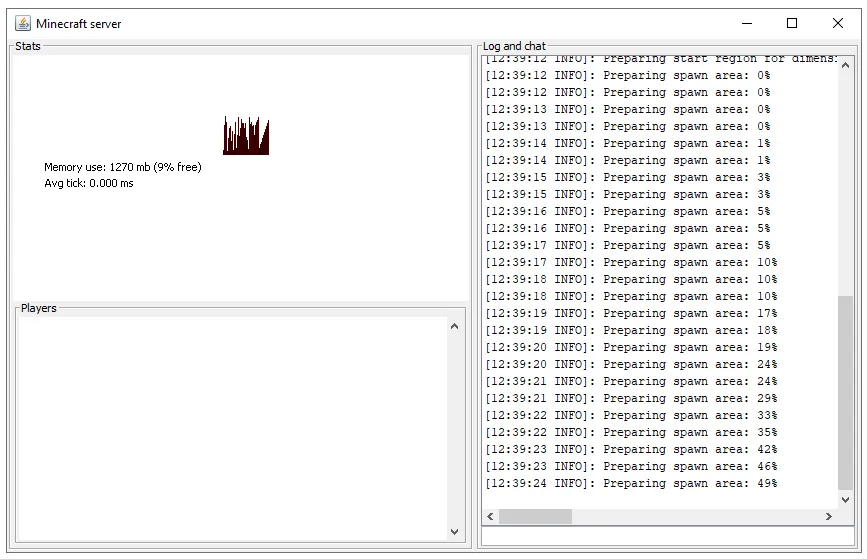
Let the world be created and the extraction of files complete. It will be possible to identify the conclusion when the following message appears in the console

How to configure the server
Then close the server window and return to the server folder. In the folder, you will notice other files; open the “server.properties” file with a text program

The server.properties file is the configuration of your server. Essential changes to be made include:
- “gamemode” determines whether you want to play in Survival, Creative or Adventure mode. Replace “Survival” with one of these terms to change the mode.
- “difficulty” determines the difficulty of the game between Peaceful, Easy, Normal or Hard. Replace “Easy” with one of these terms to change the difficulty.
- “pvp” determines whether the PvP should be active or not. The parameter can only be changed from “true” (active) to “false” (disactive). Replace “true” with “false” to disable the PvP.
- “max-players” determines the maximum number of players that the server can host. We recommend reducing this value to a maximum of 5 due to Hamachi limitations, especially if the connection is not optimal.
- “level-name” defines the name of the world. You can change it or leave it unchanged.
- “motd” establishes the server message displayed in the server list. You can keep it as it is or change it to pleasure, such as “Amici&Co Server”.
These are the main parameters to make your server work. Save the changes and start the server by clicking on “server.jar”.
How to create a network with Hamachi
To create a network, start LogMeIn Hamachi and click on the indicated button
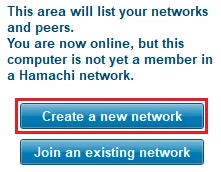
If the button is not visible, click “Network” and select “Create a new network”

It will buy a screen similar to this, enter a name and password for the network that friends will use to access it
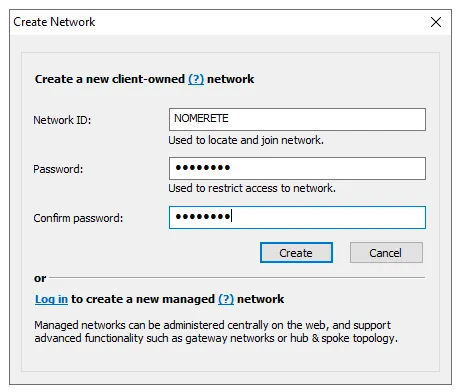
After completing this information, click on “Create” and the newly created network will be displayed here
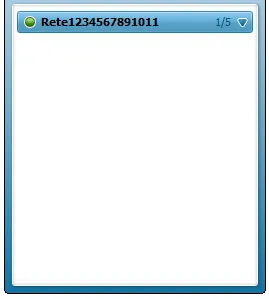
The Hamachi network has been successfully created.
How to become server administrators
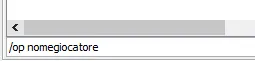
Simply, from the server console, type “/op playername”. A confirmation message will start the operation.