How to configure Aternos
Everyone likes to play Minecraft maps with friends. Sometimes it can be difficult to find a good way to do it! Whether you need a server to run a map or just want to play Minecraft Vanilla, I have the perfect solution for all your multiplayer needs
In this guide, I will show you how to configure and host your Minecraft server for free using the Aternos server hosting service. I will also show you how to upload maps and create normal survival worlds using this service!
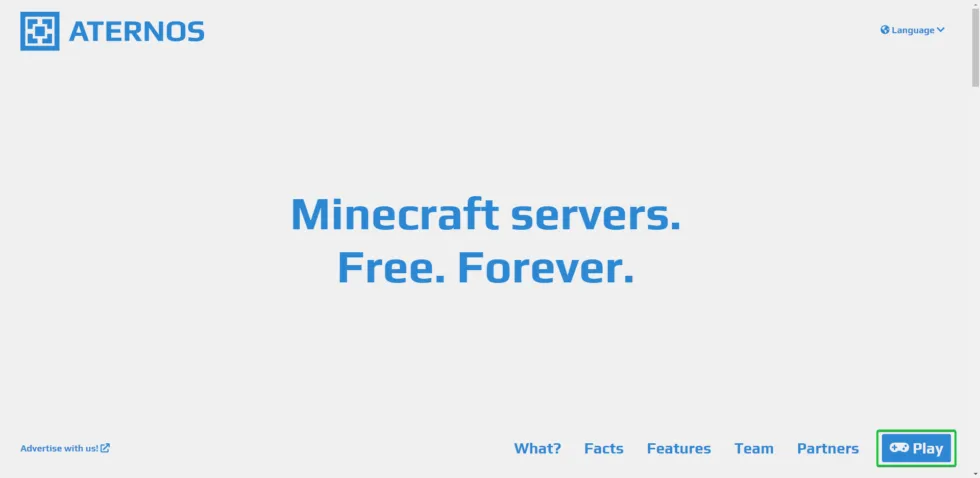
To configure your Minecraft server, you will need to start by setting up an Aternos account. You can do it by going on their website. Once you create an account, you have to press the “Play” button at the bottom right of the screen. If it does not appear immediately, try to scroll down to find it.
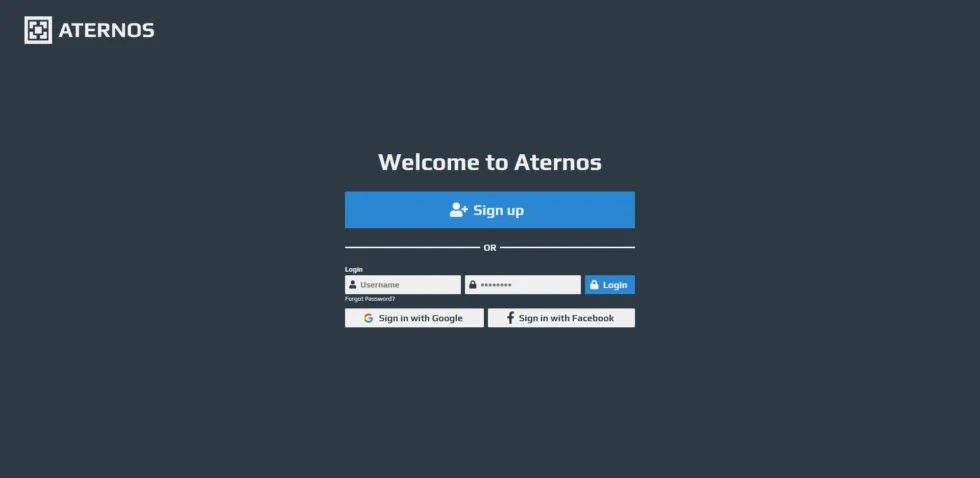
Once you press that button, you will be directed to an access or registration page. After doing so, you will be asked to create an account with Aternos or access a pre-existing account if you already have one.
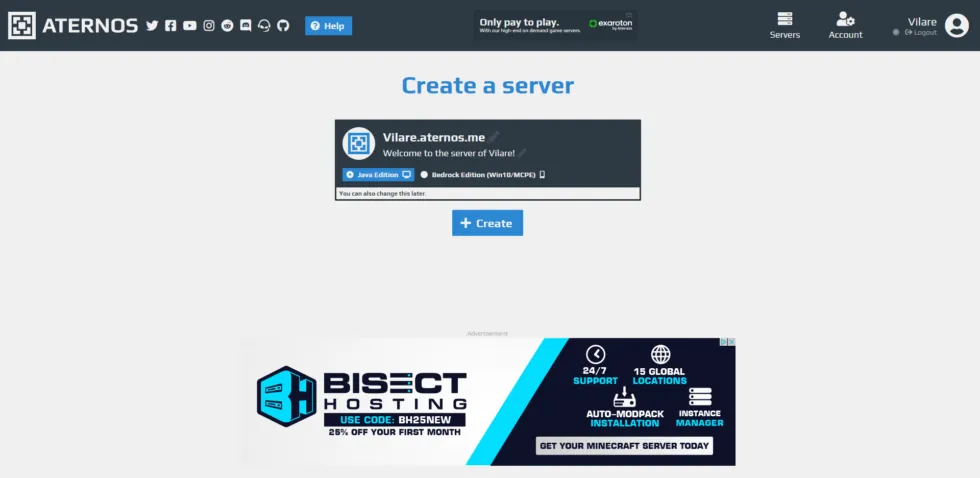
After you are registered or logged in, you will be taken to the panel of your account where you can create a server. There will be a green button that says “Create” on the homepage, which you have to press. A server profile and another blue button that says “Crea”. Press both to start your new server.
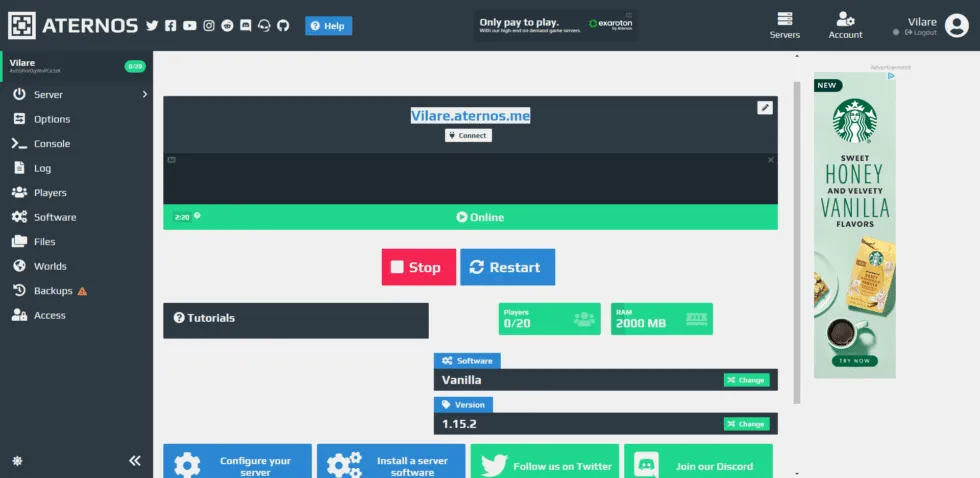
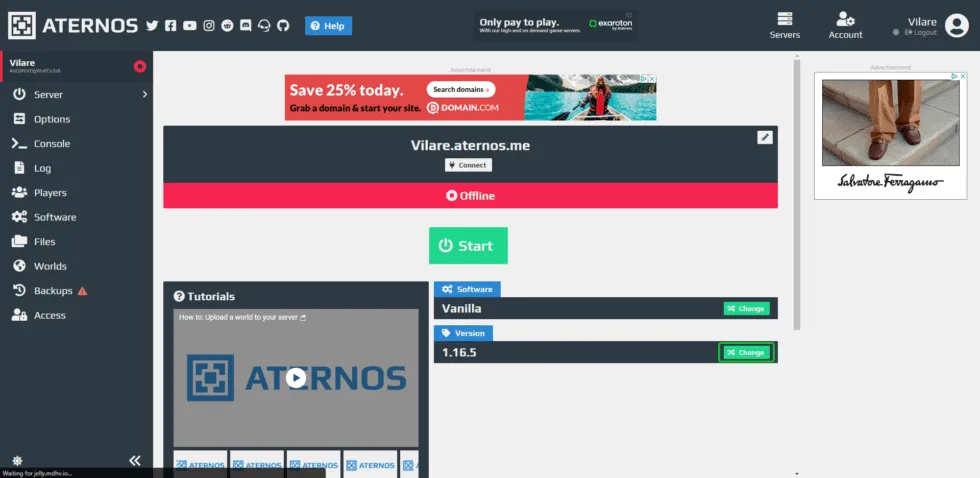
If you expect to play the latest version of Minecraft in a random vanilla seed, you do not need to make changes here. You can simply press “Start” and play with your friends by providing them with the IP address! If you need to load a specific map on your server, follow the next section!
Upload a custom map
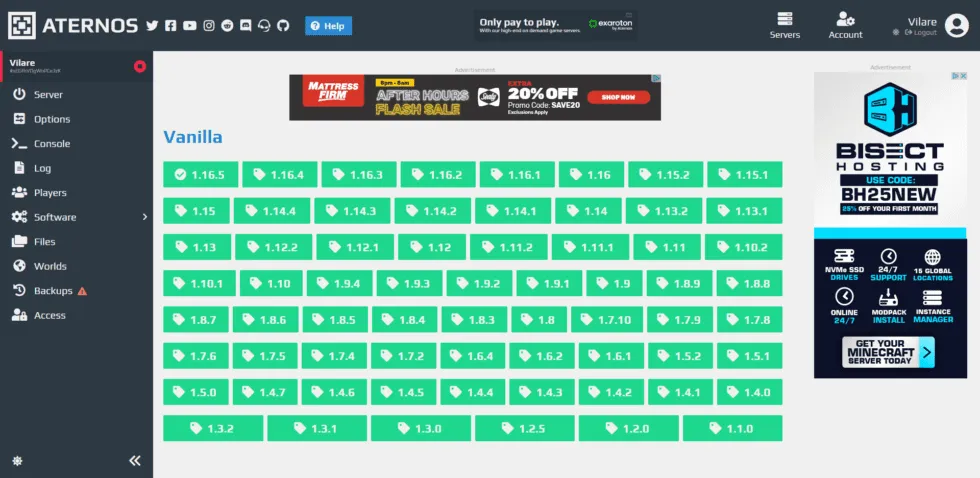
Maps typically require earlier versions of Minecraft because they require a great effort to be renewed with every new update. If the map you want to play requires a different version of the game, you can click the green button “Edit” in the versions section.
After pressing the change button, a menu of different versions of Minecraft will be displayed. Choose the version you need for the map you want to play.
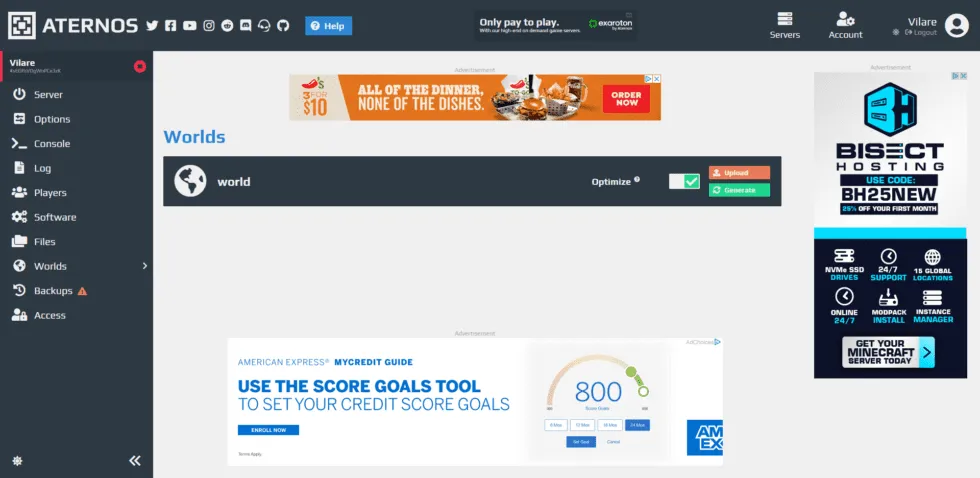
Once the correct version is selected, it is time to load your map! To do so, you have to click on the “Mondi” option in the left sidebar. This will take you to a new page where you can reset your world or upload a new one to its place. For the purpose of this guide, we will show you how to upload a map, which will require you to click on the orange “Load” button.
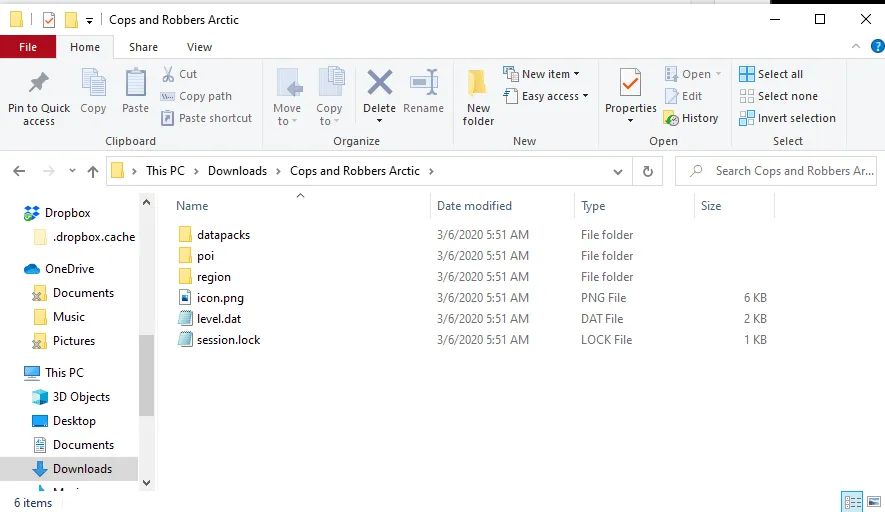
When you click the drop-down menu, it will ask you to upload the map to zip file format or upload the contents of a folder. To do so, make sure to upload the folder with the map content yourself, otherwise it won't work. This will look like something like the image below for maps developed more recently.
Once loaded, you can go back to the homepage and start your server! It should upload you to the map once your server is online. Remember that sometimes it takes a while to start a server, since there may be a queue of people waiting to join, as well as generic startup delays. You will hear a notification once your server is active and working. You can join using the IP address shown in your server’s tab.