Almost everyone uses computers, but we rarely really get into the details of how they work. Sometimes it is nice to create something with your own hands that you will use every day. Here's what this guide is about: how to build a PC from scratch using separate parts.
This may seem intimidating for many reasons: it is expensive, it is complex, it can become disorderly. But I want to be clear: if you can mount an Ikea table, a library, a bed or whatever comes in those deceptively heavy flat packages, you can build a PC. The complicated part? I can't tell you how to build your PC. Not really. Unless I know exactly what components you're using. I can, however, explain what each component does and provide recommendations for each category.
What do you need? To compile a list of components, regardless of your experience, you should use PCPartPicker. Not only does it have everything you need to buy, but it also allows you to build your PC piece by piece directly on the website and ensures that all the hardware fits well. It also has some example configurations that you can customize at your convenience. I also recommend keeping a list of what you want, what you have and your budget. It is useful to keep track of things.
Regardless of the type of PC you are building (for office or gaming), the components you need will be the same. For the purposes of this guide, you will see many abbreviations, but this section serves as a glossary.
First, you will need a motherboard, a processor (CPU), a solid-state drive (SSD) or a hard disk drive (HDD) for storage, memory (RAM), a power supply (PSU), a case and a monitor. The only thing you may not need if you mainly use this PC for office tasks is a graphics card (or GPU), but it is necessary for editing photos or videos and the game. That's a lot of stuff! Without talking about other accessories such as keyboards and mouse. Here is a small subdivision of what each component does, along with some hardware recommendations.
Components
Motherboard
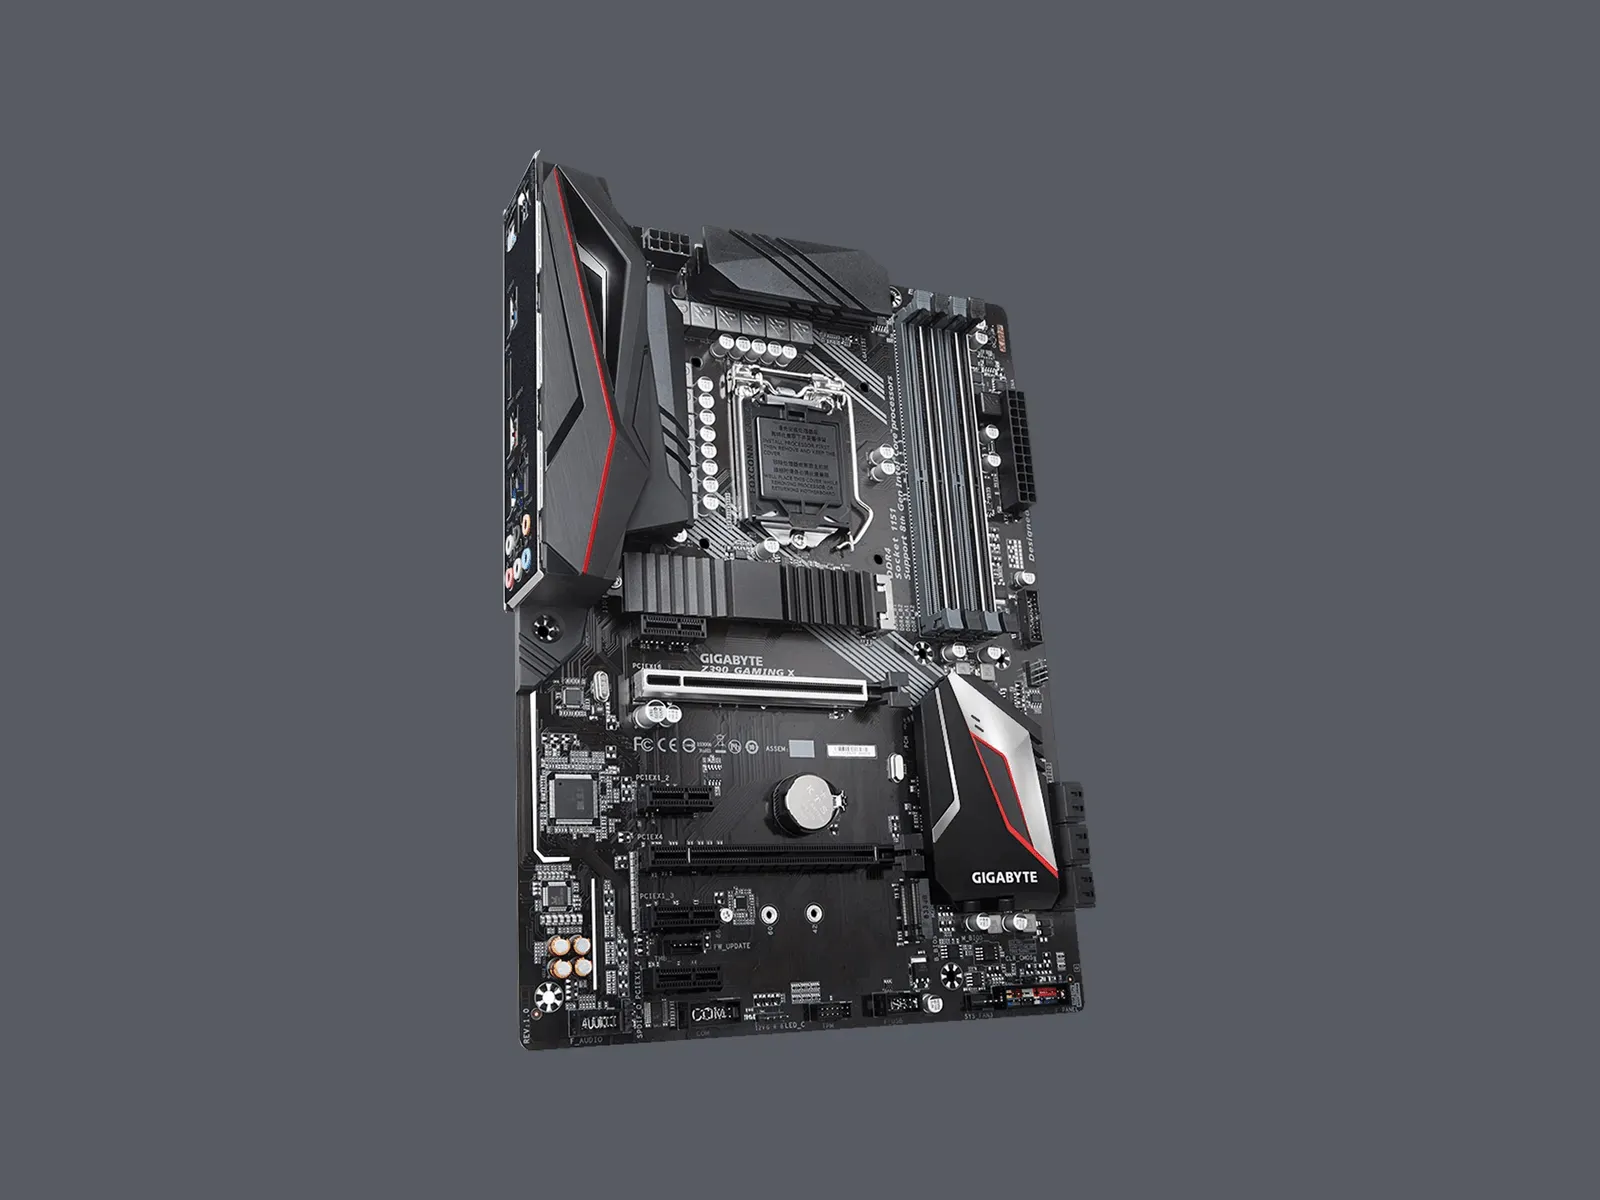
Each other component connects to this motherboard. It is the highway that they use to communicate and collaborate. They come in different sizes and configurations, but they all have the same function. Make sure you know which processor you want before buying a motherboard.
The motherboards appear in a couple of variations, but the most important thing to know is what kind of socket it has. Basically there are two: LGA and AM. You will always see them listed with a number after them, such as “LGA1150” or “AM5”. The exact numbers after the LGA and AM portions of these socket names will change over time, to indicate which Intel or AMD chip generation support, but the 2023 standards (which will work with the latest chips of both manufacturers) are LGA1700 for Intel and AM5 for AMD.
The motherboards are also available in different sizes, the most common is ATX (or “standard sizes”). This is what I generally recommend, especially if this is your first construction. More space inside the house means more space for the hands, and the larger the case, the easier it will be all for updating and maintenance of your PC. Your PC case will indicate which motherboard size supports, so make sure it matches.
Processor (CPU)
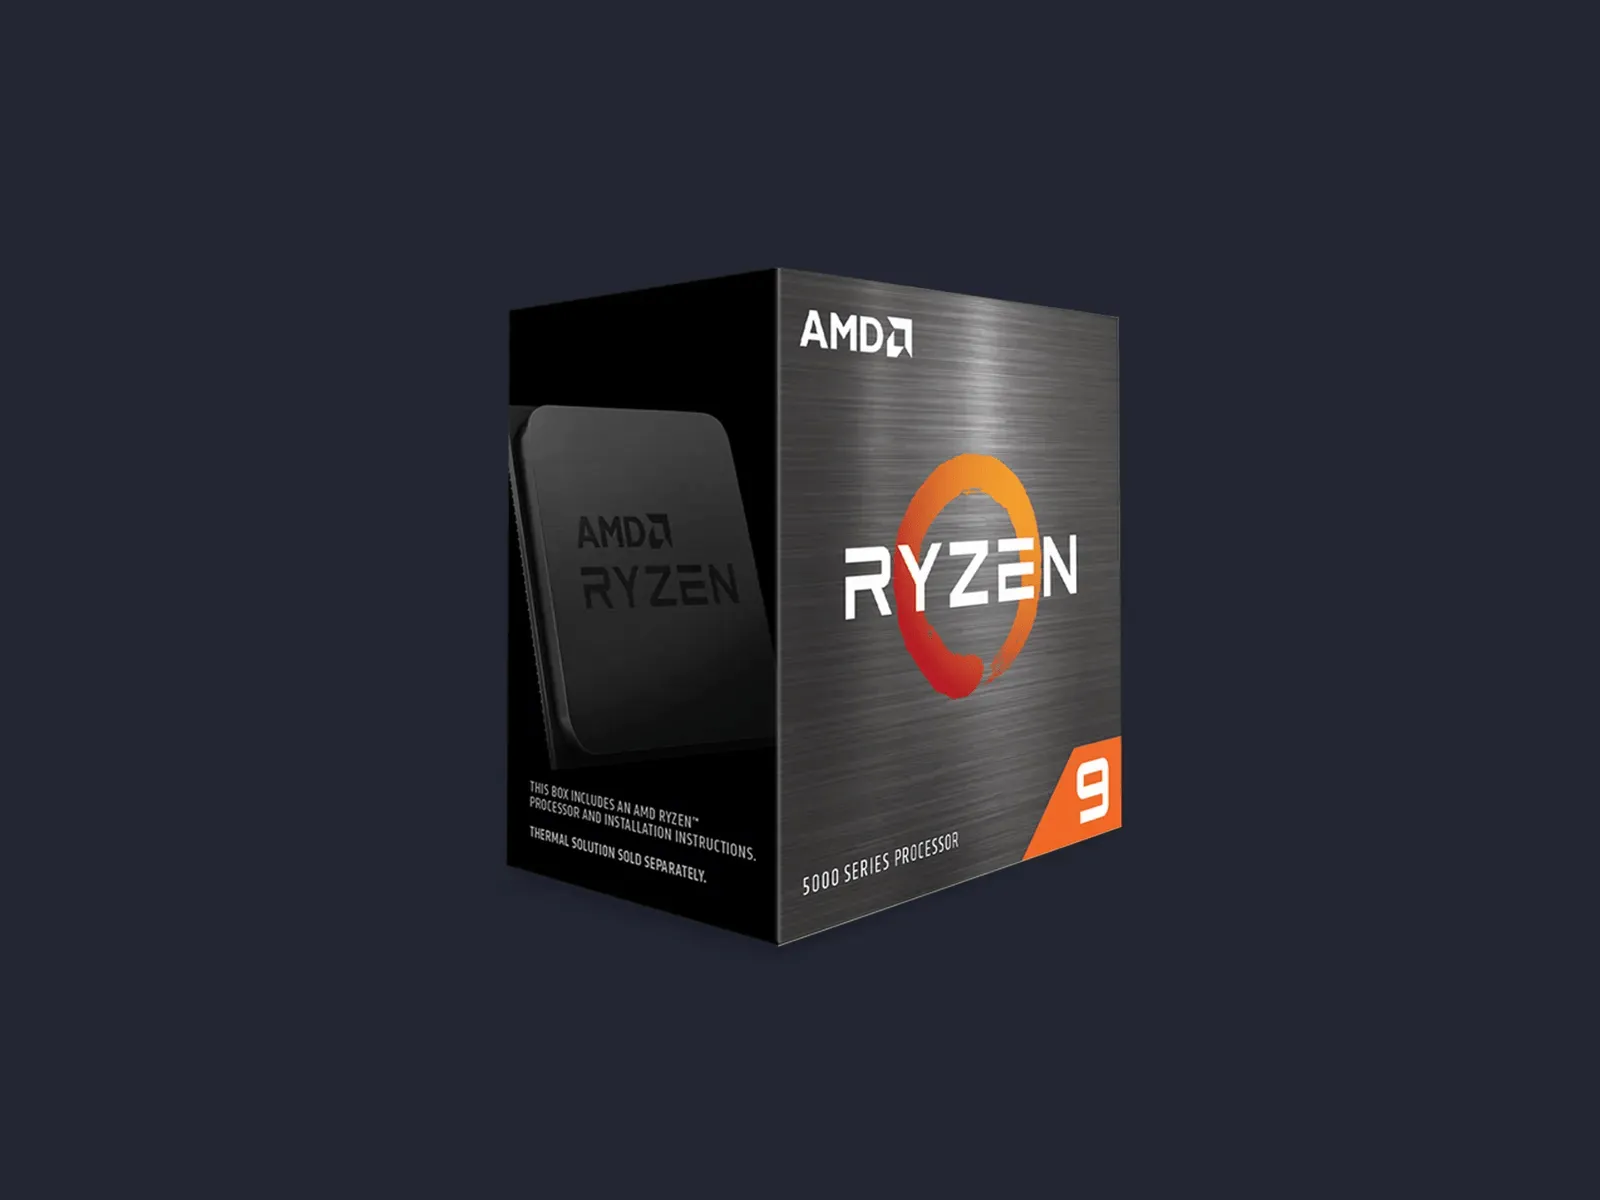
This is your computer's brain. It fits directly into the motherboard and is the most important component of your PC. This does not mean that it should be the most expensive or the most relevant for gaming performance. Like your brain, everything your PC does is from here. Your legs are important to run, but it's your brain telling them to move.
Graphics card (GPU)

If you expect to play on this PC, you will need a graphics processing unit (also called graphics card). It is a specialized processor designed and optimized to manage visual data such as graphics in games. It is also used in video and photo editing and other activities that require many graphic resources. Your CPU is the best of the best when it comes to processing information sequentially, one message after another: it does it at a lightning speed, millions of times a second, but this is not yet fast enough to run a graphically challenging game at a high frame rate.
For this you need a special type of processor, one designed not for sequential processing, but for parallel processing. Your GPU can process thousands, millions of things at once: think about all the things your GPU is making every time you play. Every rock, every tree, every weapon, every player, every enemy and so on. He must think of all these things at the same time and intertwine them in a coherent three-dimensional environment to allow you to explore.
Archives
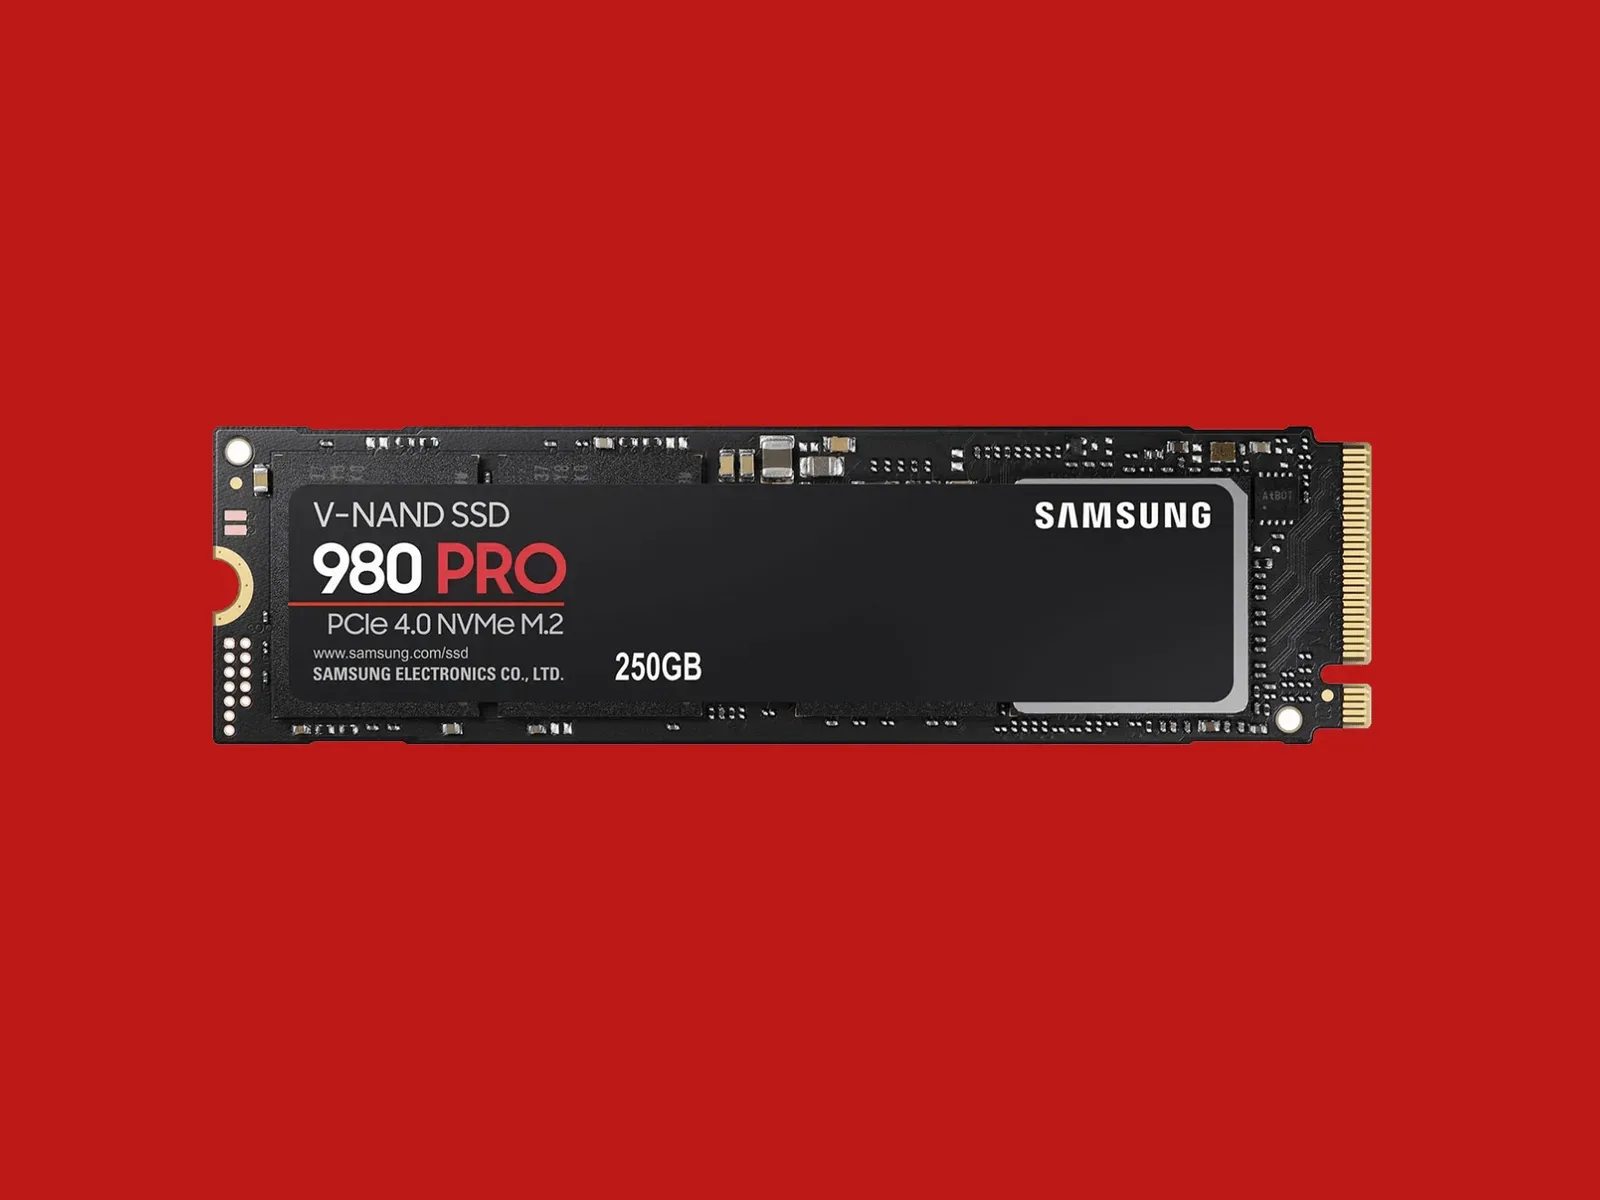
This is your PC's walk-in closet. This is where you store all your files, your games, your movies, your documents, your photos, practically everything. You can always add more storage space later.
Memory (RAM)
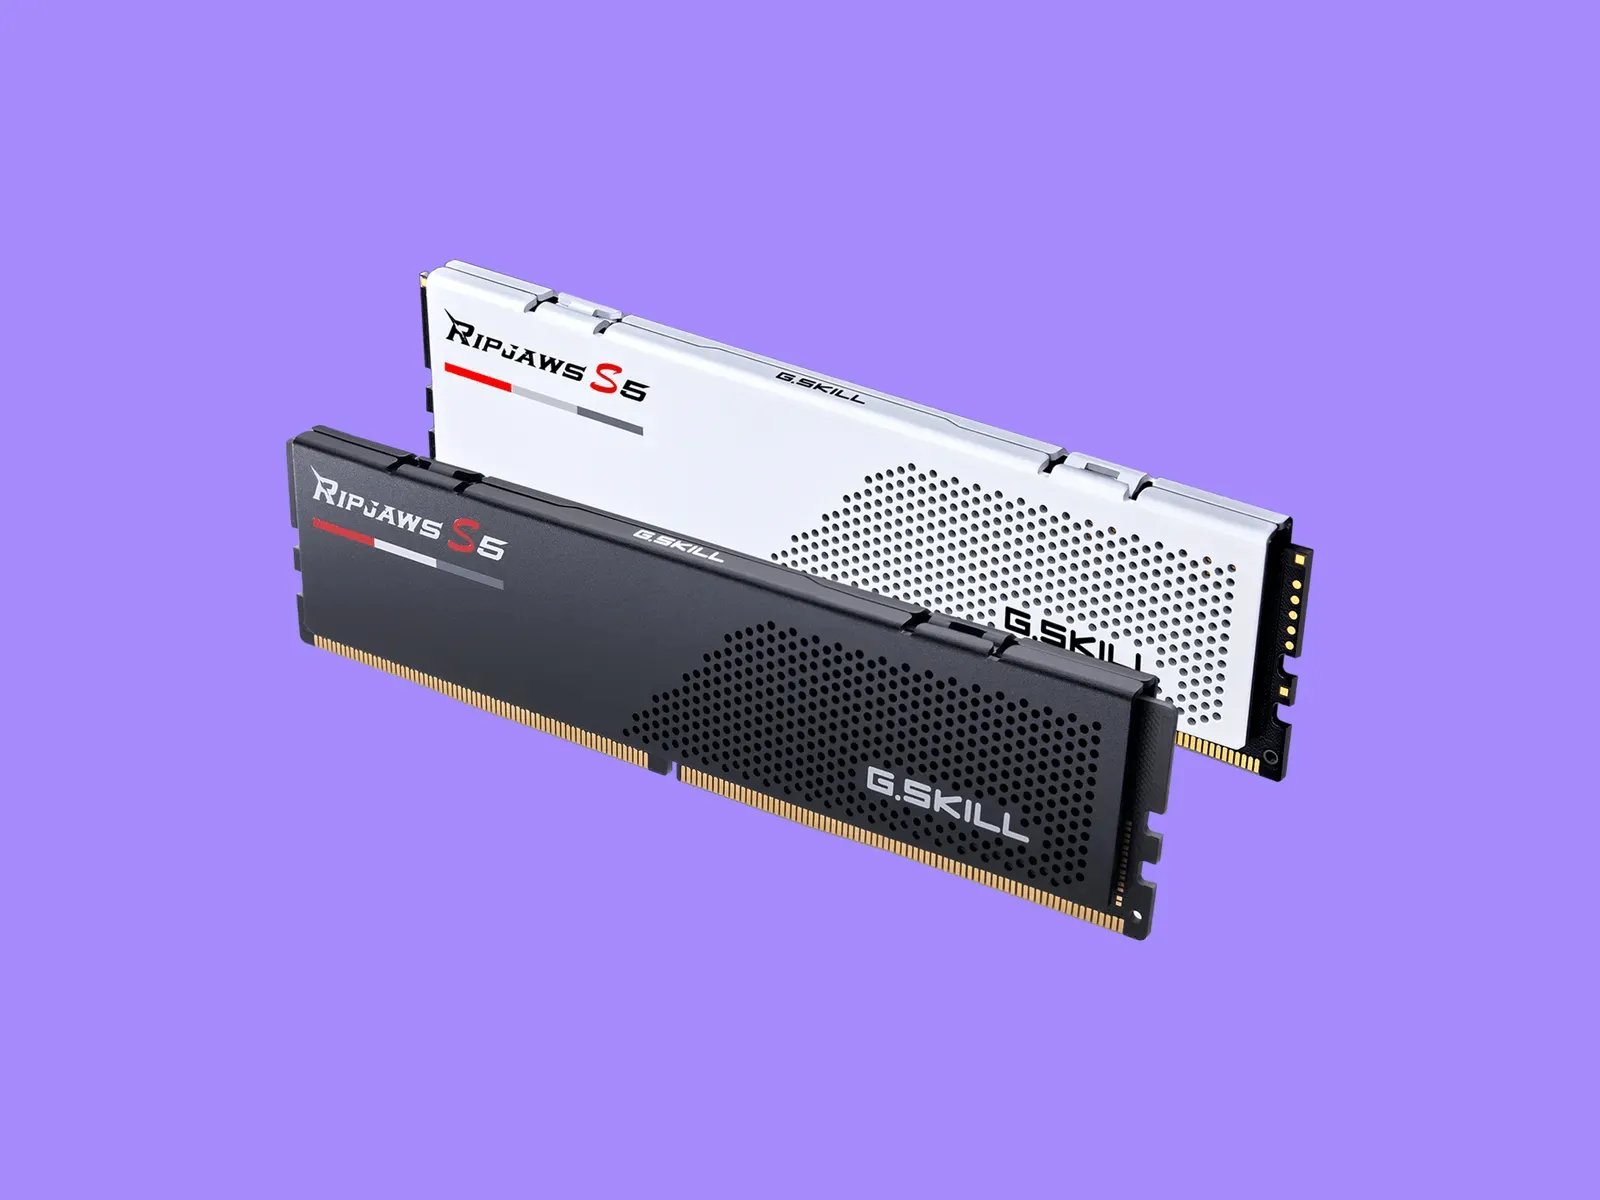
You will often encounter the same terms when you look at memory and storage, but they are very different. Memory is more similar to that table on which you throw things to face later. It is scratch card; it is short term. However, it is very important because the software uses memory to temporarily store data in a place from which they can be recovered quickly.
Power supply (PSU)
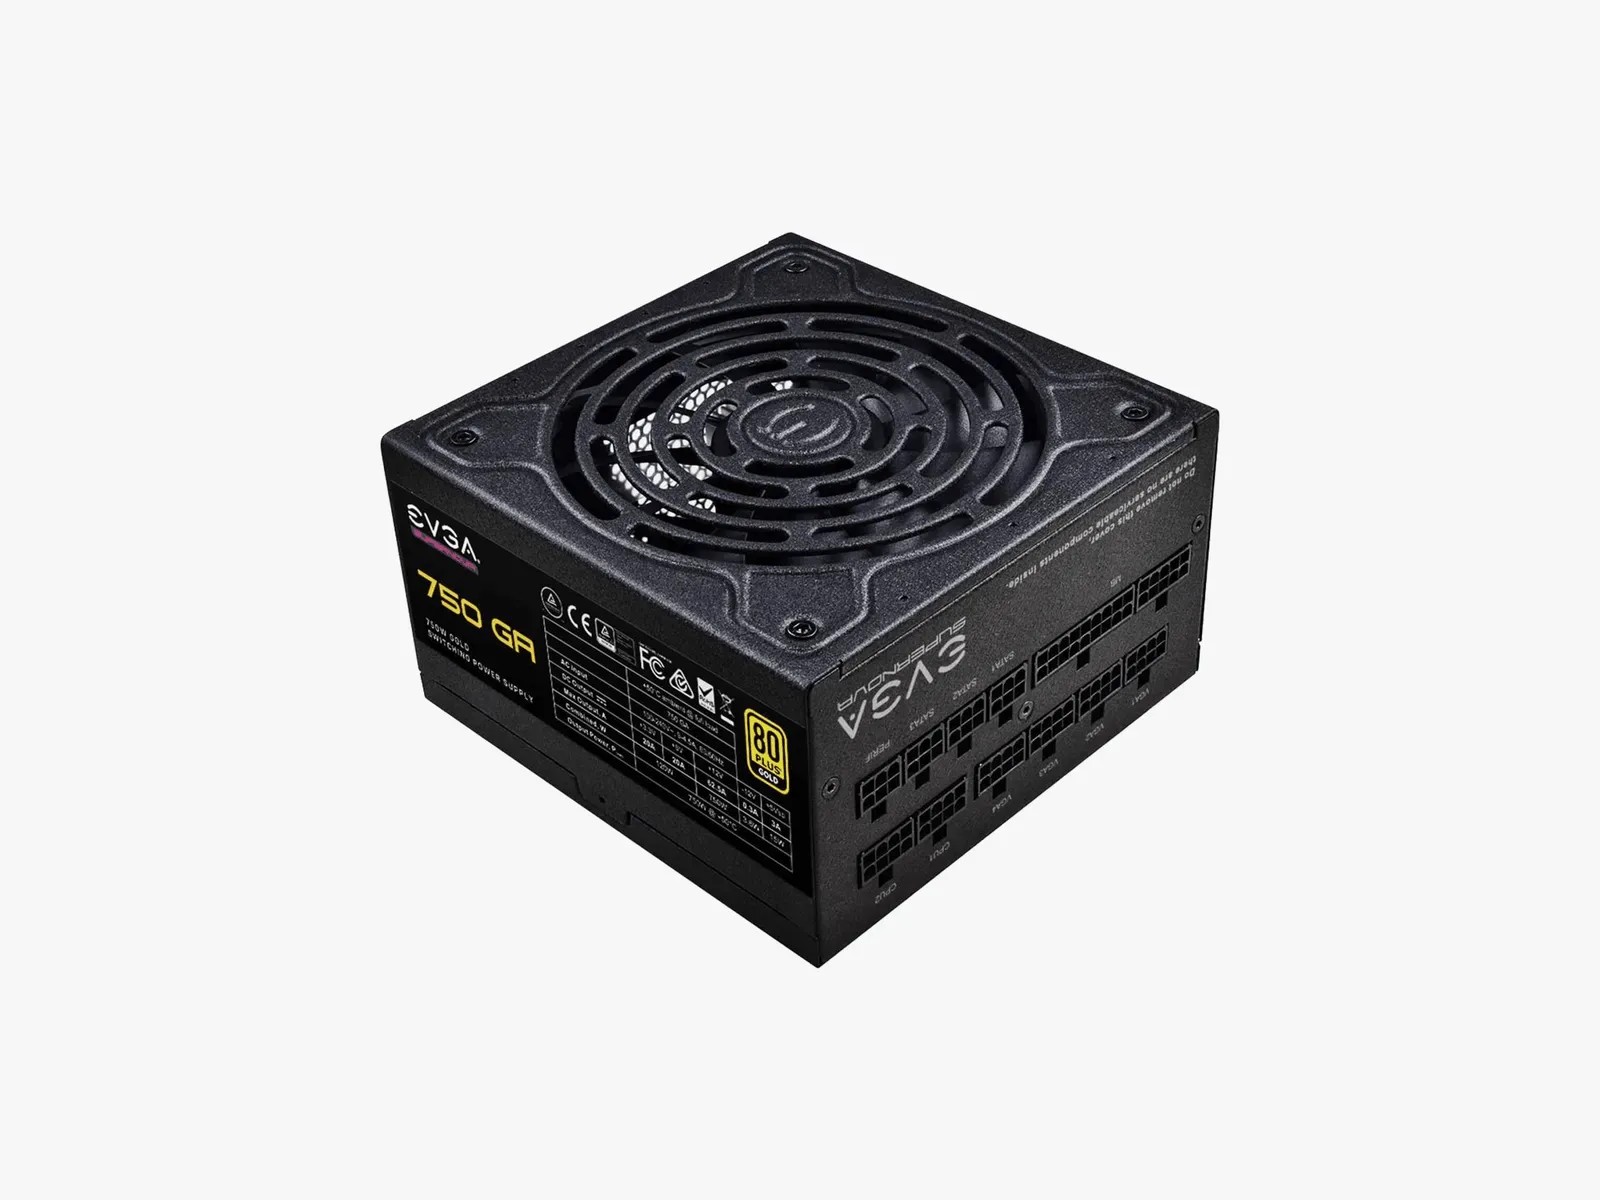
The power unit is a small box that keeps electricity running for each component. Determine how fast and powerful your PC can be. The faster, the more energy it takes, and you always want to have a little more than you need. Just like GPUs, PSUs tend to vary in terms of availability.
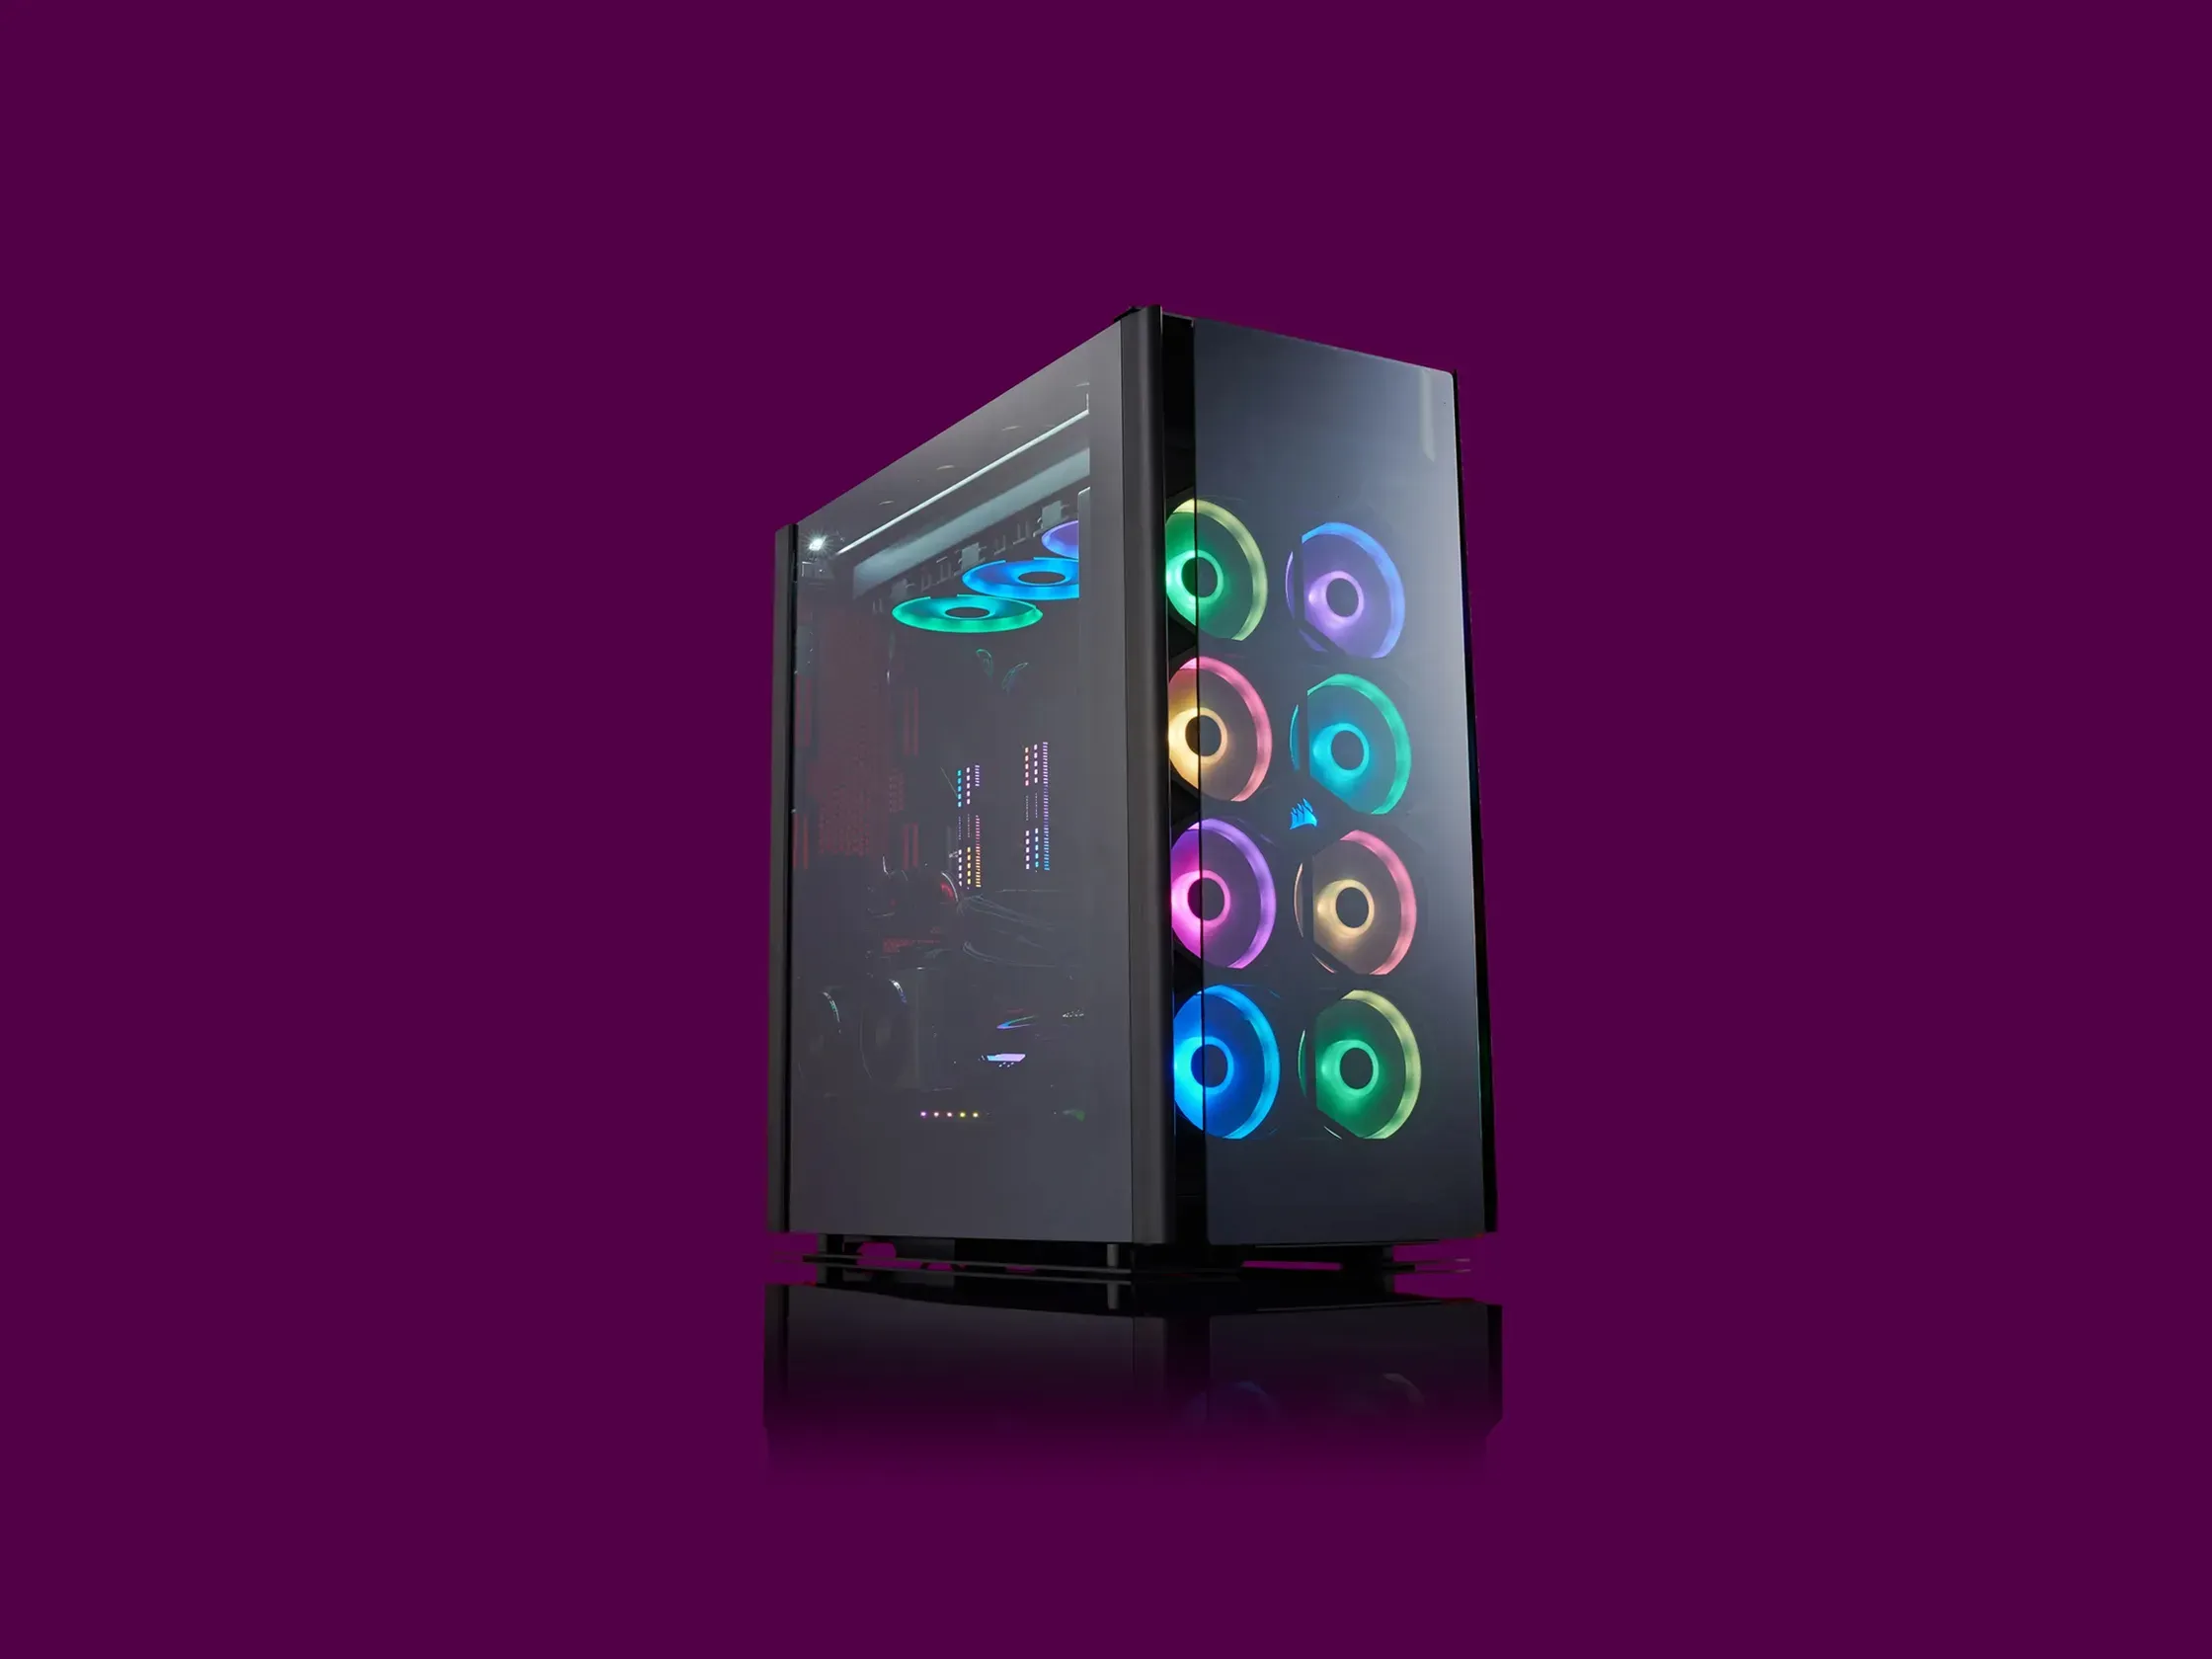
Houses
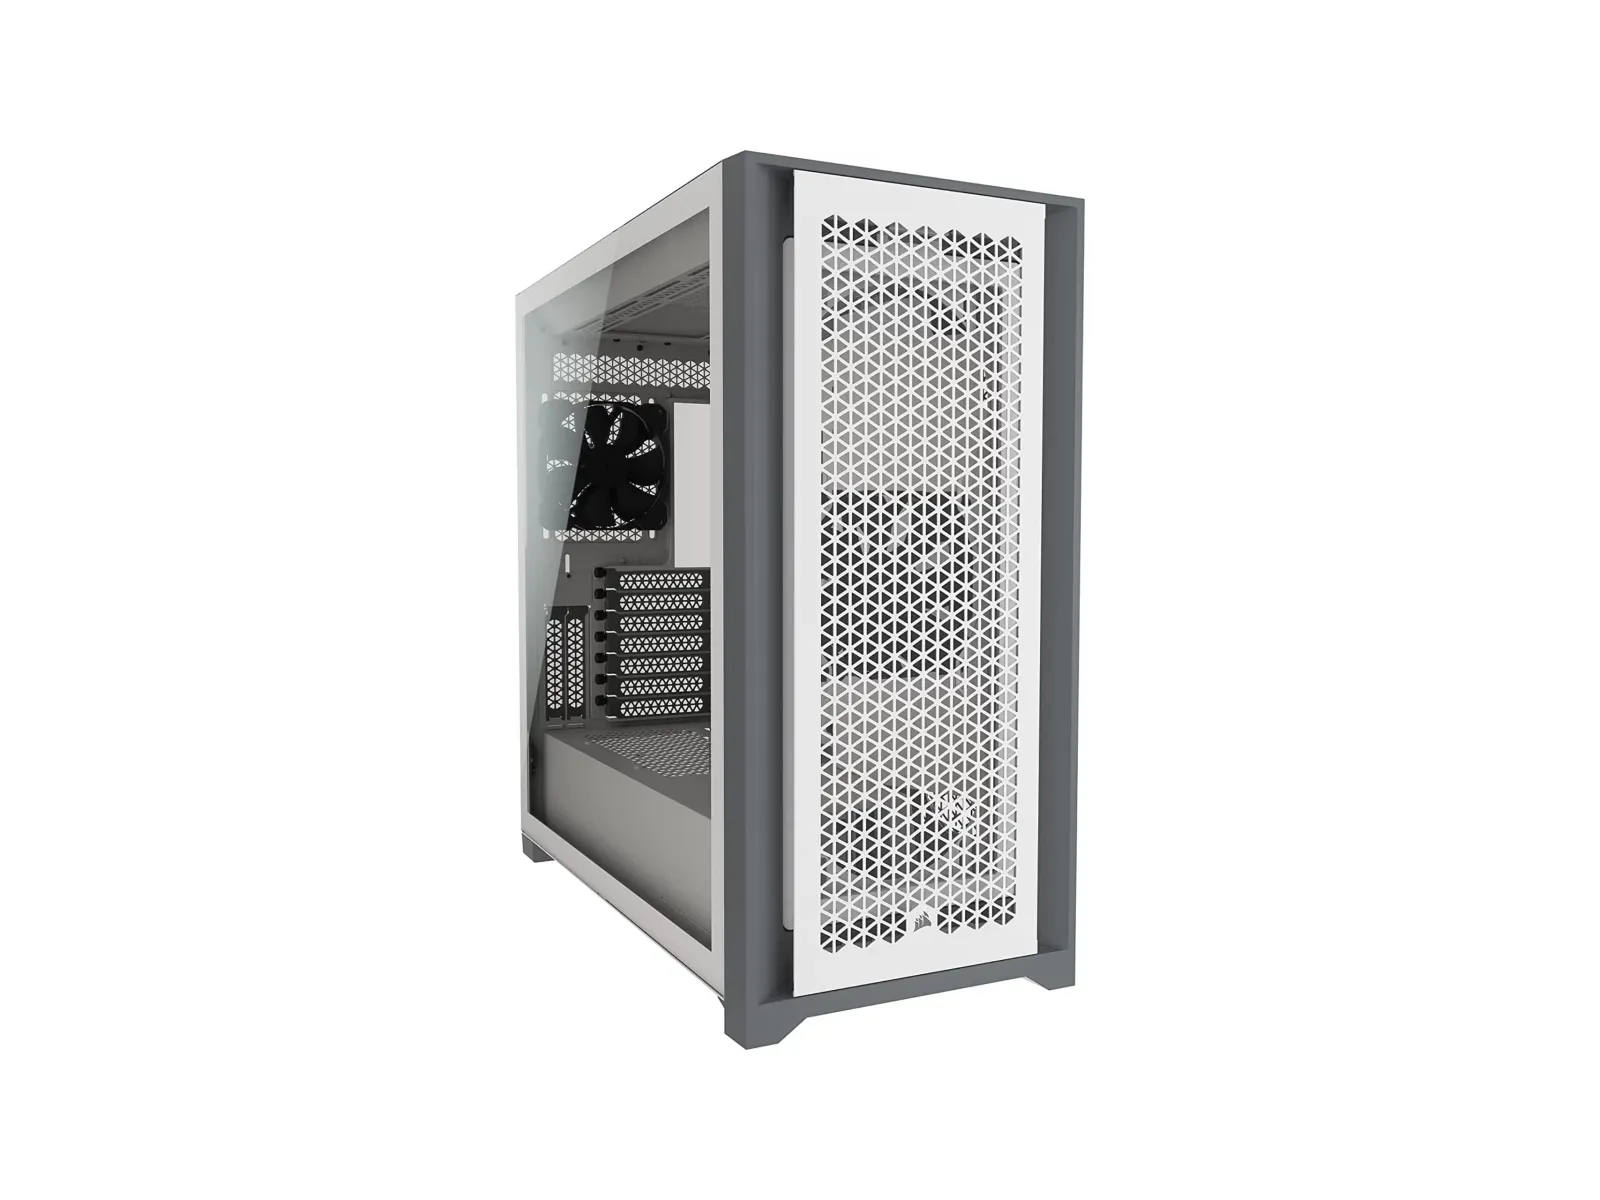
The house is what it looks like. It's a metal box. It could be coated with engraved glass and aluminum panels, but inside it is simply a large metal box that keeps everything together. Make sure to match the size of your motherboard. For example, if you have an ATX motherboard, you need an ATX case (or “standard size”).
Operating system
When assembling a PC, Windows is not automatically included. You will need to purchase a license from Microsoft or another supplier and create a USB stick to install it.
Component assembly
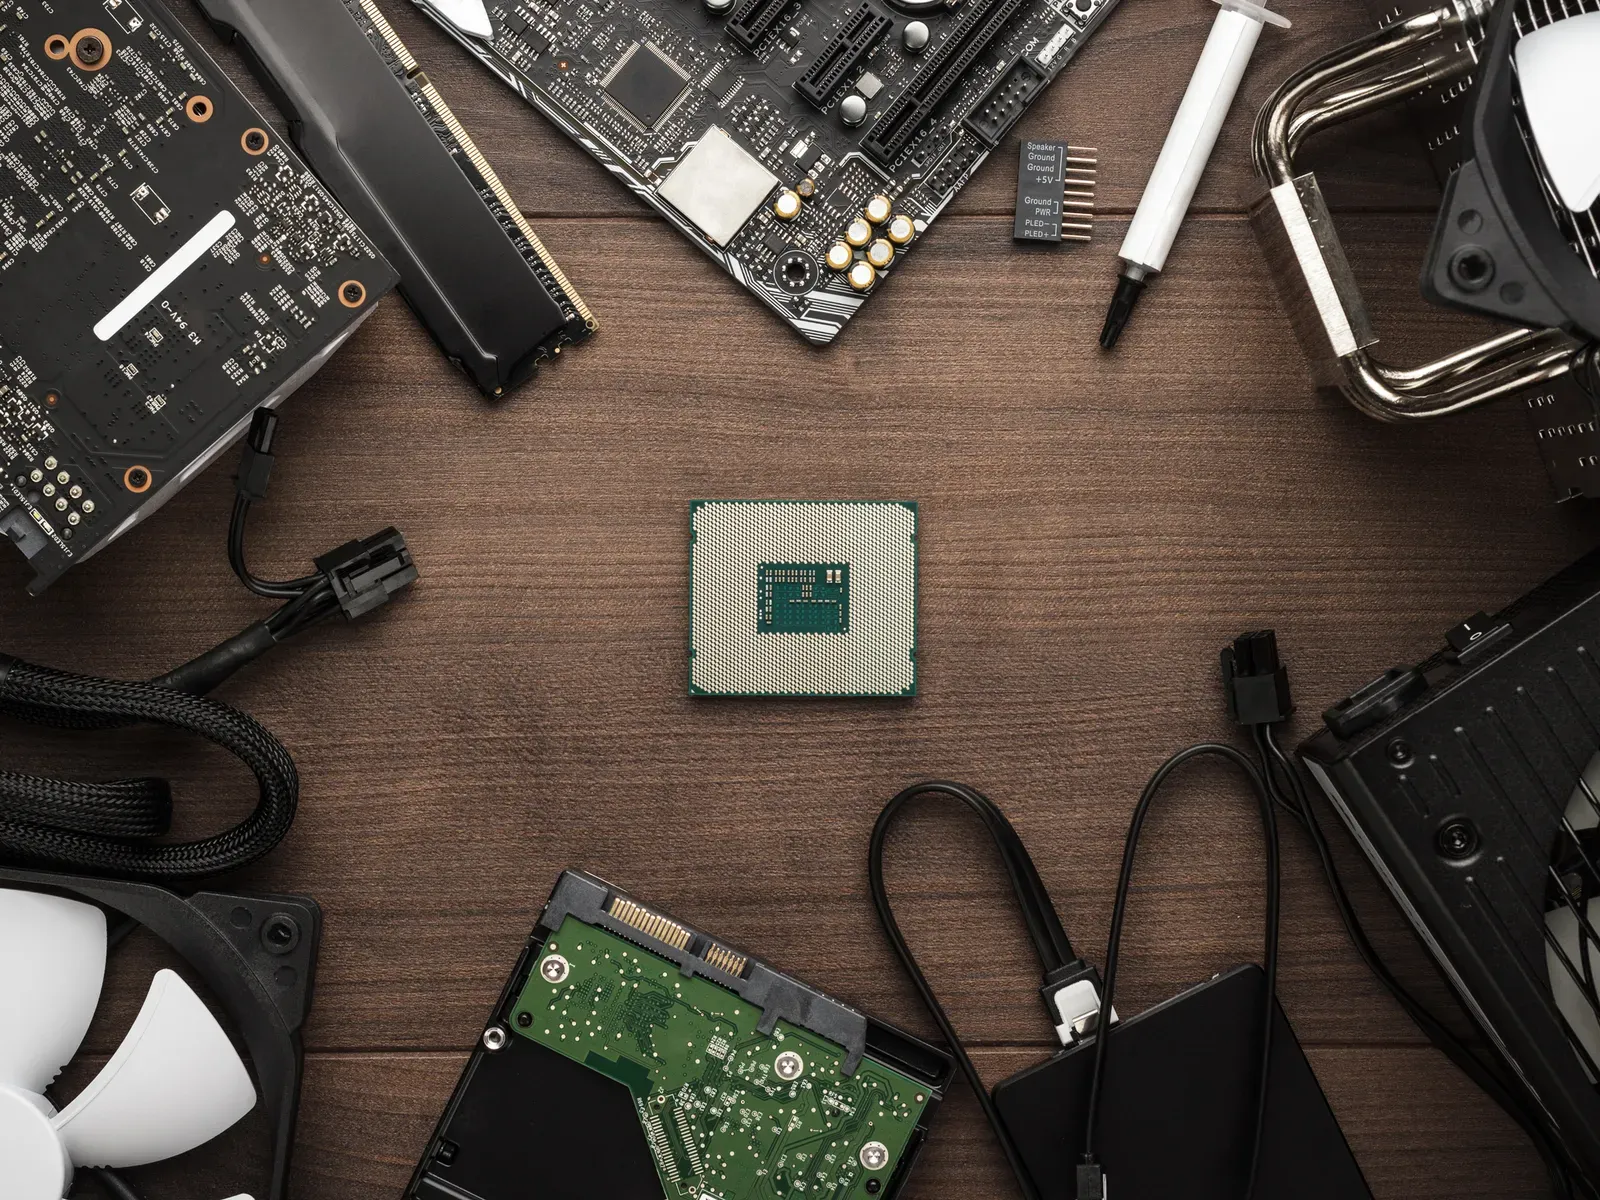
The components of the PC arranged on a table. The internal layout of each game PC is a little different, so we won’t get too much into the details. The best reference point for specific instructions on your hardware will refer to manuals and search for your components on YouTube. It can be extremely useful to see a person actually manage and install the exact hardware, especially when you’re stuck and you can’t understand the manual instructions well. But here are some general tips to put all these components together.
First, prepare a clean space. It can be a dining table, a clumsy desk: any surface large enough for the case to be placed sideways, with enough space around for the rest of the components. You will also need a cross screwdriver that suits the screws of your houses. When you join these parts, make sure you download any static accumulations and work on a non-metallic surface like a wooden table. Or you can simply mount the motherboard on the cardboard box in which it is packed.
Most of the components you have purchased will be provided with instruction manuals; keep them at your fingertips. We will start with the motherboard, then open the instruction manual to the installation page. It may seem quite intimidating, there are many things to look at, but think about all this as a great Lego set. Each piece gets stuck with another. For the motherboard, your first task will be to mount the CPU.
CPU installation
Depending on the type of CPU you purchased (Intel or AMD), the chip will either have small pins on one side (not touch them) or small golden contacts on one side (do not touch them). Seriously, don't touch that side of the chip. The oils from the touch of the fingers can damage contacts or you could fold a pin. Do one of these things and your processor only becomes an expensive piece of silicon.
Inserting your CPU is quite simple. First, check your motherboard instructions and make sure you unlock the CPU socket. It will be a large square with lots of small holes (or contacts), with a lever or a button next door. Your motherboard instructions will explicitly say how to unlock the socket so that you can enter your CPU without any problems.
Once confirmed that it is unlocked and ready, find which corner of your CPU has a small golden triangle and align it with the same symbol on the CPU socket of your motherboard. Gently lower the CPU in the socket, then gently lower the lever or lock mechanism. You shouldn't have to fight. If you have to press really hard, check that the CPU is inserted correctly.
Next, you will need your thermal dough. That tiny silver gel syringe is very important for the next step. Now that your CPU is inserted, look at the polished silicon square in the center. That's where the heat sink will be located. Your CPU is provided with a heat sink, and on one side you will see a copper circle. Place the heat sink directly on the CPU after applying heat paste, making the silicone square and copper circle perfectly match.
Carefully press a small ball (not larger than a rice bean) of thermal paste on the silicone square of your CPU. You want it as close as possible to the center.
Now align the heat sink with the screws around your CPU and gently lower it to its place. It will crush the heat paste, and the goal here is to create a thin layer covering the back of your CPU. It's okay if it comes out a bit, but if it comes out beyond the edge of the CPU, you used too much dough. Take isopropyl alcohol, swab it on a hairless cloth, clean the CPU and heat sink. Wait for them to be perfectly dry and try again.
If it seems all right, screw the heat sink in its place. Consult the motherboard manual and find the right spot next to the CPU socket to connect the heat sink cooling fan. It should be near the CPU socket. Once you find it, connect it. Congratulations, you just installed a CPU. This was the hardest part, and it's over. Bravo!
Installation of Architecture and Memory
Memory is perhaps the easiest thing to install. See those small vertical slots next to the CPU? Align your RAM modules and insert them, starting from the left slot. They will stop when properly inserted. If you have two RAM modules, make sure you leave a blank slot between them. The motherboard manual should indicate which slots to use.
For your hard drive or solid-state disk (SSD), find a blank compartment in the front of your case. Insert your disc and fix it with the screws. If you have a M.2 disc (a small SSD of the size of a chewing gum stick), there should be a point on the motherboard where to put it directly. Check the motherboard manual to see where the M slot is.
Installation of the Motherboard and the Helper
The rest of this procedure is quite standard. Start by placing your motherboard in the house. Check out the motherboard instructions, align the screw holes in the case with those on the motherboard and get to work.
Next, you want to install the power supply. There should be a space for it near the top or bottom of the house, a large square space that will fit perfectly to your power. If you have trouble finding it, look at the back of the house: there will be a large empty space. That’s where the power supply goes (and where you’ll connect your PC when you’re done). Once you find your housing, insert it and fix it with the screws. Make sure that all the wiring cables that come out of the power supply reach the motherboard with a little extra space. Do not connect anything yet; we will return to the power supply shortly.
Installation of the Graphic Card
Your GPU will be pretty big. Even a modestly powerful GPU like the RTX 2070 is great compared to other components. This means that how it fits in your home is important. Once the GPU is inserted, the space will begin to discard.
Open the motherboard instruction manual again and search for a PCIe slot. It will be a horizontal slot with a small plastic stick next door, close to the center or bottom of your motherboard. That's where the GPU fits. All you have to do is identify the back of your GPU (the side with HDMI and DisplayPort), align it with the back of the case and push the GPU into the horizontal slot. It should be easily blocked; if it does not, make sure to fit it correctly.
Find another one of those tiny little screws and stare at the houses. There is a small point for this on the same sheet with HDMI ports. It should be easy to find.
Now, take a look at the cables that come out of your power supply. There should be some that seem to fit the square (or rectangular) connector on the side of your GPU. It should look like six or eight small holes in a rectangular shape. If you encounter difficulties, watch this video of Asus hardware manufacturer. Some details will be different, but it is a great example on how to install a GPU.
Connection of cables
The motherboard must be connected to all your devices. The power unit can be fully modular, which means you can select the cables you need and leave the rest to eliminate the footprint. Otherwise, the power units have a lot of cables, and you will need to take care of the unused power connections that hang in the house. You need to connect the power supply to the SSD and the motherboard.
You also need to connect the motherboard to the case, i.e. power buttons, audio connectors and USB ports on the front panel of the case. There are special connectors for each type of plug spread over the motherboard, so check the manual for the location and function of each pin group. These tiny pins must be connected in a certain way, and they are incredibly tiny. There is also a connection to the fan of the case – in the case I used there was a connector on the motherboard but three fans installed. Then there is the SATA cable for your SSD, which connects to the motherboard.
This part of your building really depends on the hardware you purchased, so check the manuals of each component to ensure you have connected them correctly to the motherboard and the power supply.
Windows ignition and installation
The last phase of your construction is simple: press the power button. If the PC starts, you probably assembled it perfectly! If he doesn't, don't despair. There are many potential issues that could prevent a PC from booting for the first time.
If you started without problems, the next step is very easy: Turn it off. Remember that Windows USB flash drive you prepared earlier? Insert it into your PC and restart it. If you configured it correctly, your computer should do it alone and start installing Windows. If not, you may need to access the BIOS (check the motherboard manual on how to do it) and set the USB stick as “starting device” before.


