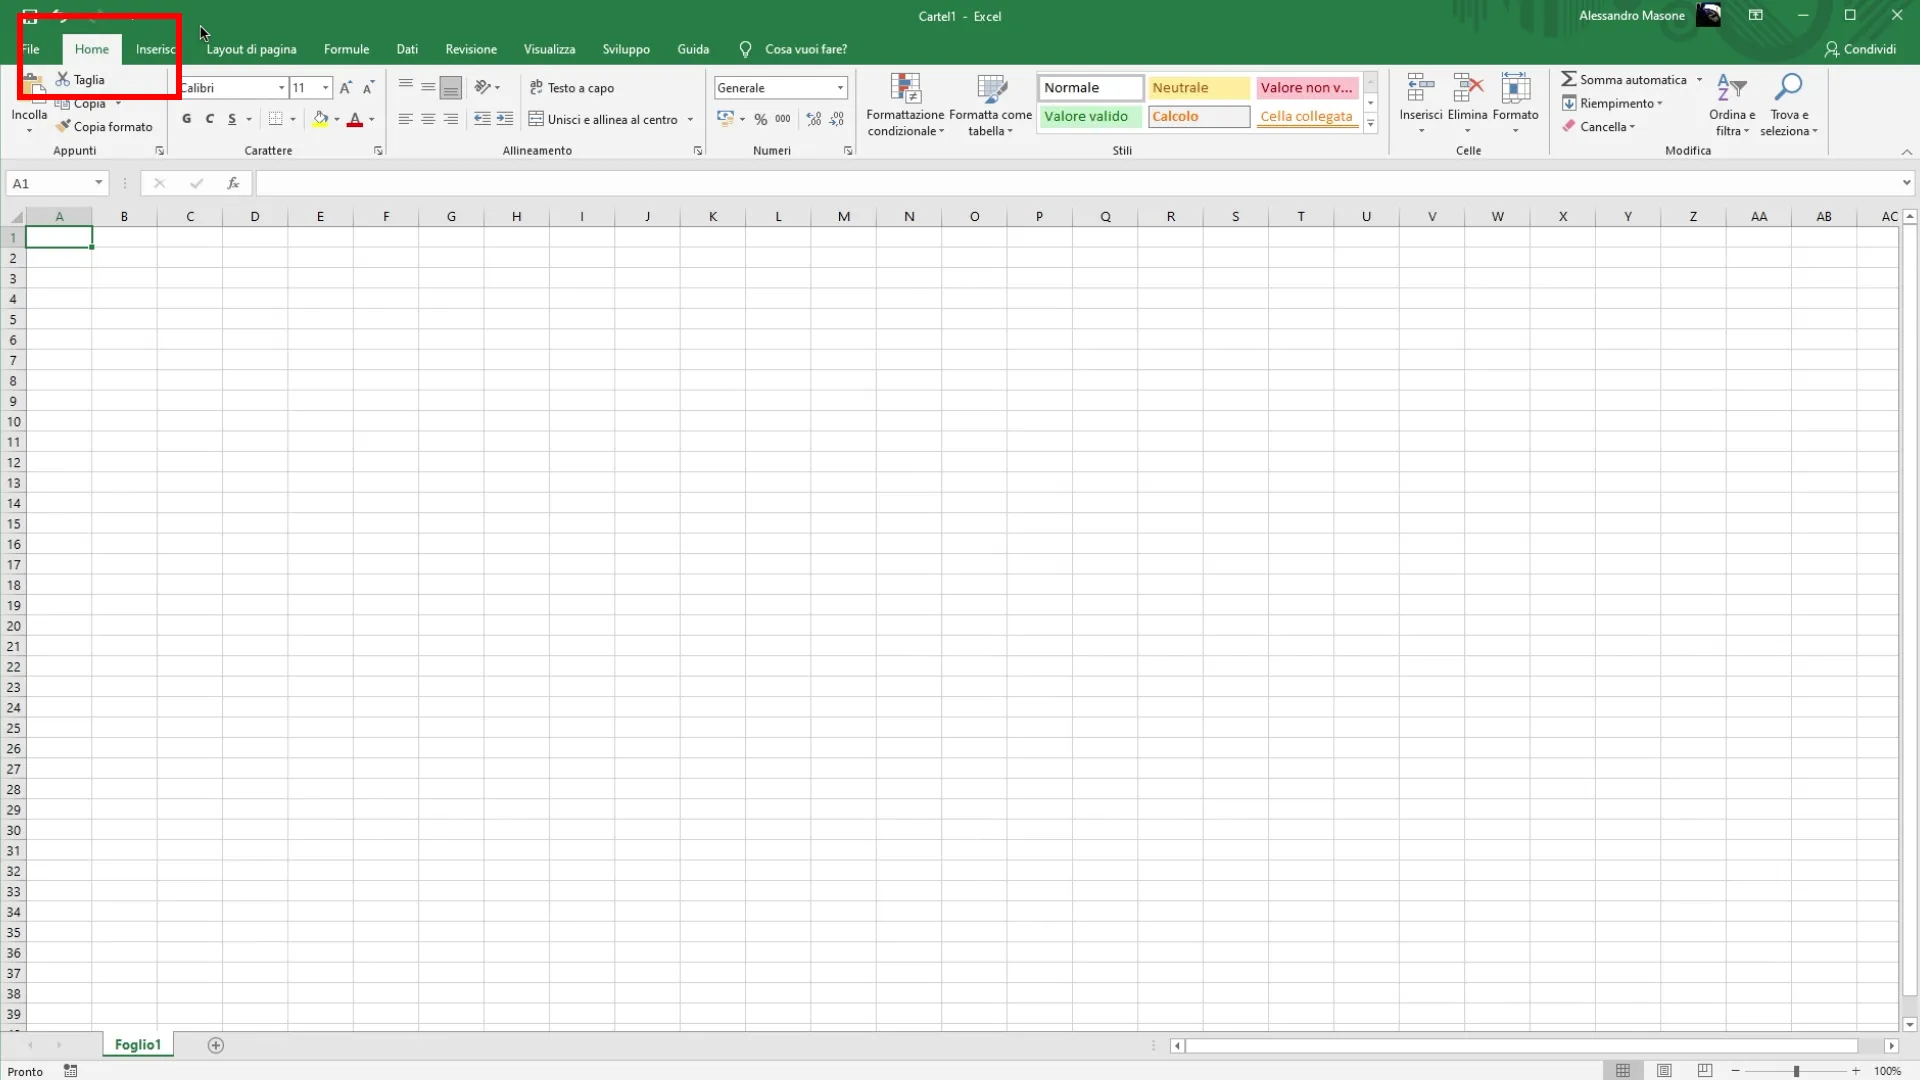
Access to the “Home” tab To start, you need to open Excel and select the tab “Home” in the multi function bar, where the main formatting options are grouped
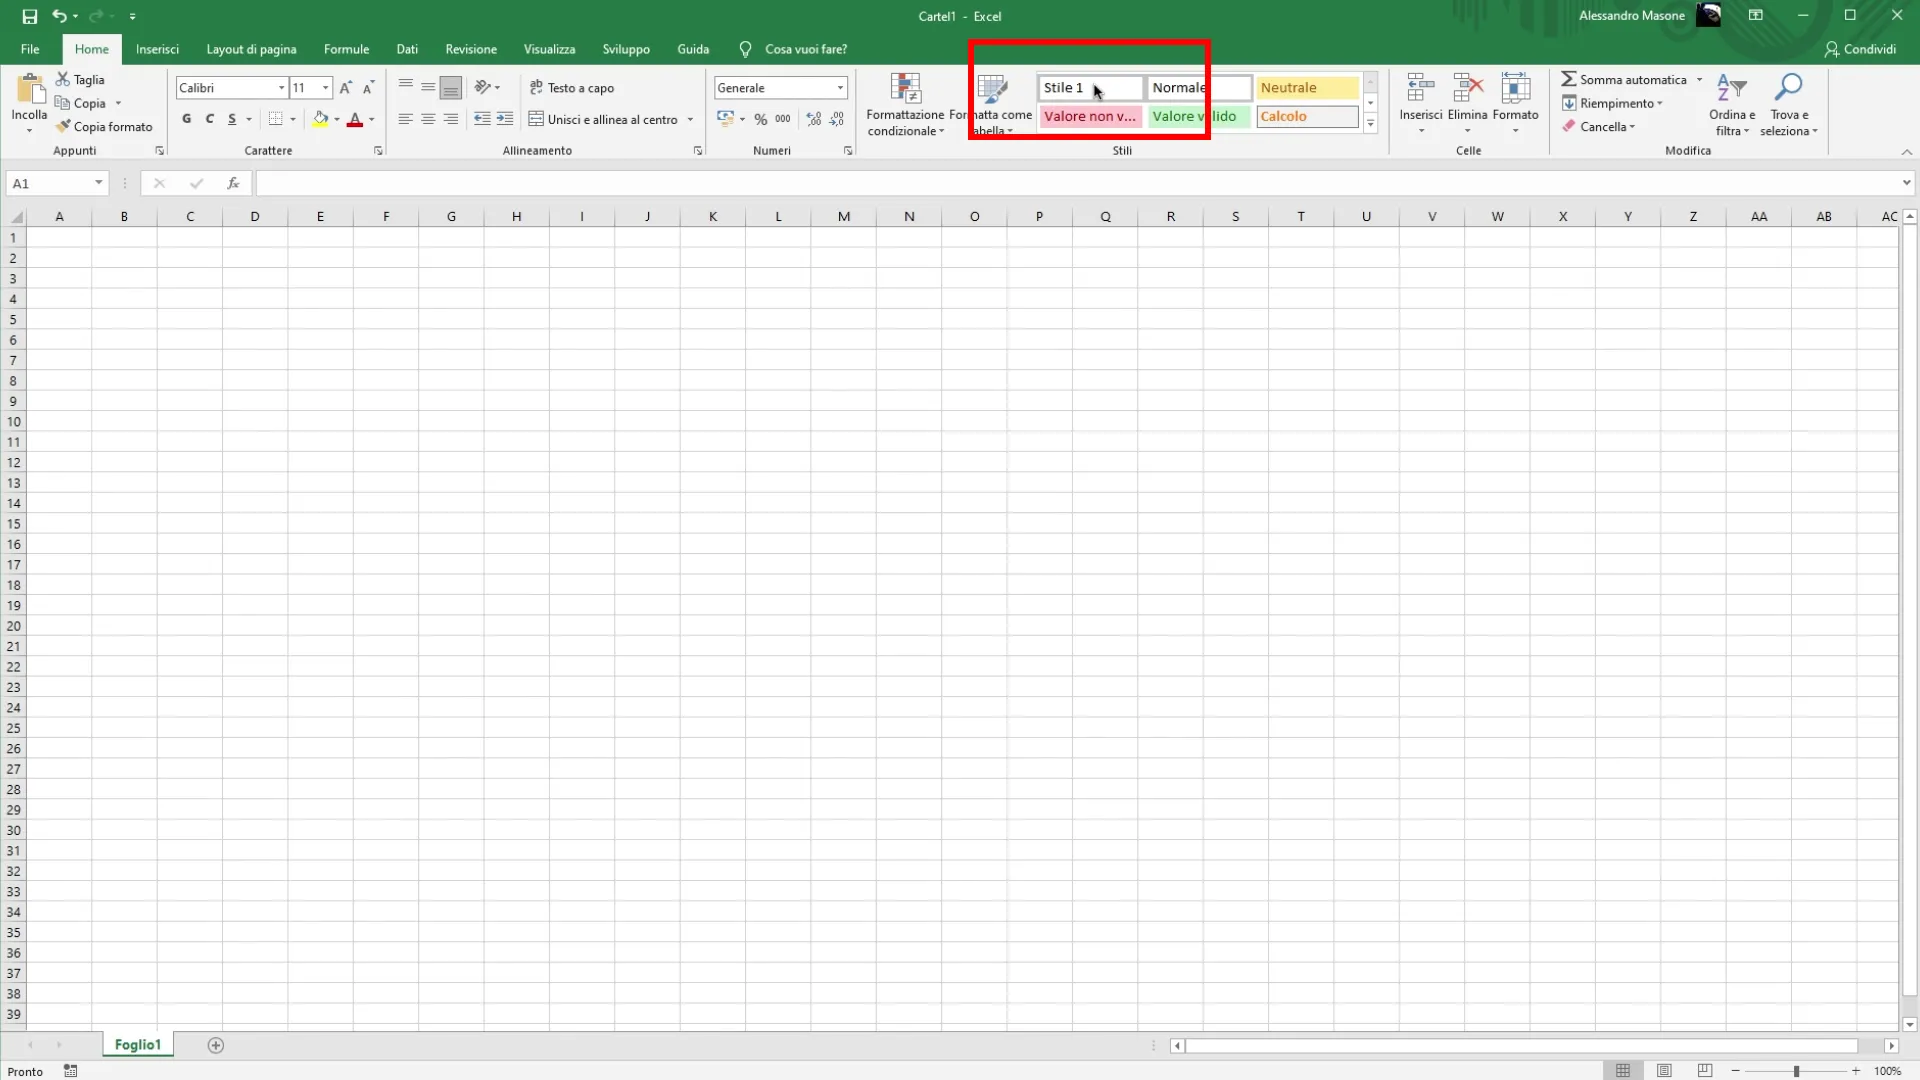
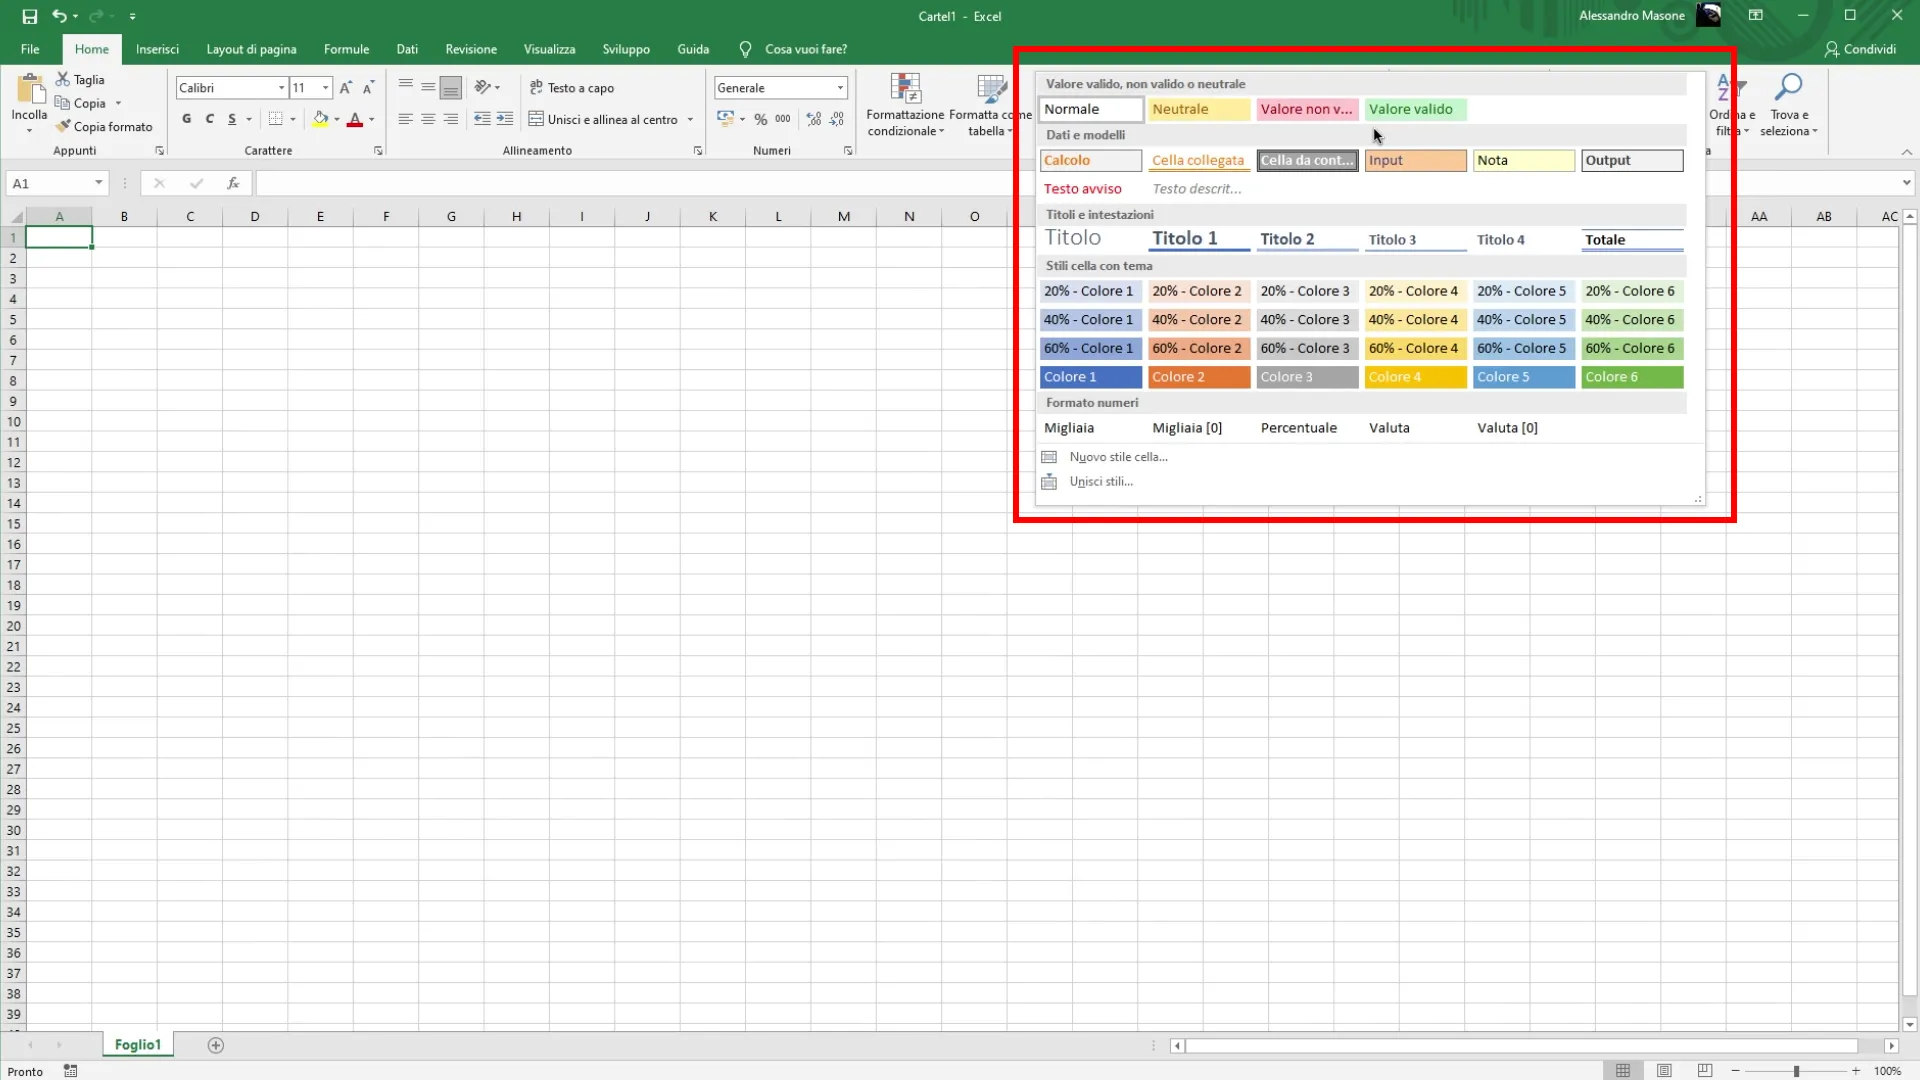
Navigate to the “Stili” section Section “Stili” of the tab “Home”, there is the voice “Stili cell”.
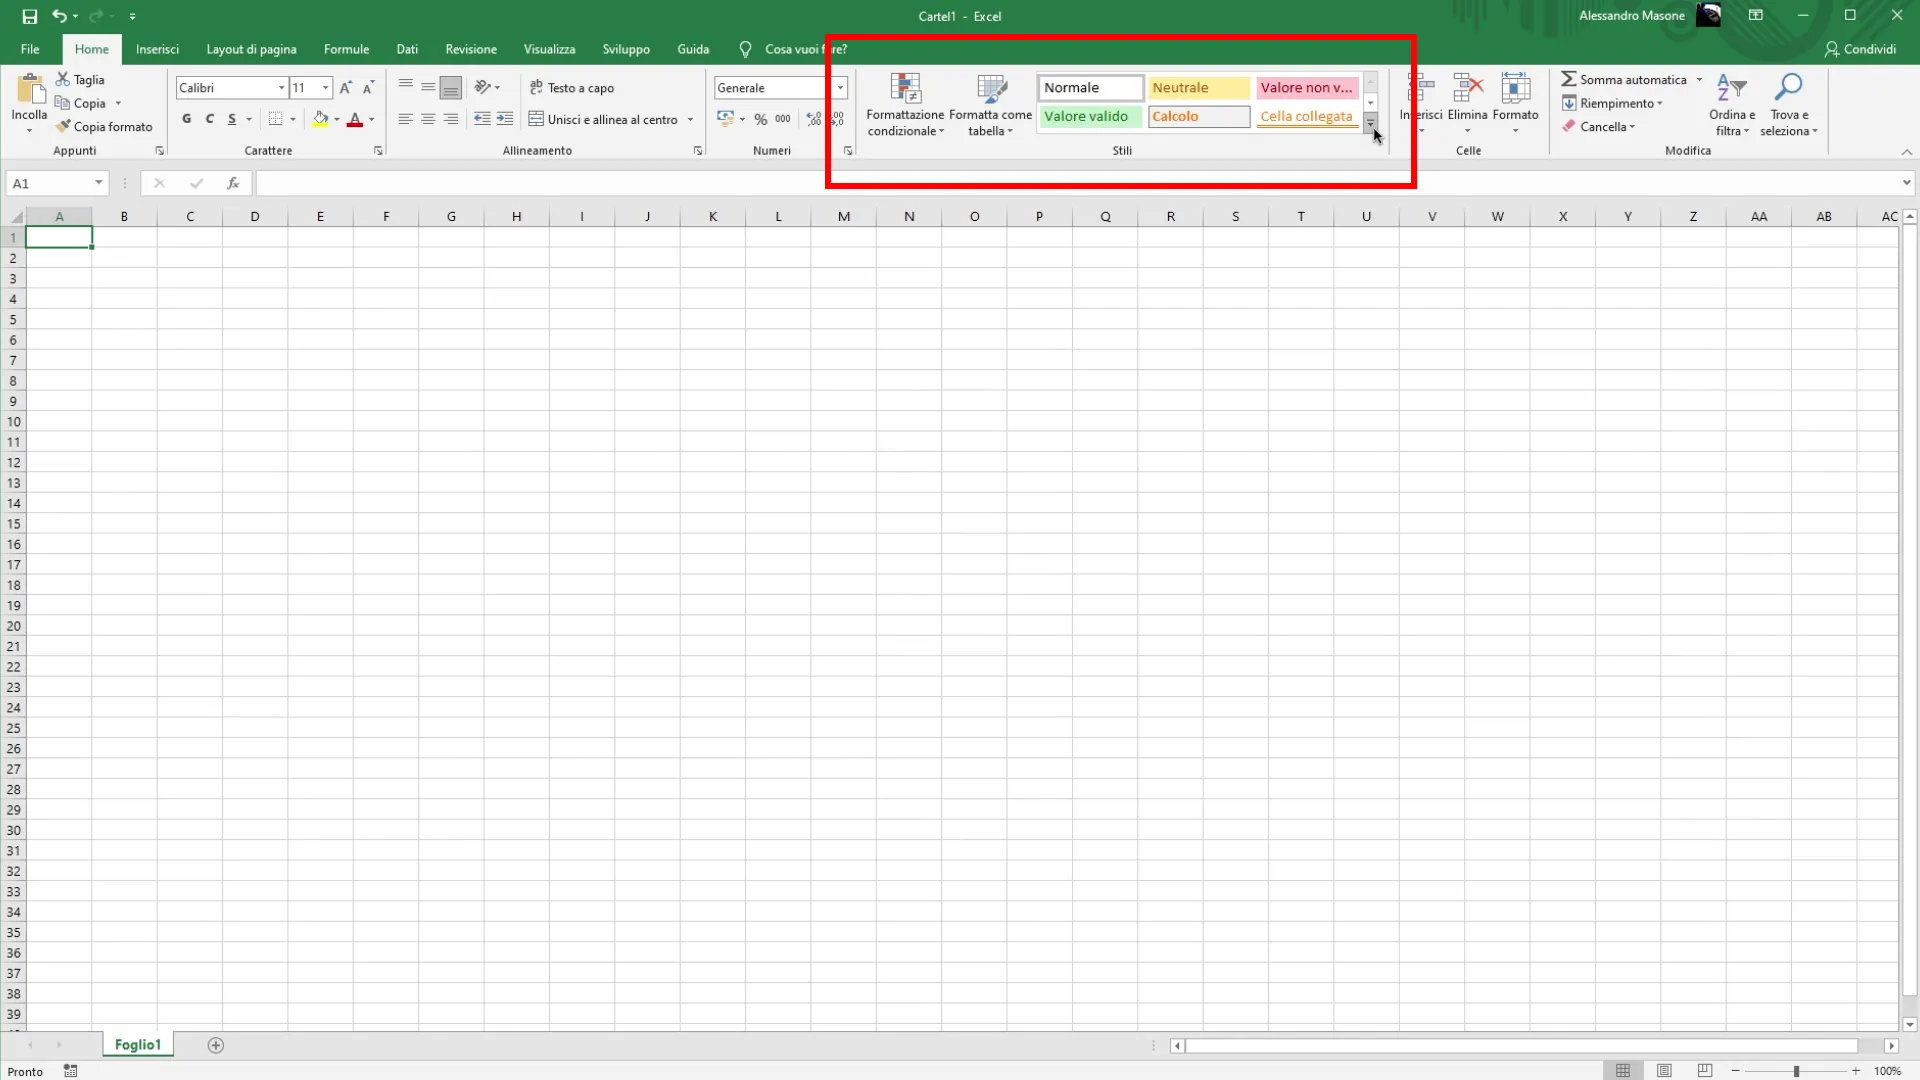
Clicking on the down arrow next to this option will open a drop-down menu with different default options.
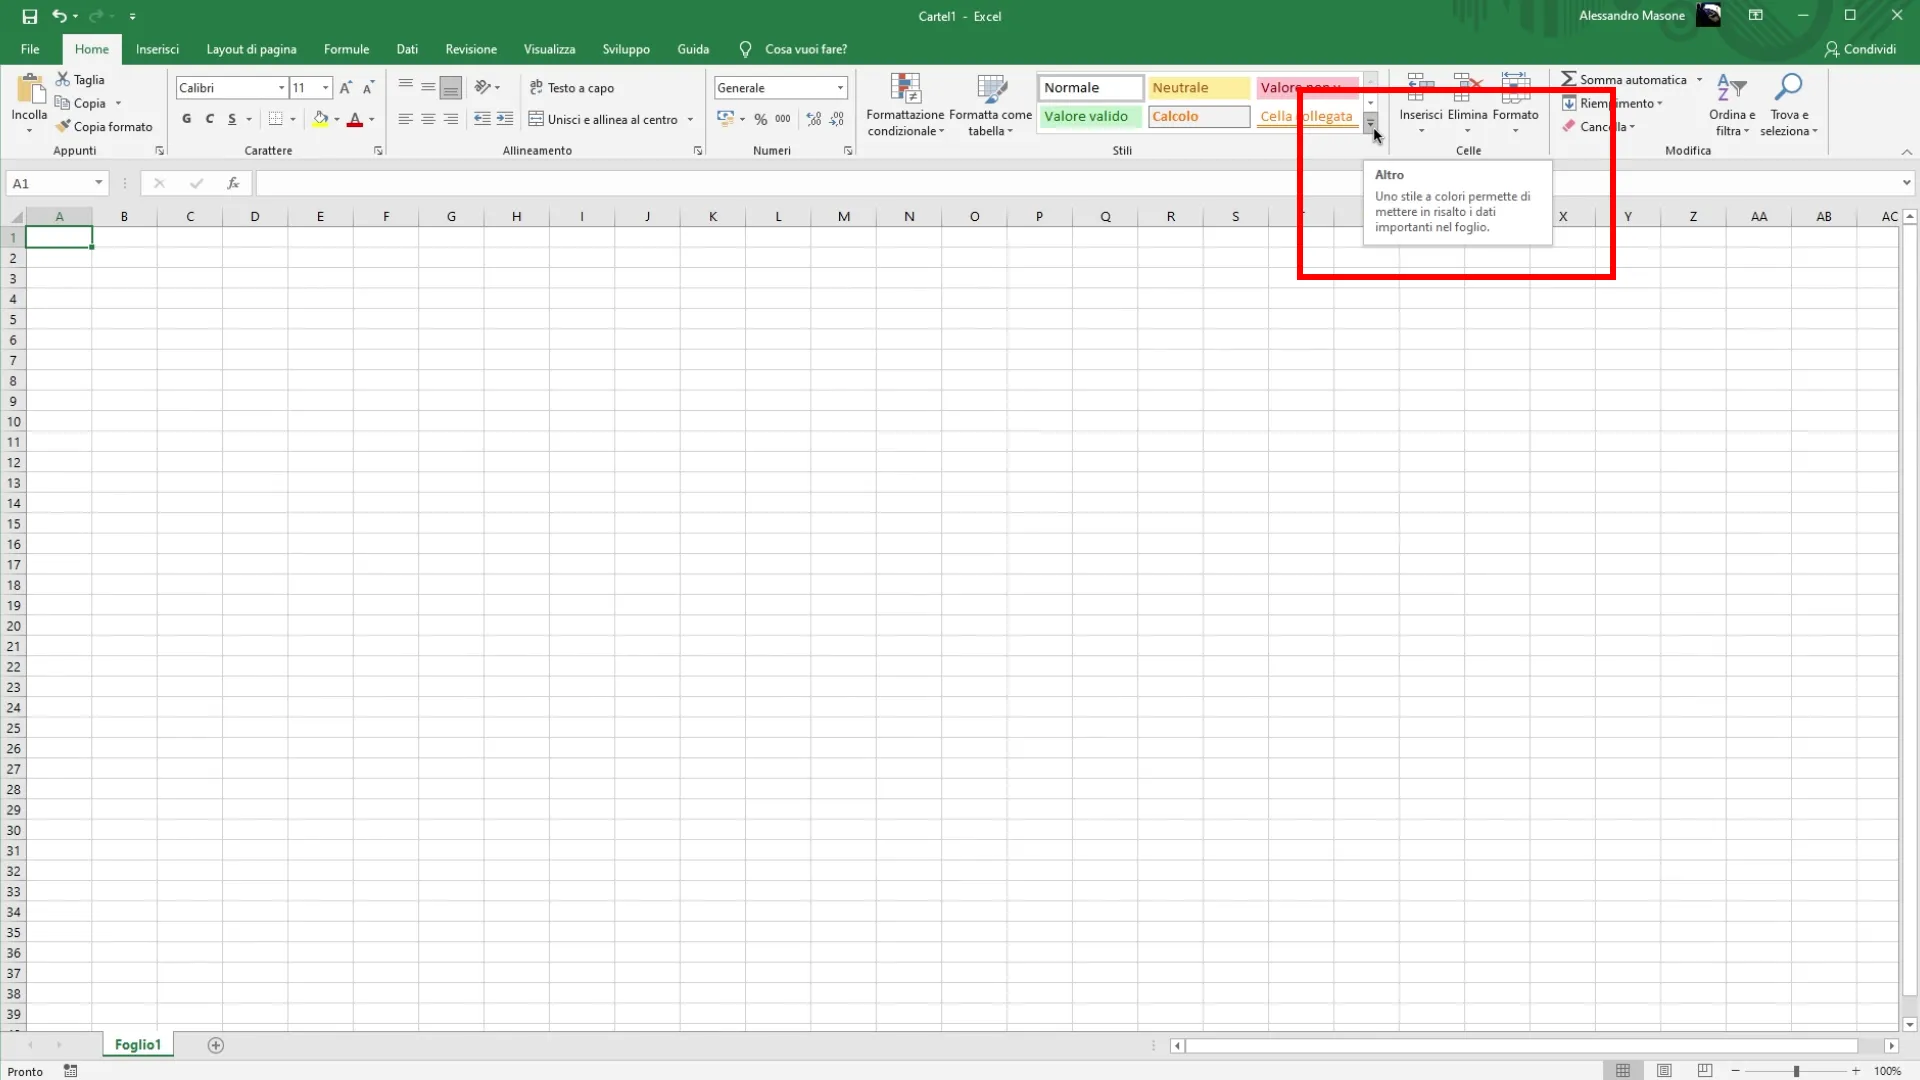
Exploration of Predefined Styles Within the drop-down menu, you can see a series of cell styles already available in Excel. Although you can use one of these styles, to create a custom format you must proceed to the next step.
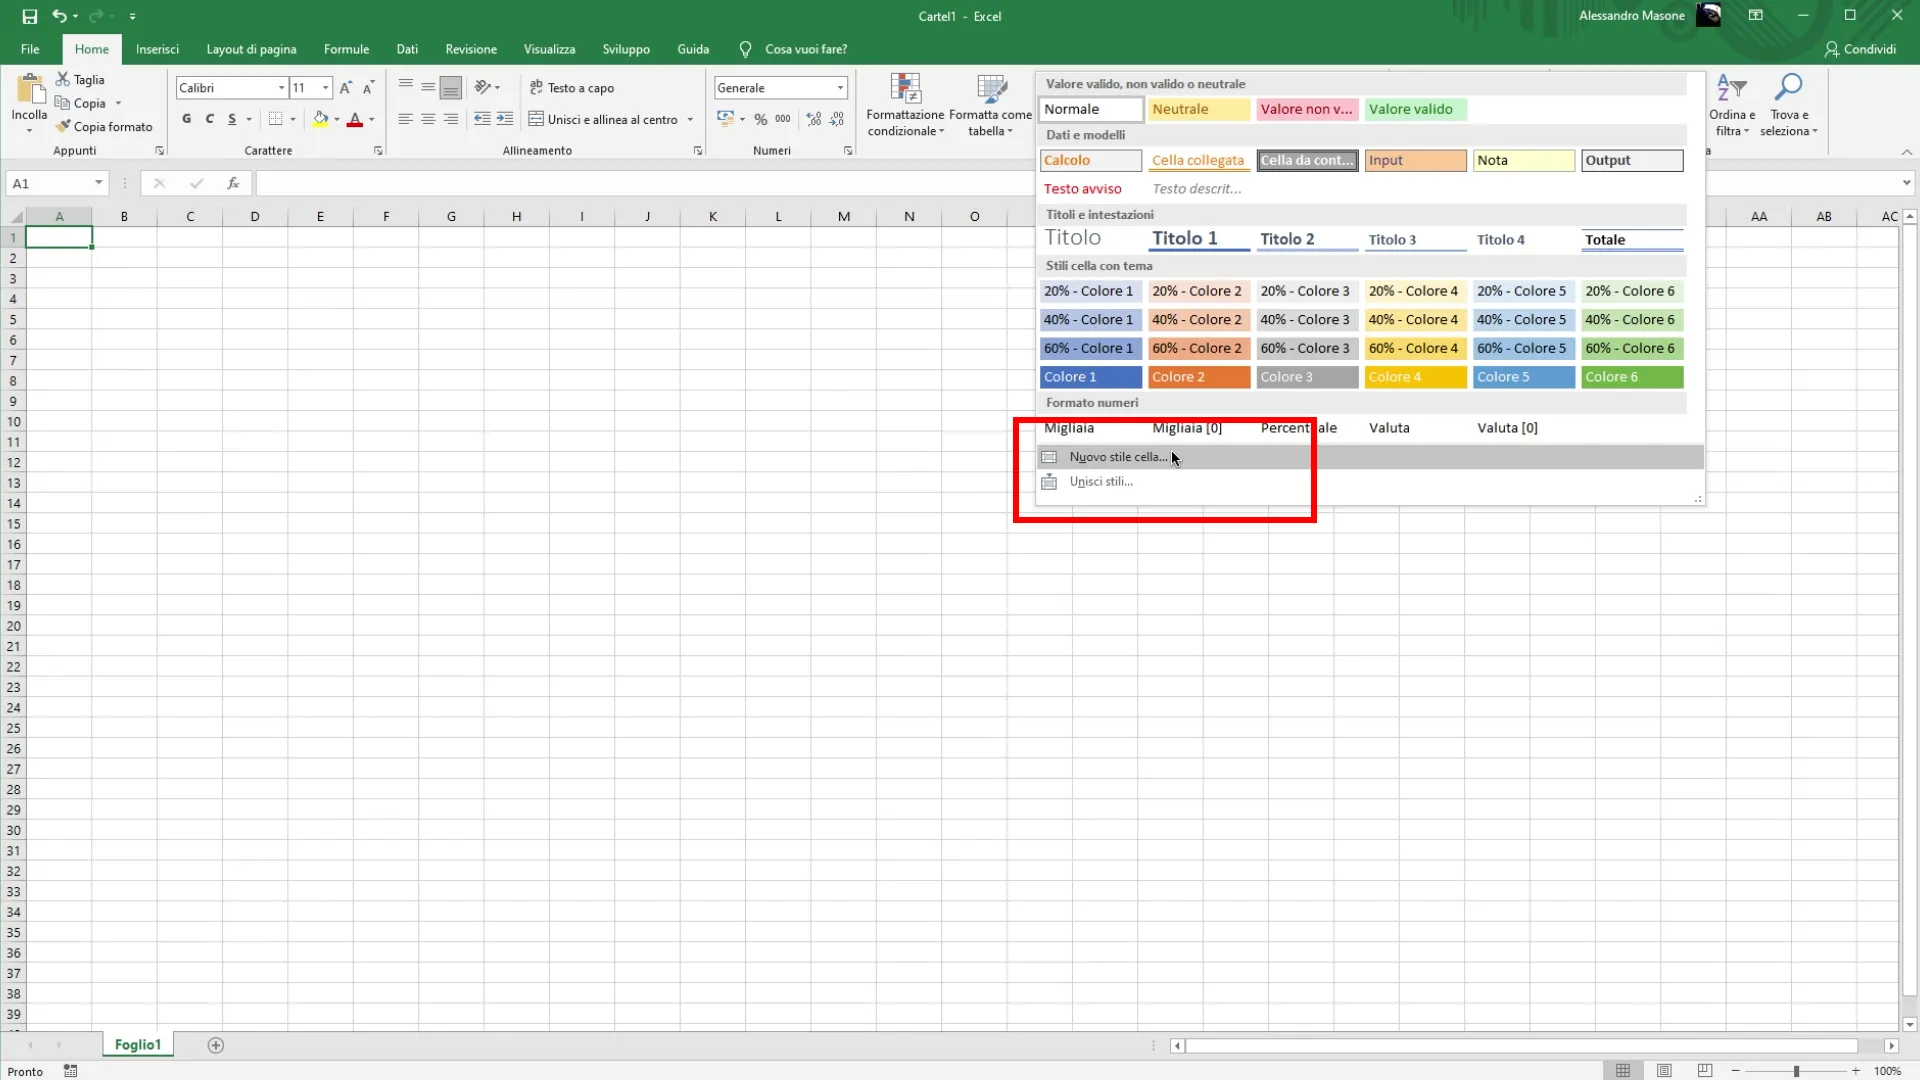
Creating a New Style Cell To create a new style, scroll down into the menu and click on “New Cell Style”. This action will open a dialog box where you can define the new style.
Customization of Name and Format In the dialog box, you can assign a name to the new style, useful to identify it in the future.
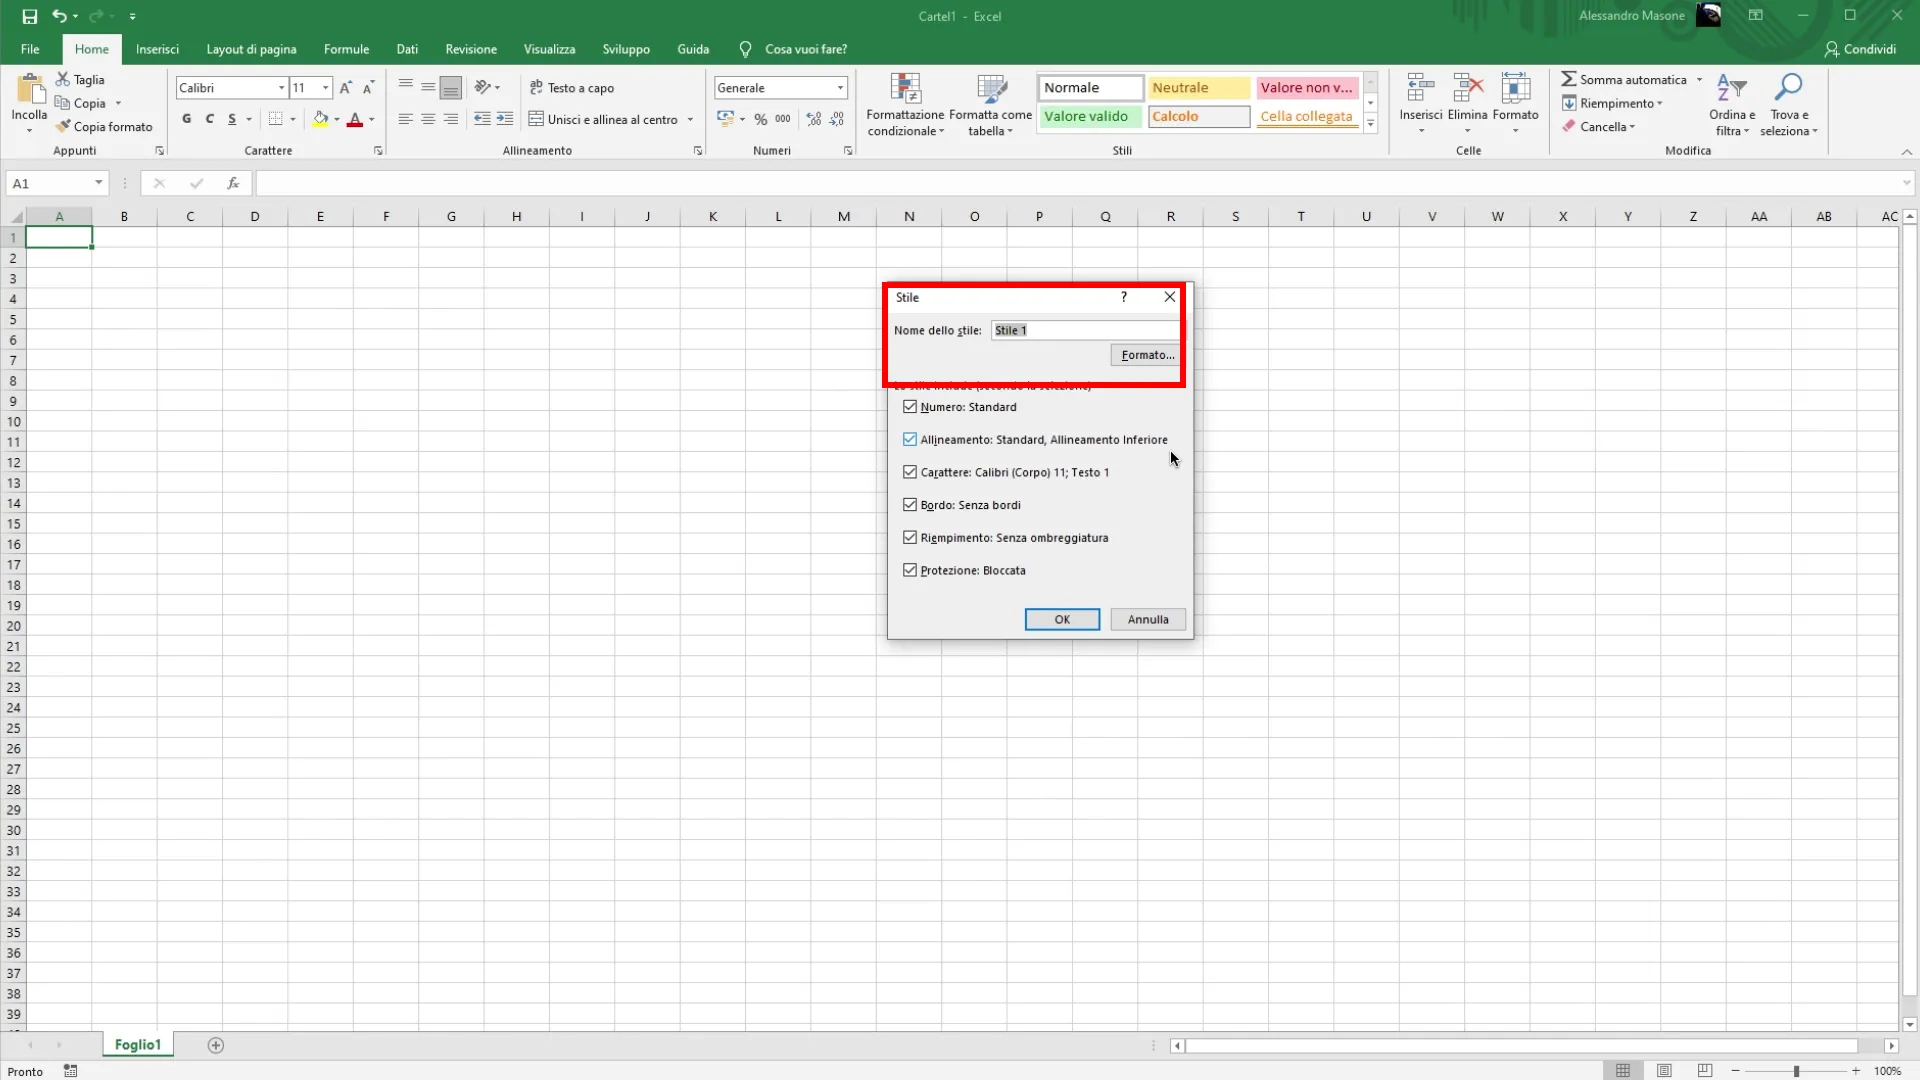
Next, click on the button “Formato”, you can customize various aspects, such as character type, color, alignment, borders and other formatting parameters.
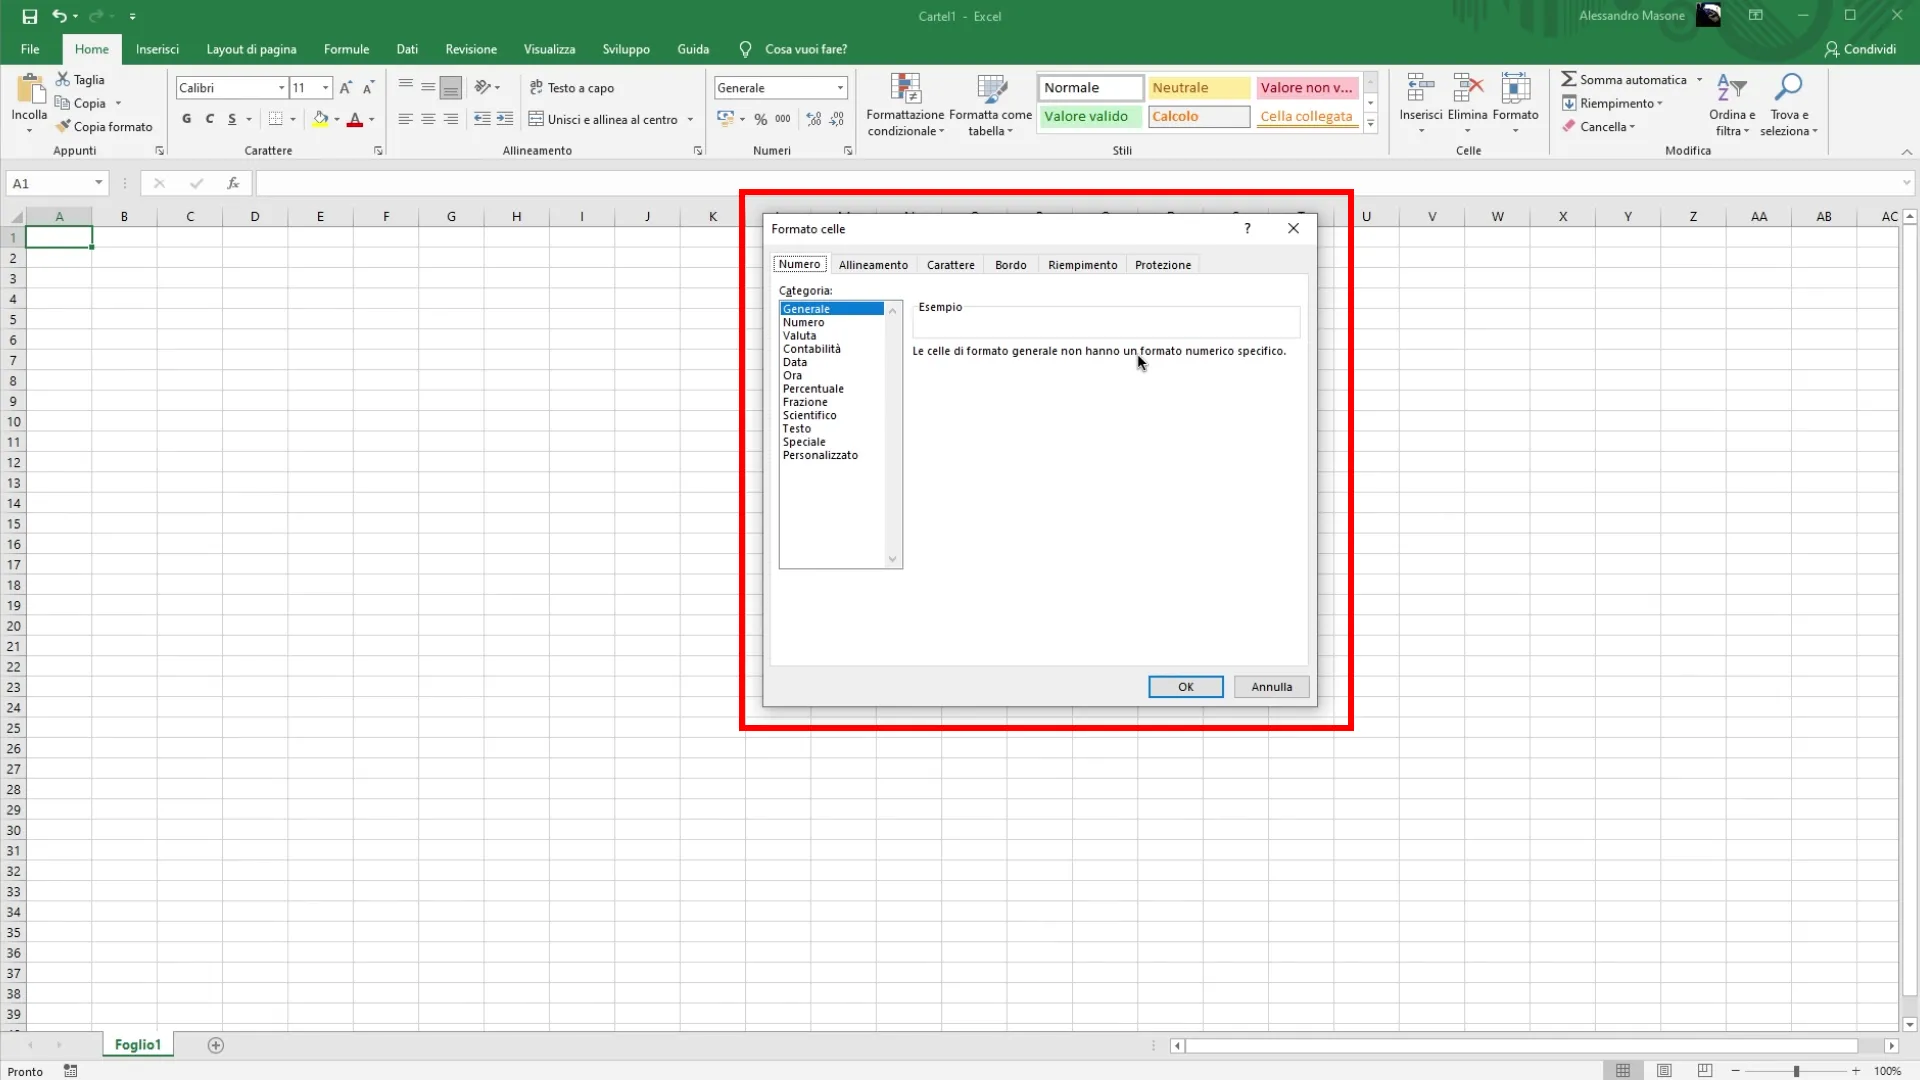
Confirmation of Changes After configuring the desired format, click on “OK” to confirm the changes.

The main window will close and the custom style will be saved.

New Style Application Once you create the style, this will appear in the section “Stili” of the multi function bar. To apply it, just select the desired cell range and click on the newly created style. The application will happen automatically, applying the chosen format to the selected cells.