
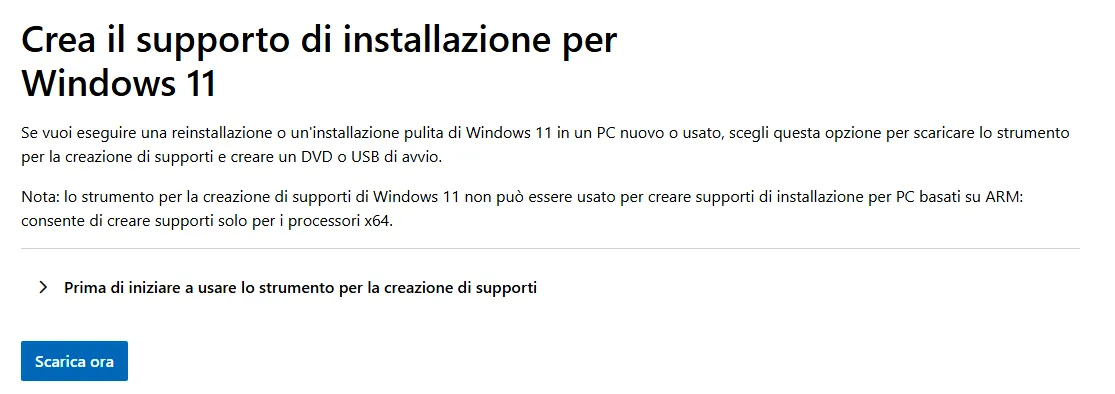
The Windows Media Creation Tool is an official Microsoft software designed to facilitate the installation and upgrade of Windows. Thanks to this tool, you can update your PC directly, create a bootable USB drive or download an ISO file for later installation. Before proceeding, it is essential to verify that your device meets the minimum system requirements for Windows 11.
Download and install Windows 11 with Media Creation Tool
1. Download the tool
To start, you need to download Windows Media Creation Tool directly from Microsoft official website.
2. Launch the tool
Once the download is completed, start the executable file. At this point, a screen with different options will appear. You have to select “Create installation support (USB flash drive, DVD or ISO file) for another PC” and click on “Next”.
3. Select the settings
Next, you will be asked to choose the language, edition and architecture of Windows 11. If you do not have special needs, you can keep the default settings suggested by the tool.

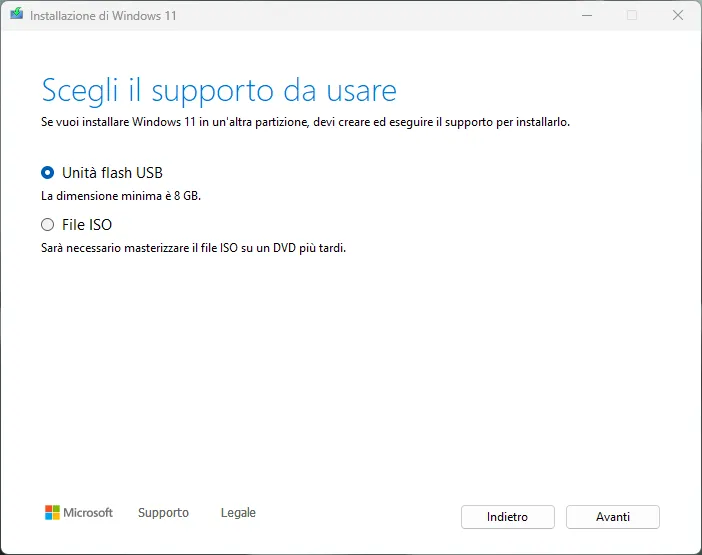
4. Choose installation support
After choosing the settings, select the support on which the installation will be created. If you have a USB stick with at least 8 GB of free space, this is the recommended option. Alternatively, you can download an ISO file to burn on a DVD.
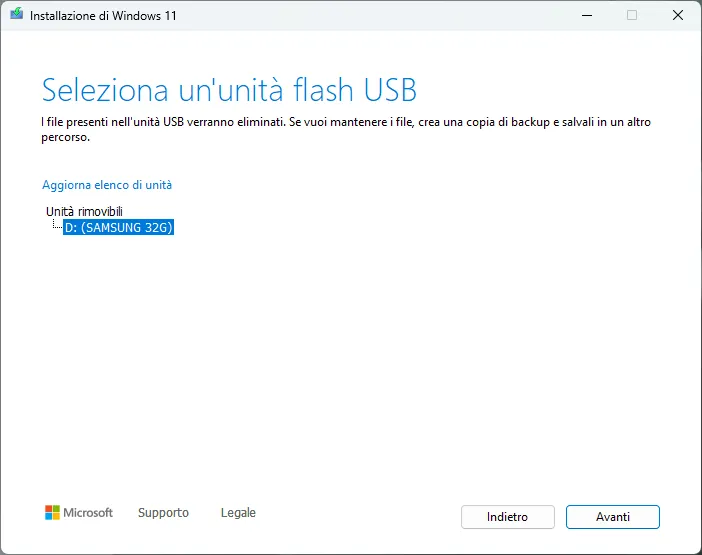
5. Creation of installation support
Once the installation support is created, you must wait for the tool to complete the operation. When you have chosen the USB option, you can use it directly to install Windows 11.
6. Install Windows 11
At this point, insert the USB stick into the PC you want to install Windows 11, restart the computer and access the BIOS or the Start menu (often accessible by pressing F2, F12, DEL or ESC on startup). Here you have to select the USB drive as a boot device and follow the on-screen instructions to complete the installation.


